Coffee & Cardmakers Gathering
We Cased the Catalog and had a great time getting inky!
I love Zoom crafting as a way to gather for a fun time with each other when we all live in different states!
It definitely does NOT take the place of laughing, having coffee and crafting around a table making a big ole crafty good mess- but I wouldn’t trade it for a thing as it really is a great platform for gathering!
![]()
Big Shout out to Marge & Sheri for taking the time to laugh, stamp and even some stamping & technology growls with me!
They know what I’m talking about!!
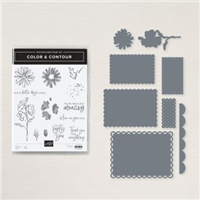
I took to the catalog for this stamping session! We all have a copy of the catalog and stampers can see the end goal but sometimes not how to get there! We learned fun things along the way and what tools work well and what tools don’t! If you click on this image- it will take you out to see what tools the creators of this sample used!
Stampin’Up!© artists are AMAZING!
CASE = Copy and Share Everything 🙂
My thoughts on this creative sharing concept is that it is a high form of flattery!
If you love what you’ve seen – give the maker the credit for it and copy it!
The sample card above comes direct from the 2021-2022 Stampin’Up! Idea and Catalog book! Check out page 98 if you have a copy – If you don’t- pop back to the home page & click the drop down for ‘Shop My Store’ you will see a clickable for Digital Catalogs!
Or- there is a quick link in the tabs on my homepage for catalogs!
Scroll down to page 98 to see this card with the full layout!
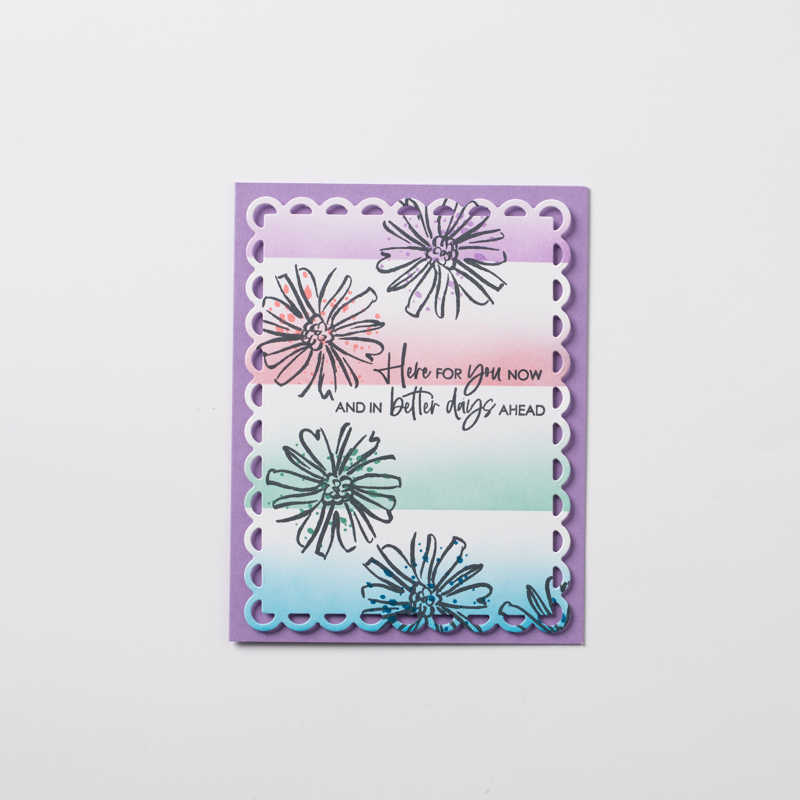
The alterations I did on these cards was to use a different green to stay with the new In Color ink family as well, I didn’t use the texture ‘dot’ stamp. Otherwise- I CASED very closely to the original
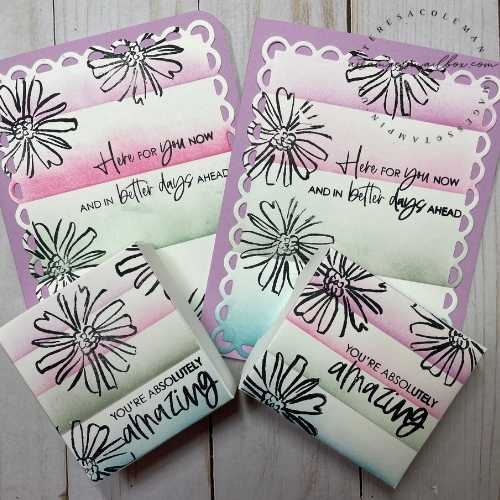
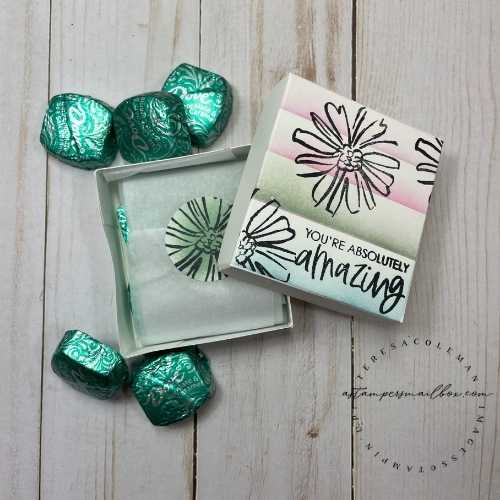
Here are my versions of the card and I made a coordinating small chocolate box!
No coffee was had on Friday, but our laughs were better than a cup of joe for sure!! I will share our tips here in this blog post! I loved the idea of ‘Case the Catalog’ I think every other month that will be my featured design theme for Coffee & Cardmakers- it gets us learning, and just because we may not have the exact products used in the catalog- we have some tools/stamps/ supplies that we all can work with! Super way to stretch and learn while using our stash at hand!!
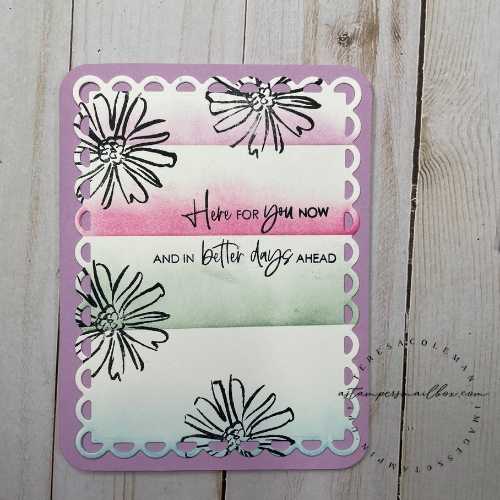
My lessons learned through teaching this card technique: stick with 3M Post It Tape. I used Washi Tape on this card- it will work but for quick removal without risk of tearing the top layer from the paper the Post-It Tape is a far superior stamping Supply for sponging and clean line masking. As well, See that green layer- compare it to the card by the Stampin’Up! artist- the green is ‘muddied’ that is because I learned that if you don’t wipe down the mask, be it wash tape or post-it tape, the previous colors get pushed into the green causing it to alter the crisp green. I decided to leave this photo in rather than make up a ‘picture perfect’ example.
Note: I am not an affiliate with Amazon- I included a link on this image- when you click it, it will take you over to Amazon to view the product!
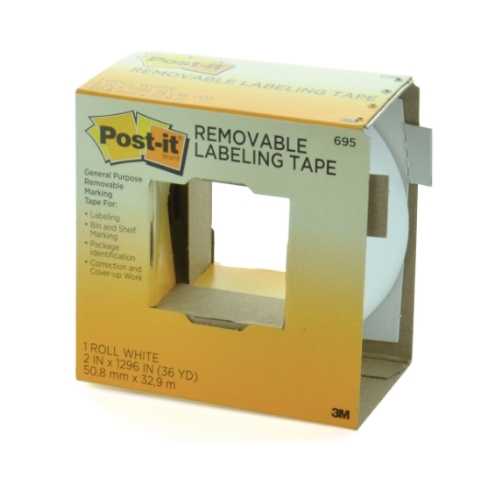
Lesson well learned – take a tissue or paper towel to wipe down the tape before moving the mask for the next color!
It keeps your colors pure!

This box is a tiny thing using the same ink/blending/masking technique.
I really like the contrast of the masked inked ‘lines’ and the bold black images!
The finished box size is: 2 1/2″ x 2 3/4″
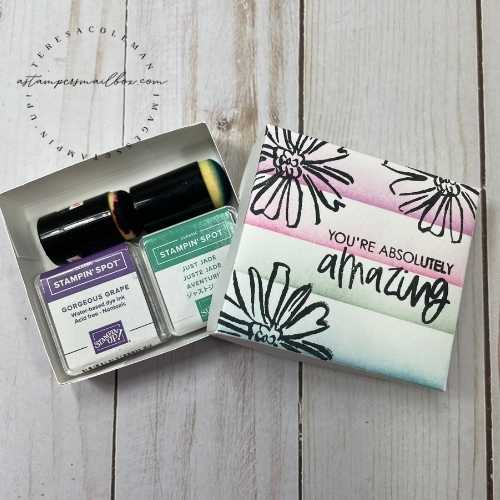
The box holds 4 Dove chocolates or for demonstrators wanting a small gift, it holds 2 ink spots & 2 sponge daubers!
( I would gift this with new ones- but all mine have ink on them right now:). Time for a stock up!
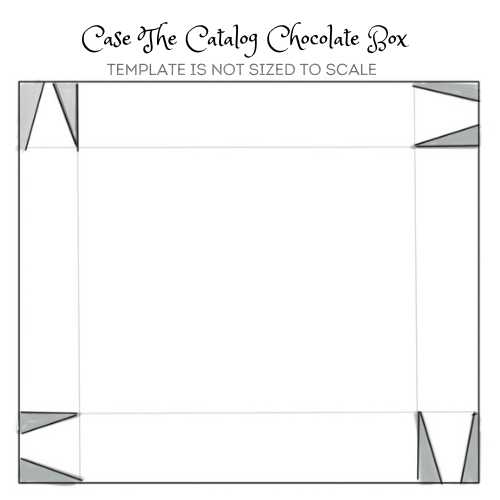
Quick Box Instructions: This box can be any size you want it to be with simple score lines. For a perfect fit lid- just make sure you ‘smidge more’ the score lines for the bottom/base of box!
Cardstock: 4″ x 4 1/4″ ( 2 count)
* Lid: Score on all 4 sides at exactly 3/4″
* Base: Score on all 4 sides a “smidge” {aka 1/16″} over 3/4″
These measurements and score lines will give you a rectangle shaped box. When you want to create different shapes and sizes for example, you could sure go square and do exactly the same with cardstock cut to 4 1/4″ x 4 1/4″ following the scoring and cutting instructions.
Tip: When you score the lid – make sure to indicate with a post-it or something that it is the ‘lid’ because these measurements are so close that it’s easy to get them confused! Before assembly use a punch of any shape size to notch ‘finger’ grabs. This helps the lids go on and off easier!
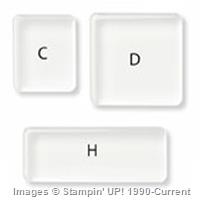
Products I used for both the card and box:


