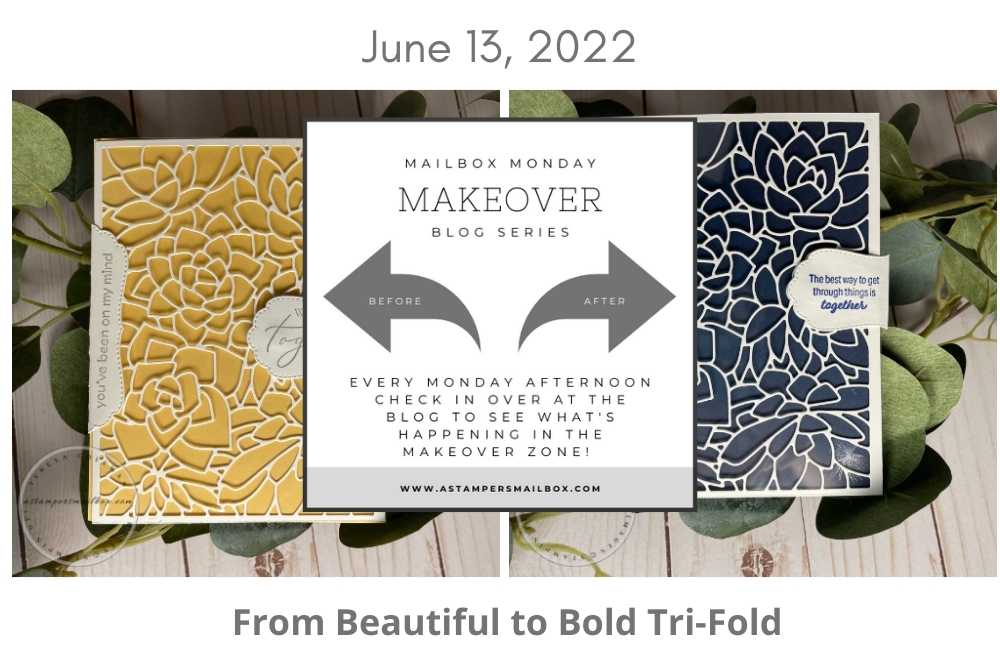
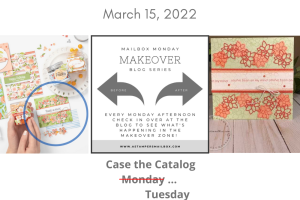
Tri-Fold Card Makeover
Isn’t this Tri-Fold Card Makeover lovely?? This card was originally designed for a retreat I participated in and now is a great time to do a makeover. The design is one that can be kept simple or stepped up!
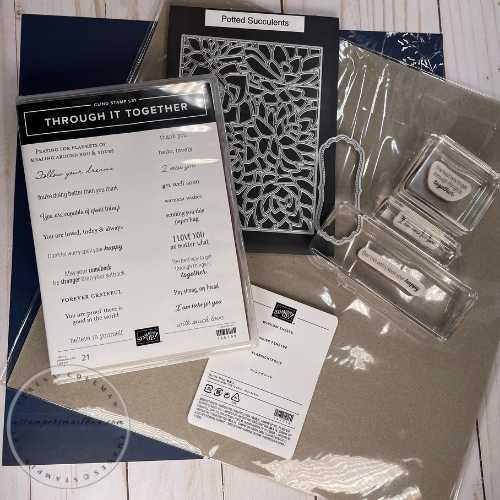
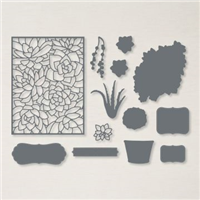
Today I’m using the Simply Succulent stamp set and companion die set, window sheet, magnets and adhesive sheets to make a fabulous tri-fold.
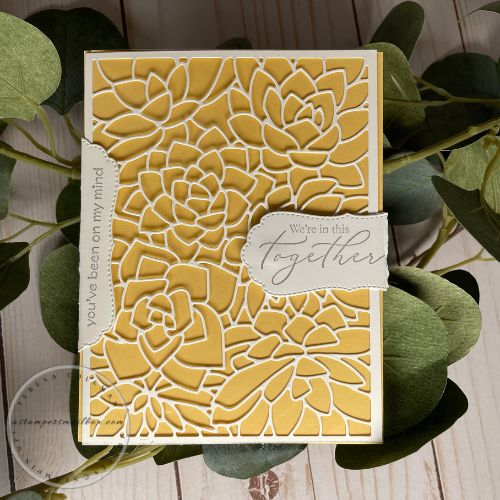
Here’s the original ‘soft color’ Tri-fold Card.
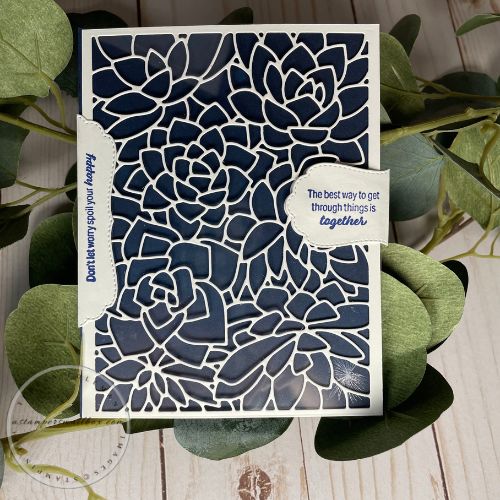
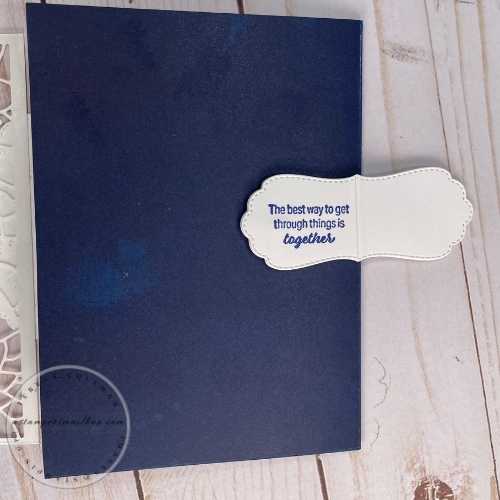
Now the makeover edition. Bold blue right!?!
Measurements:
-
-
If you don’t have these products – no worries- along the way I will point out ways you can use what you have to create a trifold with an embossed panel.
-
-
Card base 5 1/2″ x 11″ Score at 4 1/4″
-
Night of NavyFold /burnish card – position so that fold is on the left.
-
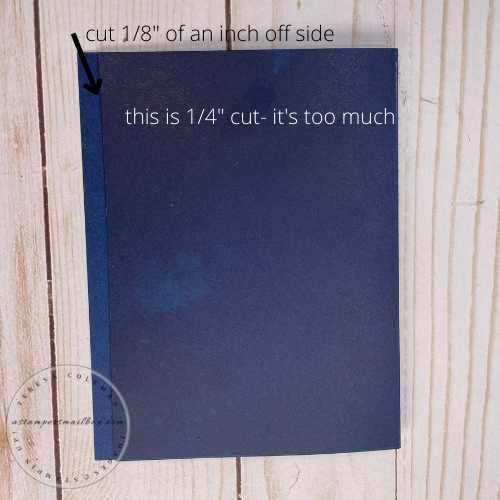
Now- what is the top panel (right open/fold on right) of card base- place in trimmer – cut 1/8″ off the left edge – see photo below – note error in first makeover card. Whoops. 1/8″ is a much better cut. 1/4″ cuts too much and shows the white inner panel.
-
-
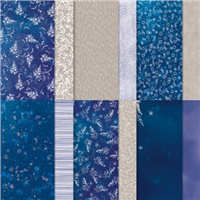
Designer Series Paper: Sun Prints
-
This is an optional add on. The card is beautiful with cardstock but the addition of the DSP makes for a bold statement. The Starry Sky color is so rich.
-
-
Die Cuts: Large Potted Succulent Die and larger label die – Basic White Cardstock
-
Large Succulent die panel: 4 1/4″ x 5 1/2″ adhere adhesive sheet before die cutting ( run through die cut machine twice to have good sharp cuts on this very detailed die )
-
Adhesive sheet is a must on this detailed die when adhering to window sheet. This prevents any mess from liquid glue on the clear window pane.
-
? Don’t have this Die or stamp set: Alternate idea: use an Embossed Panel: 4″ x 5 1/4″
-
Tip: when removing die from cardstock- hold over a trash can to catch all the bits:)
-
-
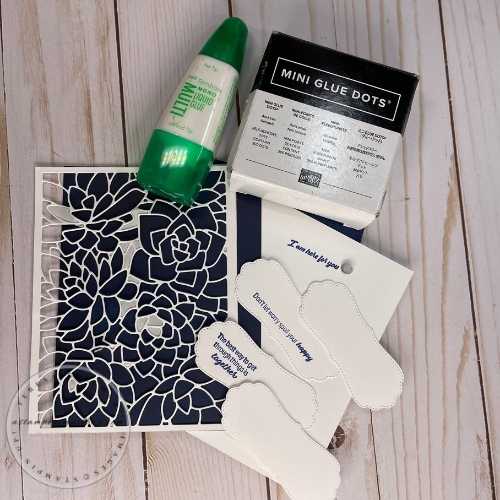
Labels: die cut 4 count
-
1 score at midline length-wise – left hinge tab
-
Tip: Apply adhesive sheet to this cardstock before die cutting this label- it’s not necessary but it makes assembly a bit faster.
-
2 score at midline width-wise- right hinge tab
-
1 to cut down and hide magnet
-
Tip: Use any label die or a 2 pieces of cardstock 1″ x 3″ for your hinge tabs.
-
-
-
Window sheet 4 ” x 5 1/4″
-
No Window sheets or acetate sheets? Follow the embossed panel idea above – skip the window sheet.
-
-
Inner Basic White Panel: 3 3/4″ x 4 7/8″
-
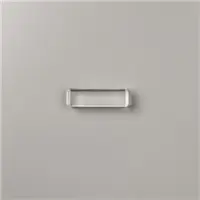
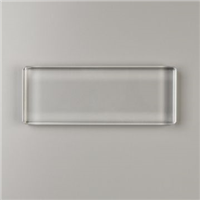
Magnets 2 >click here to see these at www.totalelements.com<
-
-
-
These are needed to hold your tri-fold together
-
-
-
Glue dots too!
-
Let’s Get Started!
Now that you have all the needed cardstock layers, supplies and companion pieces it’s time to get started. This Tri-Fold card is really easy to put together once you have all the pieces ready.
Prep all your supplies!
-
Step 1: Burnish card base and hinge tab (die cut labels) fold /crease those score lines well
-
Step 2: Top Panel (This will open to the left)
-
Large Succulent Die Cut Panel: remove adhesive sheet backer and apply to window sheet
-
If using an Embossed Panel: It will be attached in Step 4.
-
-
-
Step 3: Stamp all sentiments
-
Left Hinge: long narrow sentiment – something that fills this space nicely
-
Right Hinge: ‘compact’ sentiment – again, something that fills the left half of this label ‘ hinge’ tab well.
-
Inside layer: Stamp as you like.
-
-
Step 4: Assembly of Top Panel- this section will open to your left.
-
Click here to watch the tip video to see how the card opens/closes – this will help in understanding written directions.
-
The fold of the base card will always be on the right.
-
Left ‘hinge tab’ use the die cut label that has adhesive sheet applied- peel back half of the backer paper – place left side of card base (left edge) into fold of label. Press the card base onto the adhesive. (Make sure this tab is scored well (mid-line lengthwise score)
-
Now place Die Cut/Window Panel into fold of left hinge tab- aligning with the closed card base.
-
Next- remove the remaining adhesive backer and press the sentiment side of the hinge tab onto the top of the die cut window sheet panel.
-
-
Step 5: Apply Designer Series Paper (if using) onto the Card Base. NOTE: the card base needs to have fold on your right. Now that you have the left hinge tab you can see how the trifold will work.
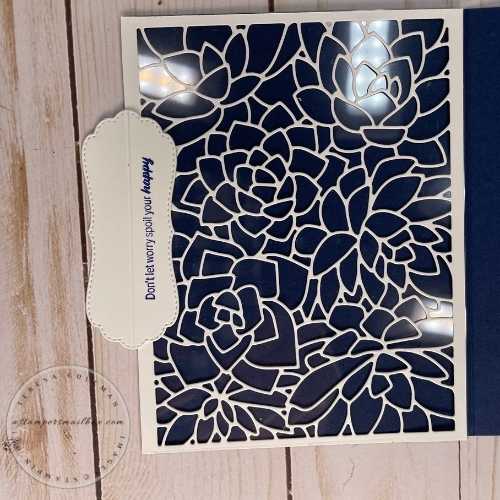
(sorry for the glare of the lights on the window sheet)
-
Step 6: Right magnet hinge tab
-
Make sure the tab is scored and folded well (mid line width wise)
-
Using a glue dot adhere a magnet to blank right hinge tab ( this will be sandwiched between the two right hinge tab pieces.
-
Place tab on right side fold of base card – dry fit to get an idea of placement.
-
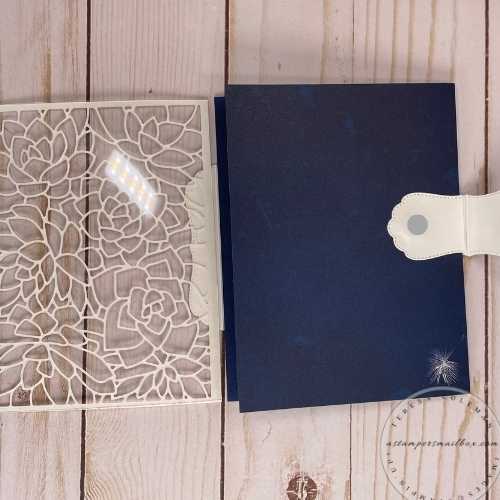
I forgot to take a photo with magnet showing. whoops!
Grey circle represents magnet in photo above.
-
Step 7: Glue the non magnet side of right hinge tab to back of card.
-
Step 8: Now – move that hinge tab to right – drop 2nd magnet to back of tab.
-
place glue dot on magnet.
-
push tab down onto base card. This will separate the magnets and have the one on base card in the right spot.
-
-
Step 9: Test fit magnets now. Make sure the right tab ‘clicks’ closed on the magnet. If not- make adjustments to placement now.
-
Step 10: Repeat gluing steps with stamped right hinge – adhering to top of blank tab. Press everything together really well so there are no gaps around magnet. Doing this as separate step helps to make sure the double layered tab lays nicely. Glue around the back side of blank tab too.
Tip: I found that having a double layer of cardstock here makes the magnet hinge more durable.
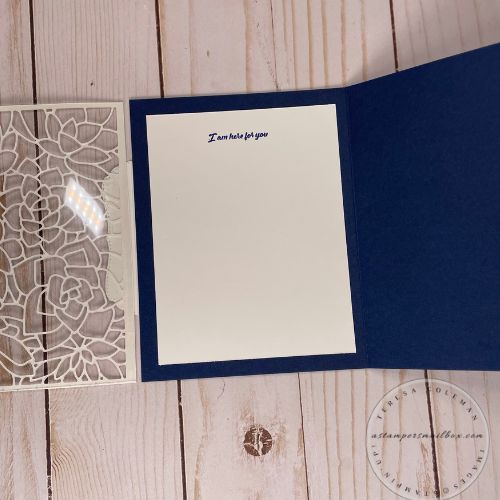
Inside panel up close.
These stamps may be small but I love how the font coordinates across all three stamps.

This would have been a Facebook Live video however, I’m taking the summer off.
Want to see another fun project with the Sun Prints DSP? Check the up-cycled round box!
Click the photo below to go out to that article!
Leave me a comment to let me know if you would love to see
this as a future holiday makeover tri-fold Facebook live!
Project Supplies


I hope the short video helps you to understand the movement of the tri-fold and the detailed assembly instructions.

Thanks for shopping with me and a special thanks to retreat attendees last Come, Connect, Create Event. This card was fun then and I love the Mailbox Monday Makeover with the bold blue color scheme. My favorite part is the big die. This is a fabulous card layout that will suit well with any large panel style die or any embossing folder to create a front panel.
Happy Stamping!
Teresa

