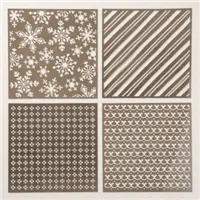
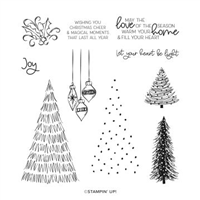
Inspiration for todays FYI*F* comes from a conversation! I was chatting up watercolor ideas with a fellow demonstrator. At the time, I was working on last weeks Find Your Inspiration Friday Holiday Hedgehog Kisses Card. I was pondering the other stencils in this set of masks and *enter the dim of the light bulb moment*.
I thought ‘would using an inking technique to mimic watercolor work with that snowflake stencil?’
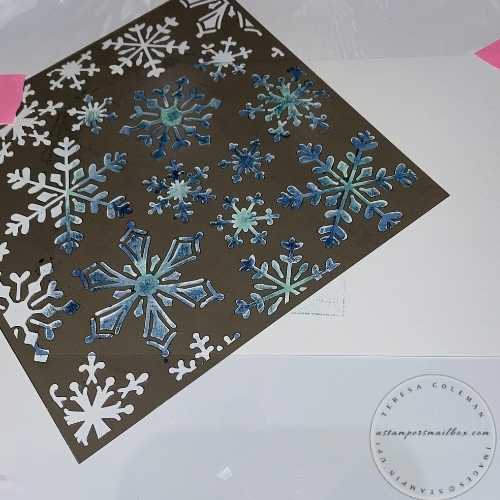
I chose Fluid Watercolor Paper, 3 blue ink colors: Pool Party, Misty Moonlight & Night of Navy.
The goal: Ombre Toned Snowflakes. I can’t wait to see how they turn out!
Here we are at Friday with that *dim little glimmer of an idea* now a full fledge inspiration! Yes, I think this ia a win for an inking inspiration. Ink & Watercolor techniques abound! As do stencils & watercolor techniques.
The last 5 weeks I’ve written a blog series based on small coffee stencils. It seems this idea hasn’t quite left my system yet!
It’s time for tags.
Take one sheet of fluid watercolor- play with this technique then turn it into tags – how many can you get out of one sheet?
I learned a fun trick at a Demonstrator Event!
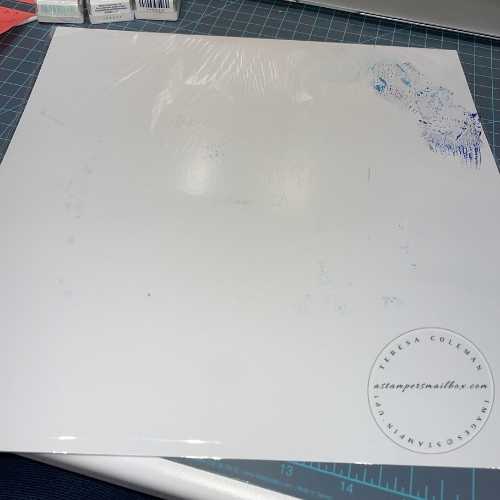
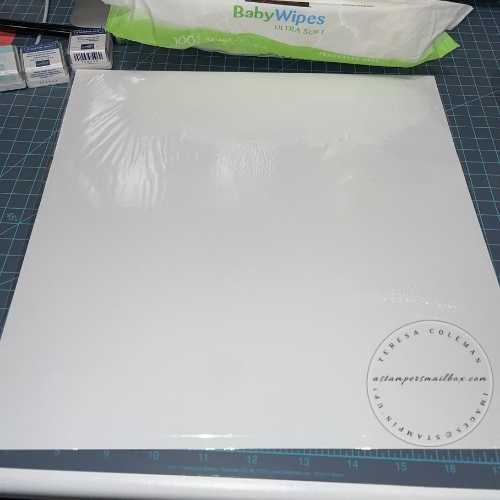
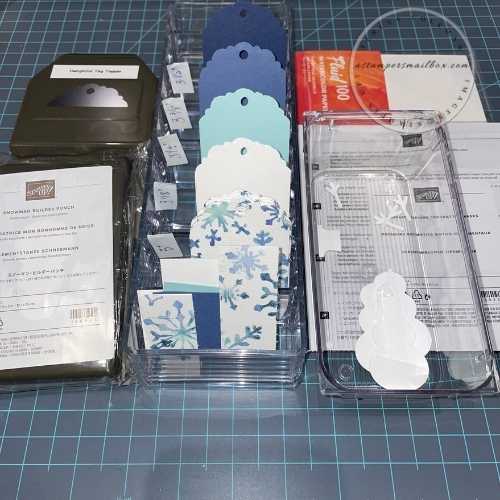
< Keep your specialty Designer Series Paper packaging >
The white backer paper that includes the printed product item information in the nice plastic sleeve becomes a perfect work space protector.
This is what I am stenciling on as table protector in the all photos today!
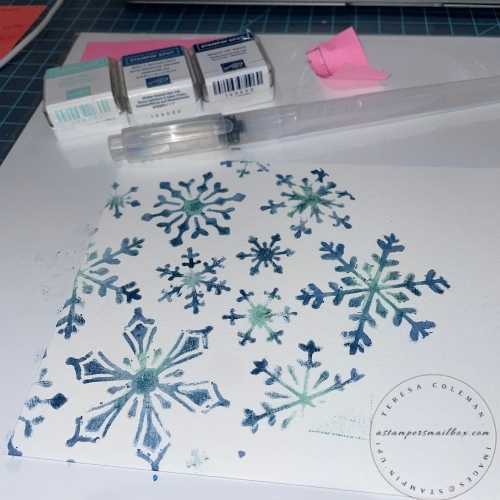
Using Ink Spots from Paper Pumpkin kits makes this super easy to handle. Any ink pads work just the same:) I used the wide brush WaterPainter to color ‘ink-watercolor’ these snowflakes!
This is a great technique to simply ‘have a play with” when you really aren’t sure what you want to stamp or make- just grab a sheet of watercolor paper, a couple of ink colors, a water bottle and paper towel – clear your desk and have a ball just applying ink to paper. For masking I used a combination of post-it tape and large post-it notes.
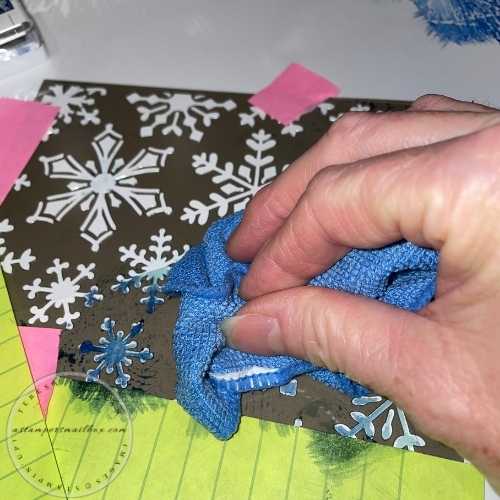
Keep a paper towel or microfiber cloth like I’m using in the photo above to blot excess ink & water.
Time to clean up!
Before:
A quick swipe with a baby wipe or just water on a paper towel and you are good to go. Dry it well and it’s ready for another stencil or inky mess kind of project! Clean up is a snap.
After:
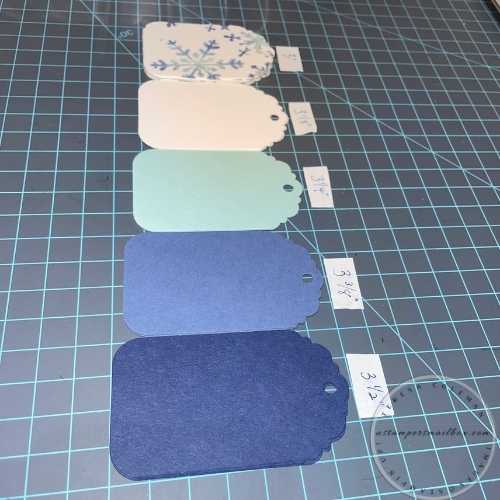
When your watercolor paper is dry- make some holiday gift tags if no card inspiration strikes…
That’s what I decided to do with this completed sheet of watercolor paper.
I love how it turned out- it was almost hard to cut it down. I need holiday tags so here I go!
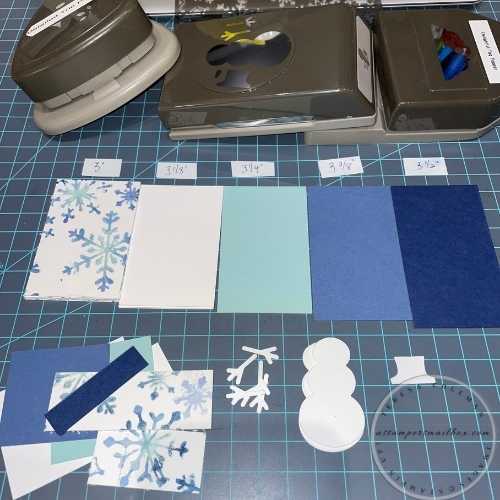
Pool Party, Misty Moonlight & Night of Navy ~ aren’t those colors names alot of fun! I wanted to carry that light tone, mid tone and dark tone ink to paper into my tags.
** OOPS in photo content – I had planned to use the Snowflake builder punch as shown in this photo – I ended up choosing not to- I liked the finished tags clean and simple:). But, really- this snowflake builder punch is SOOO much fun it needs a go on a project soon!
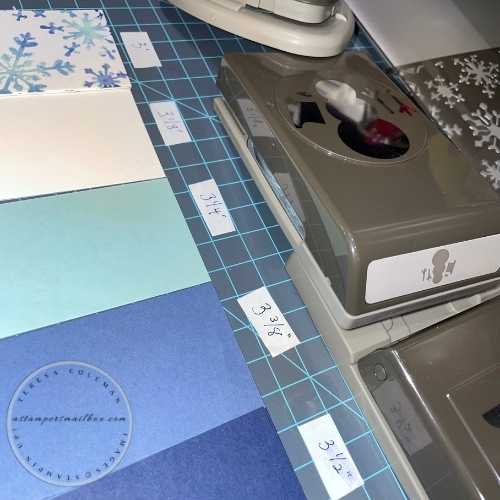
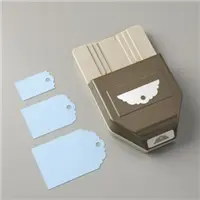
Using the Delightful Tag Topper & Detailed Trio Punch for tags is a quick way to start holiday prep.
Start with 2″ strips of cardstock, insert into the Tag Topper of your choice punch. Then rotate to the other end to corner round. These 2 steps of quick punch outs make for a really well finished tag shape.
Tip: Tags, Bookmarks, Bag Flap Magnet layers etc. can be any length you like!
The acrylic sectioned holder in the middle is found on Amazon- it’s a makeup organizer:) It’s perfect for organizing your works in progress.
Now, the beginning detail work is done, well organized & ready for me when I have pockets of time.
Having a variety of tags at hand prior to the holidays is such a breezy way to be ready for gift wrapping and bag finishing.
Tip: Before sitting to stamp – color coordinate the ink & cardstock you use on your tags to the wrapping paper you have.
Thank you for joining me here at A Stampers Mailbox!
I love that you stopped in to check out today’s post!
When you shop with me online using this months Host Code: 94NF7VW6You will receive a thank you ticket voucher. Click the drop down ‘shop my store’ then click Mail Box Thank You for all the details.
If you shop and your cart exceeds $150.00 please DO NOT use the host code- all the Host Rewardsfor you.
Shop the Clearance Rack for even more discounts!
Feel Free to Contact Me anytime!
Subscribeto my monthly newsletters. On the right side bar to fill in your email address, 2 emails monthly unless there is a special that really needs to be shared!
Please follow me on Instagram @astampersmailbox and Facebook for more inspiration!
Click on the teeny words Project Supply List above for a printable version of all the items used in todays project.
Happy Weekend!
Hope it is filled with warmth, love & a little ink and paper,
Teresa.
PS: Don’t forget inks, cardstocks & dies are on sale next week! Go check out this post for all the details and a free printable inventory tool!


