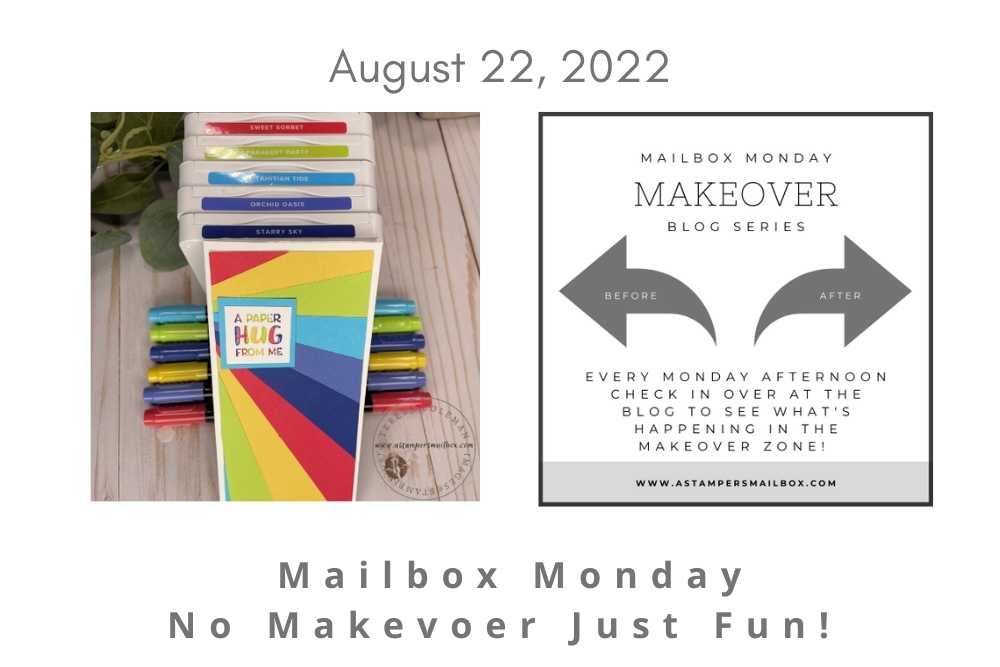
Mailbox Monday crafts a mini-slim line card quickly and simply! The normal Monday creators blog post has a ‘makeover’ component – today no makeover just a fun and easy Mailbox Monday card!
This card was also made on Facebook Live today at 3pm, no worries if you didn’t catch it live- it’ s available to watch as a replay!
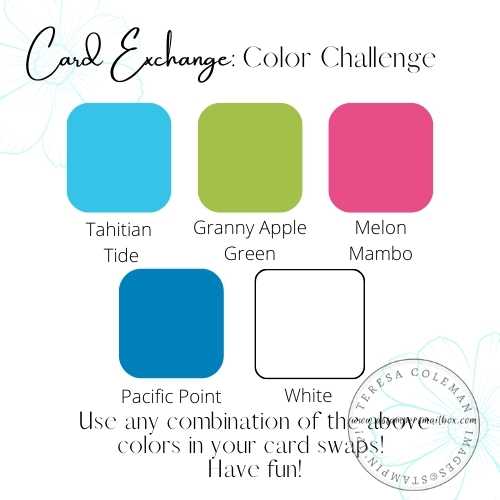
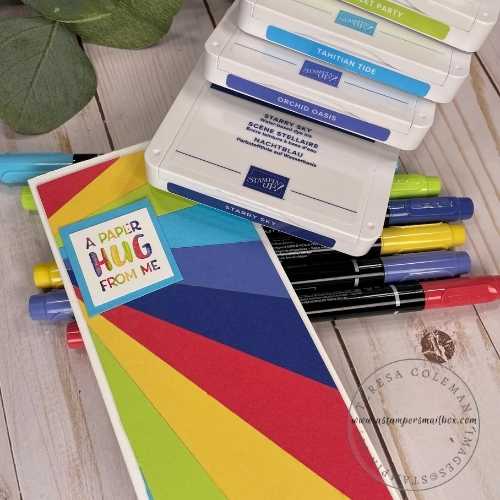
This fun combination of colors is what inspired my idea for the card today. August Stampers Club Card Swap theme: Color Challenge! Due to limited AC in our home our club has not met this month.
I’m sharing a fun idea here and the stampers will get a fun card similar to the card but with the above color palette.
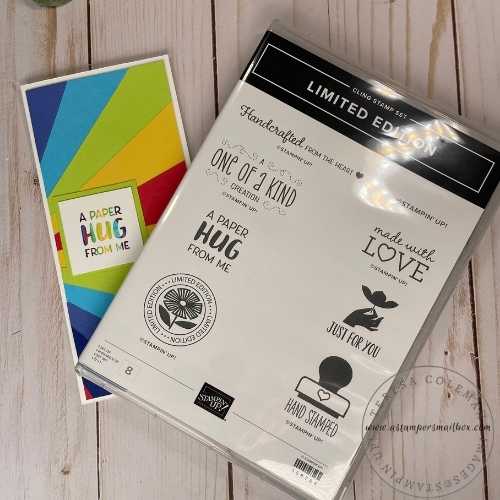
SUPPLIES:
PAPER TRIMMER
ADHESIVE SHEET / TEAR N TAPE / GLUE
CARDSTOCK / INK / MARKERS
DIY ENVELOPE (see link below)
MEASUREMENTS:
Cardbase Cardstock: Basic White Thick 6 x 6 3/8 Score on 6” side at 3”
Layer White Cardstock: 2 3/4” x 6 1/8”
Adhesive Sheet: 2 3/4″ x 6 1/8”
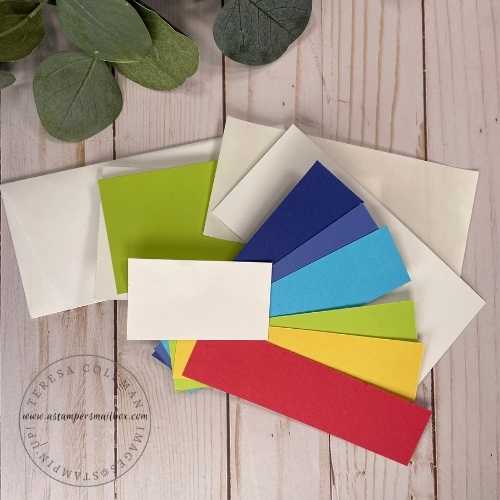
Colored Cardtock: 1 3/8” x 5 1/2”. (Cut on the diagonal)
Look at the samples closely and you will note the difference in color layout.
The above card was demonstrated today on Facebook Live. Click on the above image to hop over to Facebook to view it. It is a bit over 30 minute video.
This card is such a fun and truly simple one to put together- I’m sure you will find lots of ways to use up scraps of cardstock or patterned paper to make some of these.
Color way layout in this version begins with the top Sweet Sorbet cardstock diagonal and follows along down the white layer. To get that fun ‘rainbow’ look on the sentiment use Stampin’ Write Markers! These are a fun add to your crafty tool kit!
Tip: You should not use Stampin’ Blend Markers direct to your stamps. Stampin’Write Markers are rubber stamp safe because the formulation is water based/dye based ink!
Finished Card Measures 3″ x 6 3/8″ which does require a DIY Envelope.
I’m including links to two blog posts. The first is a slightly larger envelope that will fit this card beautifully – Click Here – note- the template is hand drawn and needs to be updated to a digitally created more professional template but the gist and instructions are there!
The 2nd post – Click here – to pop over to a post that is all envelopes, templates and includes one for a slightly smaller mini slimline card. Note:the measurements and make adjustments to your base card & top layer to make use of this template.
To view all the supplies used and to shop with me – on that Sweet Sorbet button above! NOTE: the cart will auto-fill will ALL the supplies – if you want to shop simply UN-CHECK what you don’t want!
Thank You so very much for checkin in on the Mailbox Monday blog post! I appreciate you reading A Stampers Mailbox!


