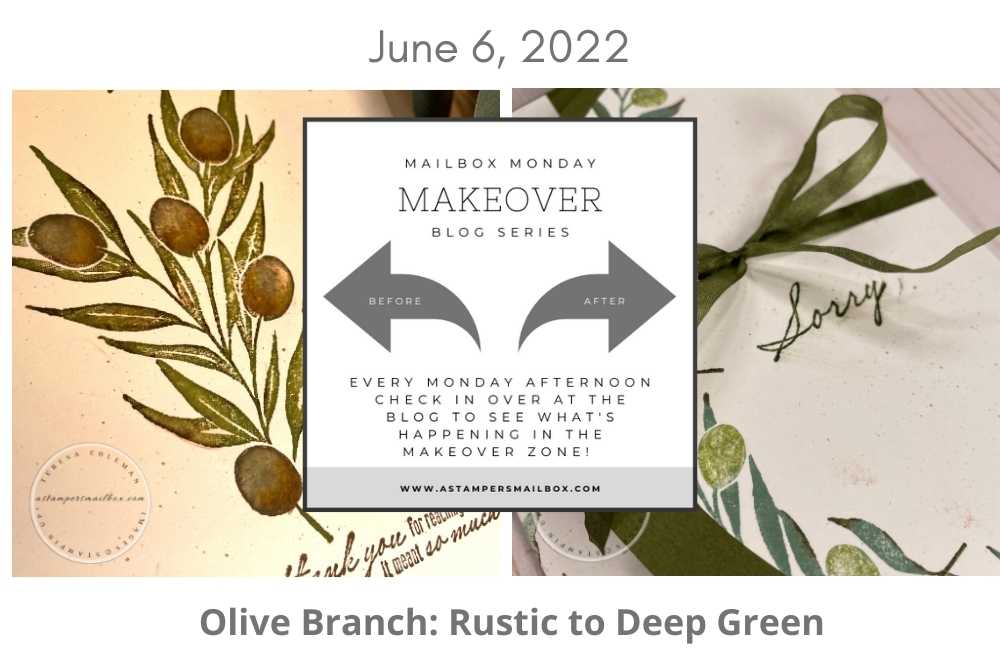
How odd is that title? I am having a hard time explaining in a few words for a title with both Coffee & Card and MMM in a blog article. So, today Mailbox Monday Makeover (MMM) meshes with what I have planned for this months Coffee & Cardmakers Zoom event!
Last Friday I posted the an article introducing this event and the stamp set I will be using. I’ve tied the two posts together to have linked articles. I’ve challenged myself to use the same products, add in a bit more color with some cardstock but otherwise stay true the paper packet.
The cards in the packet are A2 sized while the blog posts feature 5 x 7 size.
This is the only variance from the paper packet:)
Let’s get to stamping!
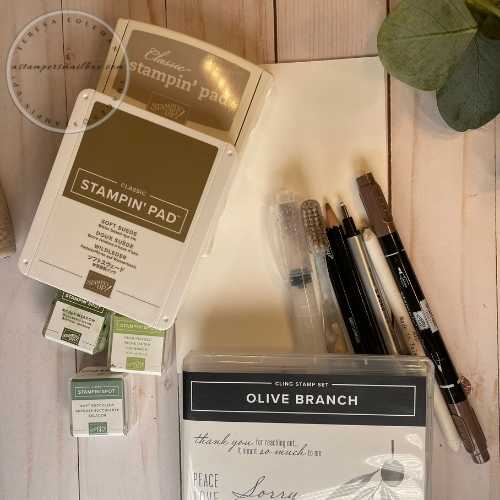
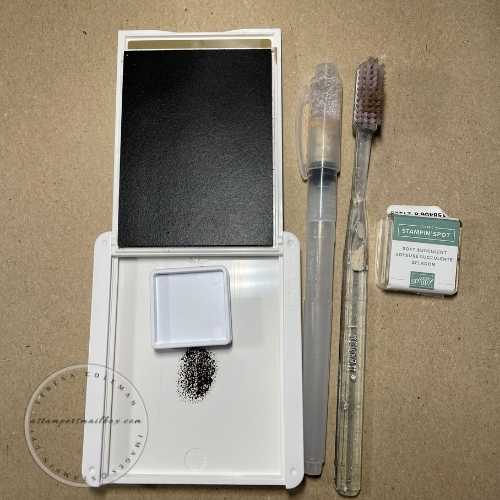
Same Supplies from last weeks post.
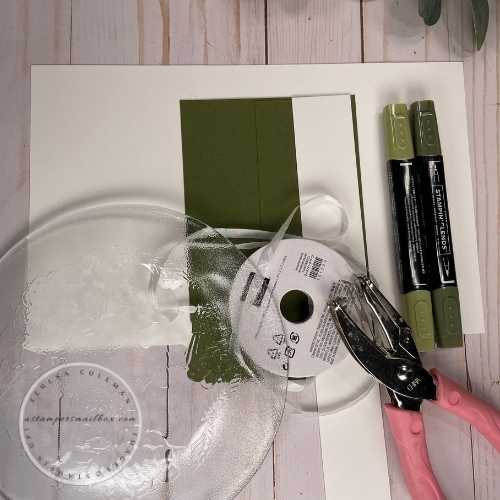
With the addition of these items…
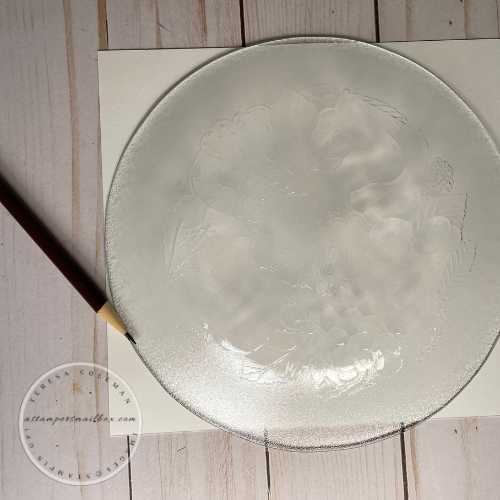
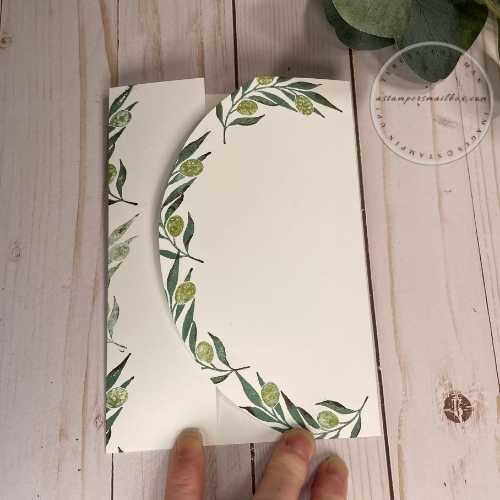
A dessert plate?
Yes, I need a soft curve and this will do the trick!
Before I jump in lets do some measurements & supplies:
Paper Trimmer/ Carsdstock: 7″ x 11″
Tri-fold scores at 2″ & 7″ burnish score lines with bone folder
3″ side will be on your right.
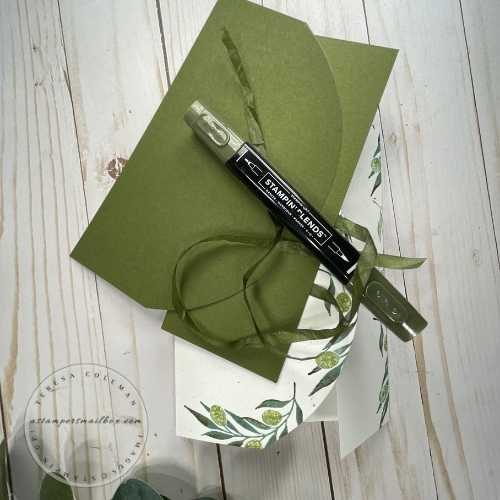
Mossy Meadow Cardstock: 2 3/4″ x 7″ and 4 1/2″ x 7″
Larger piece is for the right side fold.
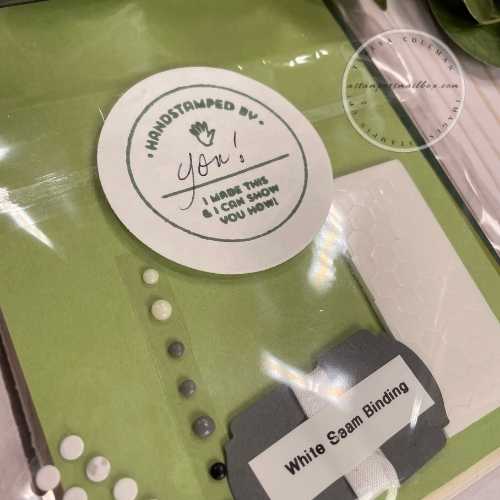
Ribbon: I used the White Seam Binding. 16-18″
The is one of my favorite all purpose ribbons because it can be custom colored to match your projects so easily! Gentle swipes of ink with Stampin’ Blend markers is all it takes.
Stampin’ Blend color I used: Dark Mossy Meadow
Here is another photo of the packet you will receive if you order the Olive Branch set to RSVP & join me for Coffee & Cardmakers. Remember the deadline to order and get your packet in the mail is June 10.
No purchase is required to join me during the craft chat C & C – only if you want this lovely stamp set and the paper packet is mailed out as a thank you!
RSVP’s are required so that I can send you a Zoom Invite Email!
To check out the stamp set and see some Stampin’Up! card samples with the Olive Branch set, click the above photo.
Click the button below to contact me!
ok – enough with the jibber and lets jabber about today’s MMM project. I’m doing a quick makeover of Friday’s project. Honestly, I’m kinda cheating here as this really isn’t about a makeover as much as an alternate idea for this stamp set.
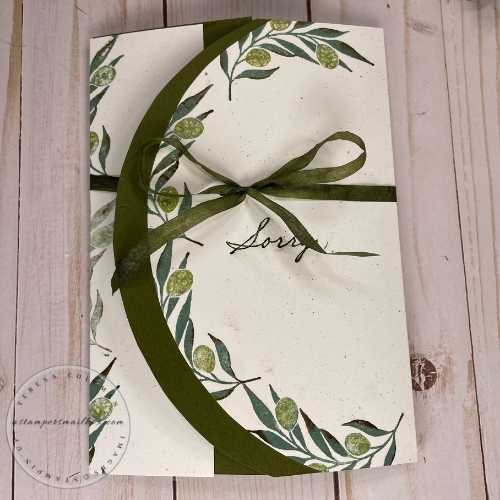
Friday’s card has a really rustic feel and color scheme today’s is all about the color green.
Forgive the wee cheat please!
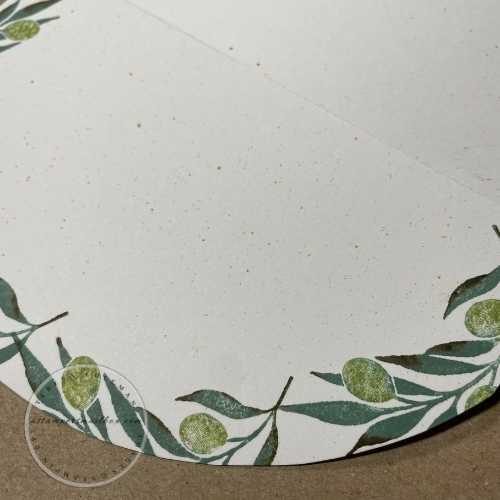
Now, to the ‘why the dessert plate’ in the supplies & measurements list… I want a gentle curve shape and tracing a small plate or container from the kitchen will be just the thing. On the right side ( the 3″ flap) < I turned my paper over so that I can have it flat> trace this shape then cut with scissors. I’m leaving the other left flap a straight edge just to be a bit unique.
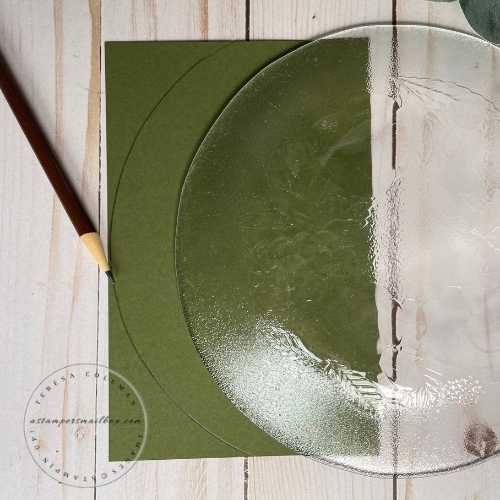
Draw the same curve for the Mossy Meadow Cardstock.
Cut and erase any remaining pencil lines.
Friday I used the large stamp with the smaller stamp to fill in the top and bottom of card.
Today, I’m using only the small curvy stamp to follow the curve shape I’ve just cut.
My ink to stamp application process:
First: apply Soft Succulent ink to entire stamp
Second: Apply Mossy Meadow to tips and edges of leaves ( having an ink spot to dab a corner to stamps is helpful)
Third: use a q-tip to clean the olives
Lastly: Take another clean Q-tip and daub it onto Pear Pizzaz ink then apply that ink to the olives. Now your are ready to stamp.
I know it seems labor intensive to do that 7 times on this card. But if you look closely on the left (sm) flap- the middle image- I tried to get a 2nd stamping- that image is much lighter than all the rest. Plus you don’t run the risk of transferring the different colors of inks onto the lighter ink pads
Taking the time to use multiple colors like this
on your stamped image really creates a beautiful depth of color.
As well, stamp along the left edge of card.
Close the left flap and stamped along the fold – half on the cardstock and half off on scrap copy paper. Note, I took the extra time between each stamping to clean the stamp before applying the ink.
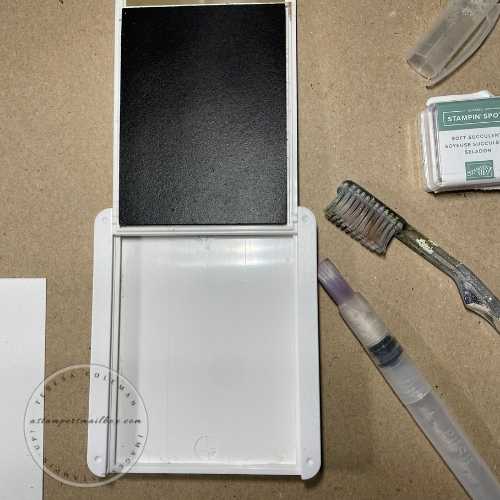
Now that the stamping is done, it’s time to splatter again:)
I love this technique to fill in white space without alot of fuss.
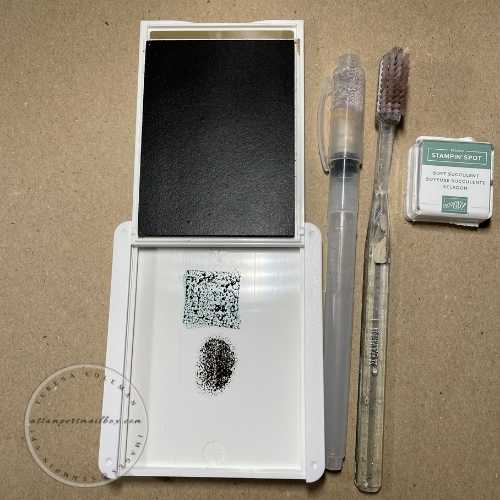
With the ink pad closed press the lid and pad together with your fingers
and thumb to get a ‘splodge’ of ink in the lid as shown above.
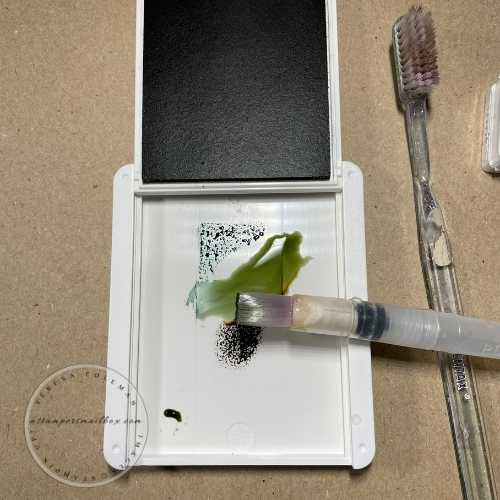
I then pressed the Mossy Meadow ink spot right onto the lid to mix the green & brown inks together. Squeeze some water out of the Water Painter to create a puddle of blended ink as shown below.
TIP: have a paper towel handy to make sure the brush isn’t overloaded – you will get drips instead of fine splatters. Use a semi damp paint brush is key to small splattering when you run the brush bristles over the handle of the toothbrush. Practice on scrap copy paper before the card!
This time I’m splattering a long section so I covered my table with
brown protective paper and splattered away!
Hope this photo shows the small ink splatters- the lighting in the living room is not so great for photos!
I wanted the front flaps and the back of the card to have some ink splatter – flipping the card over to the ‘back-side-up’ makes this easy and ensures I won’t have ink on the inside of the card where I don’t want it.
Take care to clean and dry the lid of the ink pad. They are water based inks but adding more water and contaminating the color with the Mossy Meadow isn’t a good idea. Taking good care of your ink pads ensures they will last for many years.
Time to finish the card:
If you haven’t traced the curve on the larger of the two Mossy Meadow Cardstock layers- do that!
Once the card is fully dry, apply the cardstock to the flaps. I used liquid glue for this step.
Color your length of White Seam binding. I used Dark Mossy Meadow Stampin’ Blend.
When coloring ribbon with an alchohol marker – take care to not do it on your nice cardstock- color on scrap paper to prevent bleed through on your work in progress project:)
Punch a hole in the right flap using a office supply hole punch. Mine is an 1/8 hole punch.
I’m not an affiliate for Amazon- just like how easy it is to get what I need rather than running out!
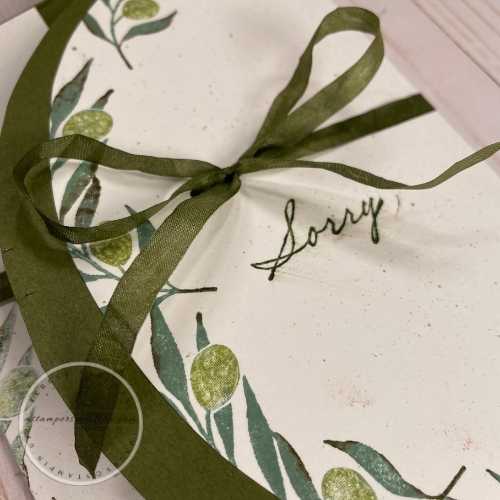
Stamp your outer greeting directly on the right flap.
Stamp the inside greeting. Oops- I didn’t take a photo of the inside.
The sentiment reads ” May Your Heart Begin to Heal” from the Olive Branch stamp set.
Begin your ribbon from under the flap running the ribbon around the card and tying into a bow.
Your card is now complete!
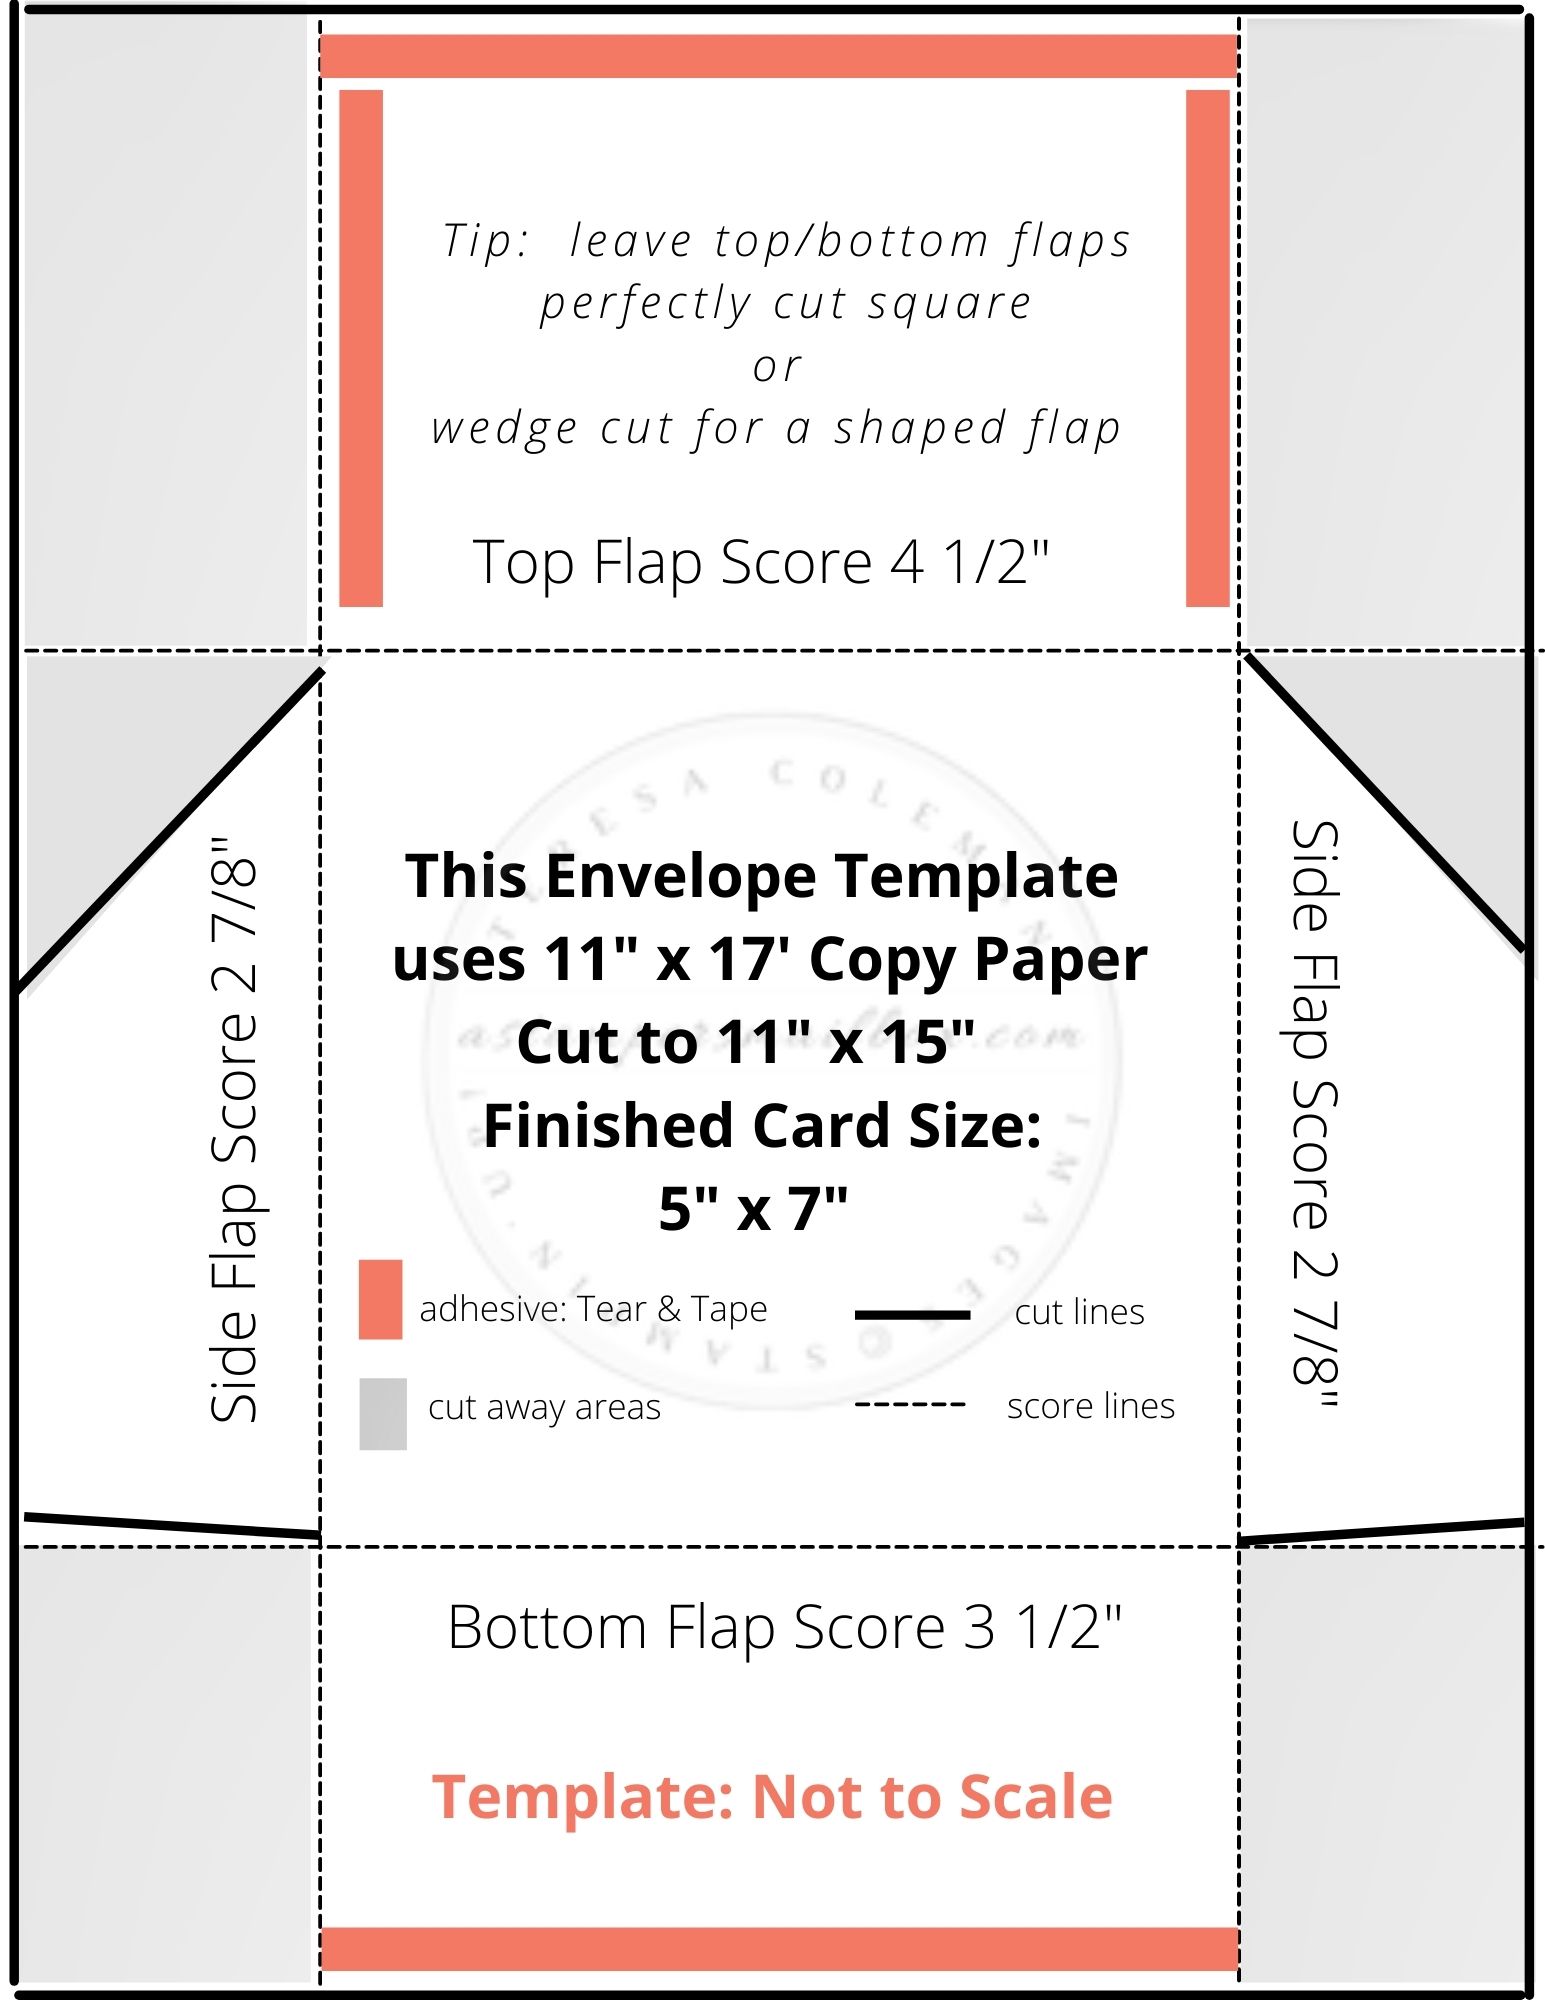
Make a DIY Envelope
The finished card one more time:)
I love this so much.
While larger Tri-Folds do use more cardstock than a standard A2 size card, I think the 5 x 7 size makes for a lovely mailout once in a while.
It’s a sympathy card but easily could become an all occasion card by grabbing another stamp set, your favorite sentiment and switch up the greetings and brighten the colors up or even change to metallic embossing to completely change the feel of these lovely olive leaves.
Pop over to Stampin’Up! to see the full supply list.
To place an order on this form all you need to do is ‘un-check’ any items you don’t want.
I know – seems backwards, but knowing it before you pop over there is a good thing:)
Thanks for joining me in a 2 card series highlighting my Coffee & Cardmakers event!
I hope to see you on June 24th!
Remember the deadline to order and receive the card packet is June 10th noon.
I will mail all packets out that day by 3pm. Deadline to RSVP for a Zoom Link- is the day of the event if you don’t want the stamp set/ packet mail out but wanna join in on the FREE crafty chat Zoom event.
Have a wonderfully inspired Friday and a blessed & beautiful weekend!


