
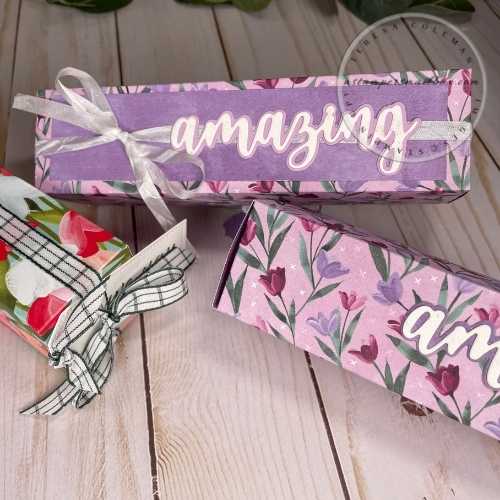
Makeover Mary Kay Monday
The 3 M’s is Makeover Mary Kay Monday with a fun teeny slim line card slot on the back. I’m fond of boxes any shape & size – it’s a makeover! No makeup needed… Just a long small box that needs a place to tuck a card.
This post has a FB live demonstration to pair with it.
I worked for 20 minutes trying to get all the gremlins and tech-bugs out of the craft room but the 3pm scheduled Facebook Live demonstration was thwarted by bad weather, a glitchy web cam and Zoom not playing nice with Facebook at that time. Just all at one time made me scratch the Facebook Live demo. I hope I’m kind of making up for it with more process photos. This is a lengthy blog post but I hope I have kept the Chatty Cathy to a minimum.
Today the Makeover Mary Kay Monday box actually goes 3 ways; Simple, Stand it Up and Step it Up!
Let’s get to it!
Mary Kay Box Makeover Template

I started this makeover with a printer paper mock up draft.
It’s always good to practice before jumping in with cardstock!
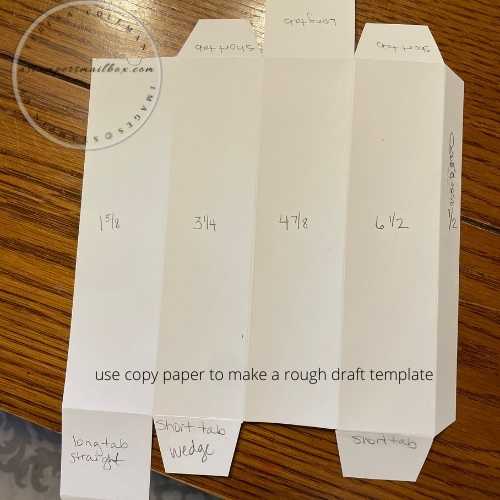
Measurements:
-
Cardstock 7″ x 11″
-
Needs 1 5/8″ panel sections
-
Score at 1 5/8″ , 3 1/4″ , 4 7/8″ , 6 1/2″
-
-
-
Rotate
-
Score on each end at 5/8″ & 2 1/4″
-
-
Cut following above pattern.
-
Want to print the pattern? Click on the link above the template.
-
-
Front Panel: 1 3/8″ x 6″
-
Mini Card 3″ x 5 3/4″
-
Card slot pocket: 1 3/4′ x 6 3/4″
-
Score on 3 sides @ 3/8″
-
-
Teeny slim line card: 3″ x 5 3/4 “
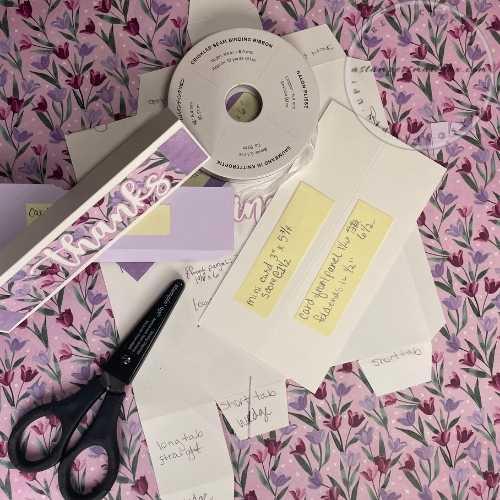
Supplies
-
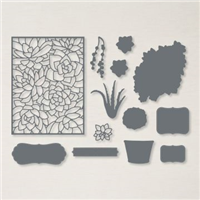
Amazing Thanks Die & Potted Succulent Label Die
-
Designer Series Paper: Flowering Fields & Basic White Cardstock
-
Paper Trimmer
-
Adhesives: Tear & Tape, Multipurpose Glue & Red Line Tape
-
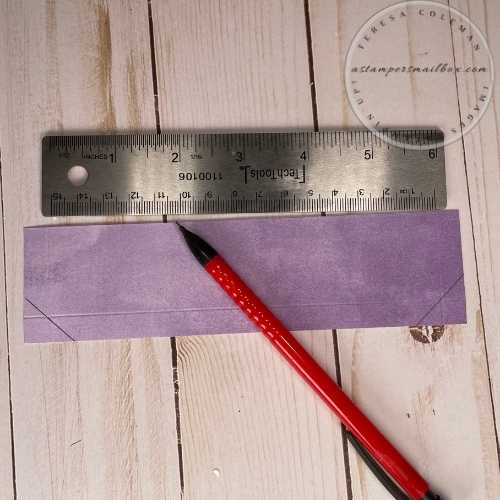
Ruler & Pencil
Time to make boxes!
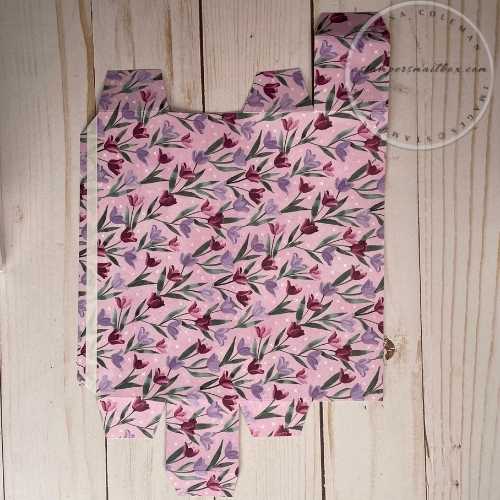
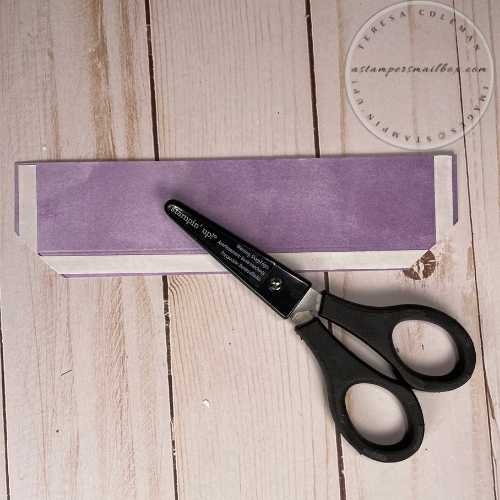
After cutting, scoring & trimming base box- run a strip of adhesive along 1/2″ side.
Remove adhesive backing and these perfectly line up- fold in half- 2 score lines over from taped tab.
At this point- it’s really great to have several of these made up and store flat until you need them!

Simple Box Makeover
Add a die cut and a stamped ‘you’ word and call it done.
No frills but loaded with spring time love and candy!
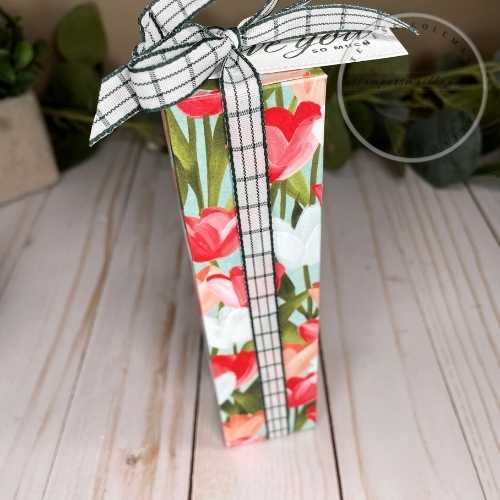
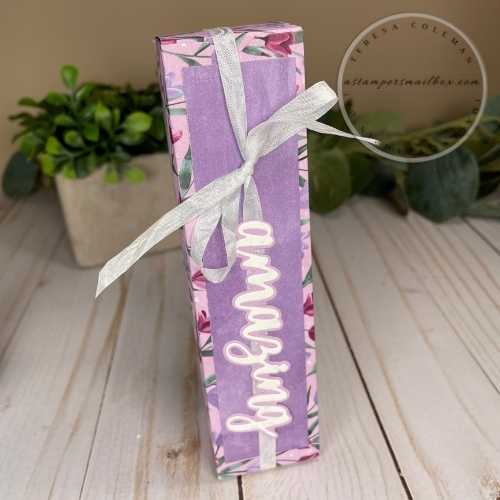
Stand Up Box
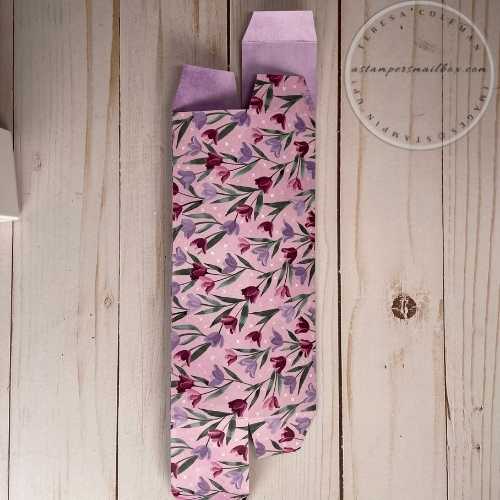
This Designer Series Paper comes from the same paper pack: Flowering Fields.
Isn’t it stunning?! Paired with this ribbon and a tag – it looks so great!
Click on the Stand Up Box to hop over to Stampin’Up! to see this paper!
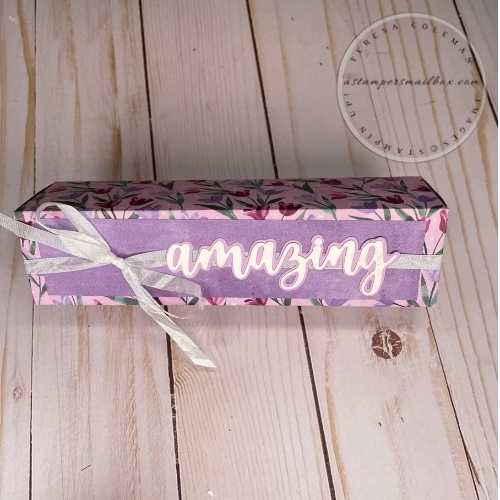
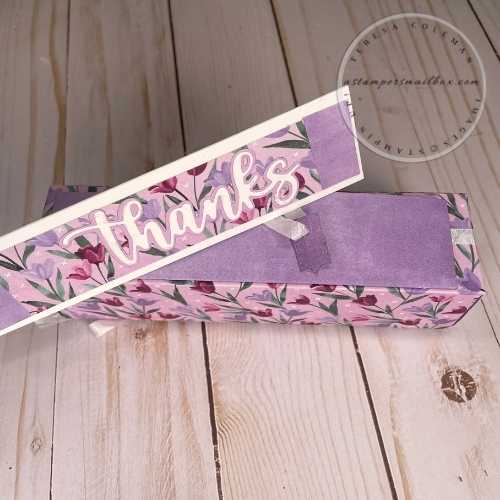
Step It Up Box
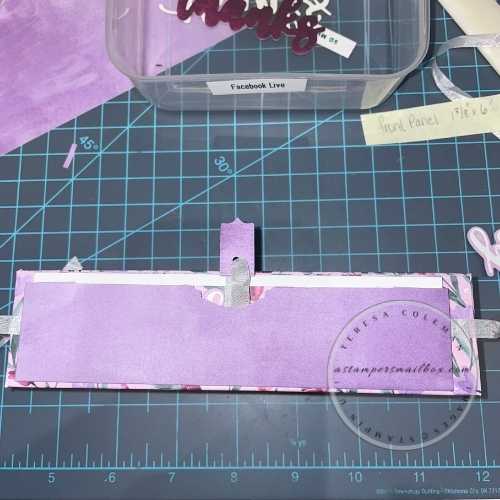
This box has ribbon and a tuck away card pocket on the back!
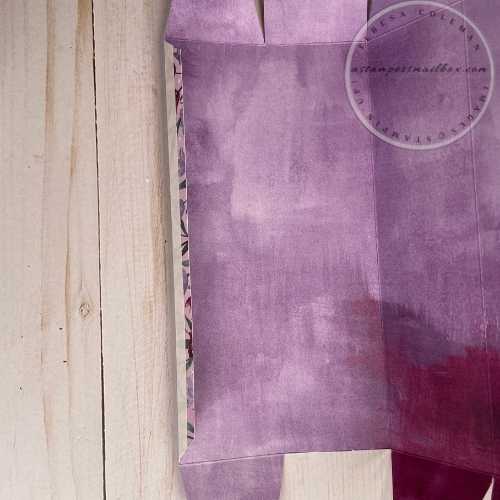
For the front panel & back card pocket- I used the opposite purple side of this tulip paper!
Let’s make this box amazing!
Start with the card pocket.

This technique gives a nice mitering corner for a flat pocket.
Add a dry adhesive like Tear & Tape – no glue mess here.
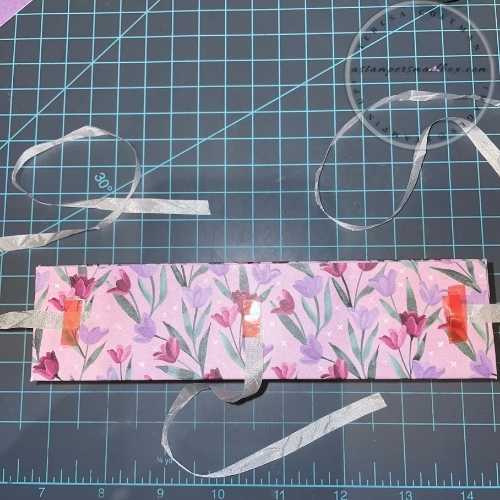
Ribbon ends – I used Red Line tape on the box (back) as it its super sticky and durable.
Those ribbon ends now tucked under the corner pocket and middle for the card pull will not come loose or out!

Pull for the card- this is entirely optional- it’s just a fun way to have an additional element.
{{I sure wish the live video had gone off well, better to show on video than in static photos!}}
Now remove the tape backing to adhere the card pocket to the back of the box.
Mini cards are so cute!
Tip: Adhesive Sheets are so helpful when using detailed dies like these word dies.
They make sticky fingers and gluey messes a thing of the past!
Step It Up box all put together.
Load this up with some spring candies, scented hand lotions or just tuck some hand made goodies inside.
This is a good size box- finished measurement is about 6 1/2″ inches tall and 1 5/8″ square.
There we go, a Makeover Mary Kay Monday made 3 ways!
Want another box idea?
Click on the above photo to see another box making post!
I chose a Halloween Box to share here because I think this Designer Series Paper would look so great on this style of box.
Sharing a fun cookie in a box is always a good treat day!
Project Supplies


Price: $11.50


What a cute box and I love the teeny card and pocket for it!
Thank you! Teeny is always adorable!