
Mailbox Monday Makeover: Slim and Tall
Welcome to Mailbox Monday Makeover: Today is Slim and Tall Card Day!
Isn’t that a great idea: tall & slim… I want to be both:)
I like to shake up my card making with unique sizes and shapes, our stamp club group did this card early January with the recent Sale-A-Bration promotion stamp set ‘Island Vibe’ isn’t this pineapple great?!
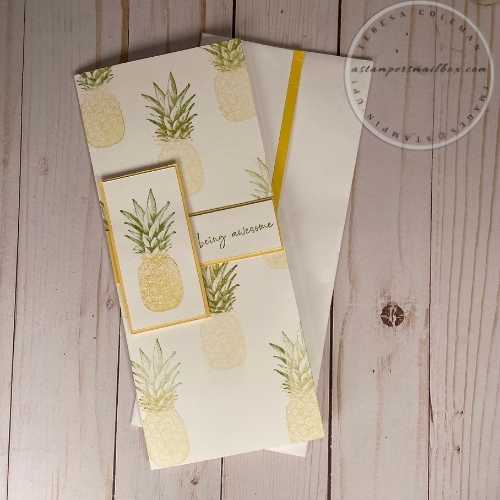
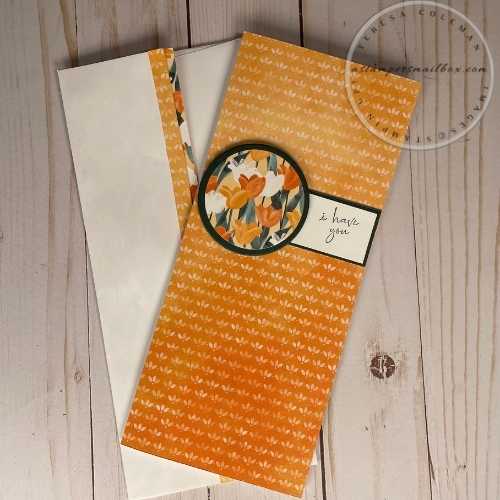
Today it gets a makeover with Flowering Fields Designer Series Paper
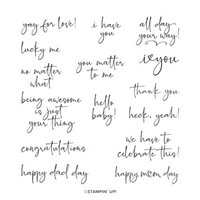
and the Happy & Heartfelt Stamp Set.
This card was featured on Facebook Live today as well, another version will be on A Crafters Collaboration Instagram & Facebook later this week. If you don’t follow us- I would love for you to search us out! Donna & I love bringing fun content weekly and a once a month Facebook Live!
Let’s make this card together!
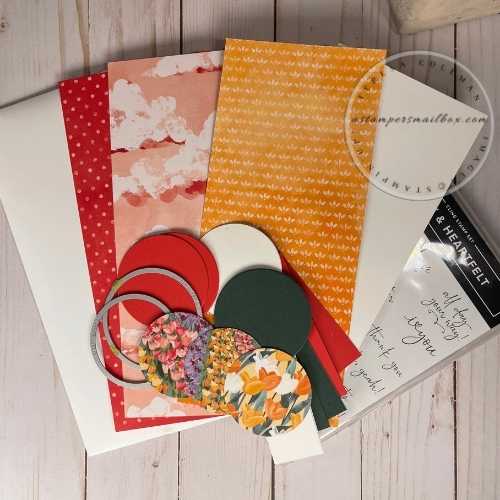
Now that you have all your supplies ready – select the area of patterned paper you want to highlight. Use a die cut or punch to create the shape. This is a great way to use a pattern you may not like as a full ‘busy’ sheet but to isolate portions of the paper you do like.
Here is what I did…
I used a Basic White Thick Base Card: Fold the card base and crease the score line well with a bone folder. Now you are ready to stamp. If you have an image stamp you would like to fill the white space with – go for it.
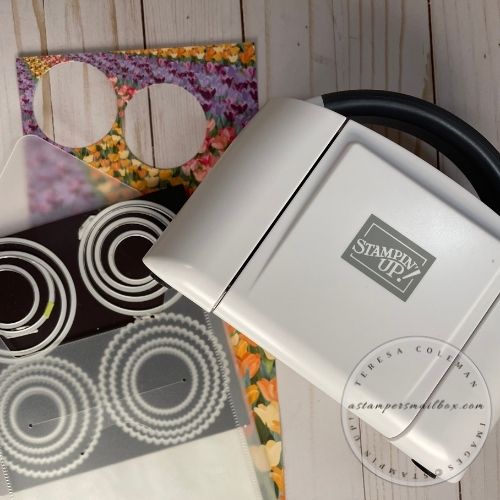
Cover the front with Designer Series Paper layered with focal point circles & sentiments. I used the Stamparatus stamp positioning tool on today’s project! This fun tool is located on page 144 of the Annual Catalog and it makes mixing & matching sentiments easily and reduces errors! I showed how I made the ‘Yay for You’ sentiment in todays Facebook Live Demonstration.
With this tool loaded with your stamps, inking and stamping the sentiment strip and the inside are a snap. I’m using Poppy Parade ink. You can achieve the same sentiment ‘match up’ using an acrylic block- it just takes some careful stamping!
Time to assemble. This is a really quick and easy card design. Glue all pieces to base as shown in above photo, lift the focal image circle with Stampin’ Dimensionals. check & check!
________________________________
Now let’s make an envelope!
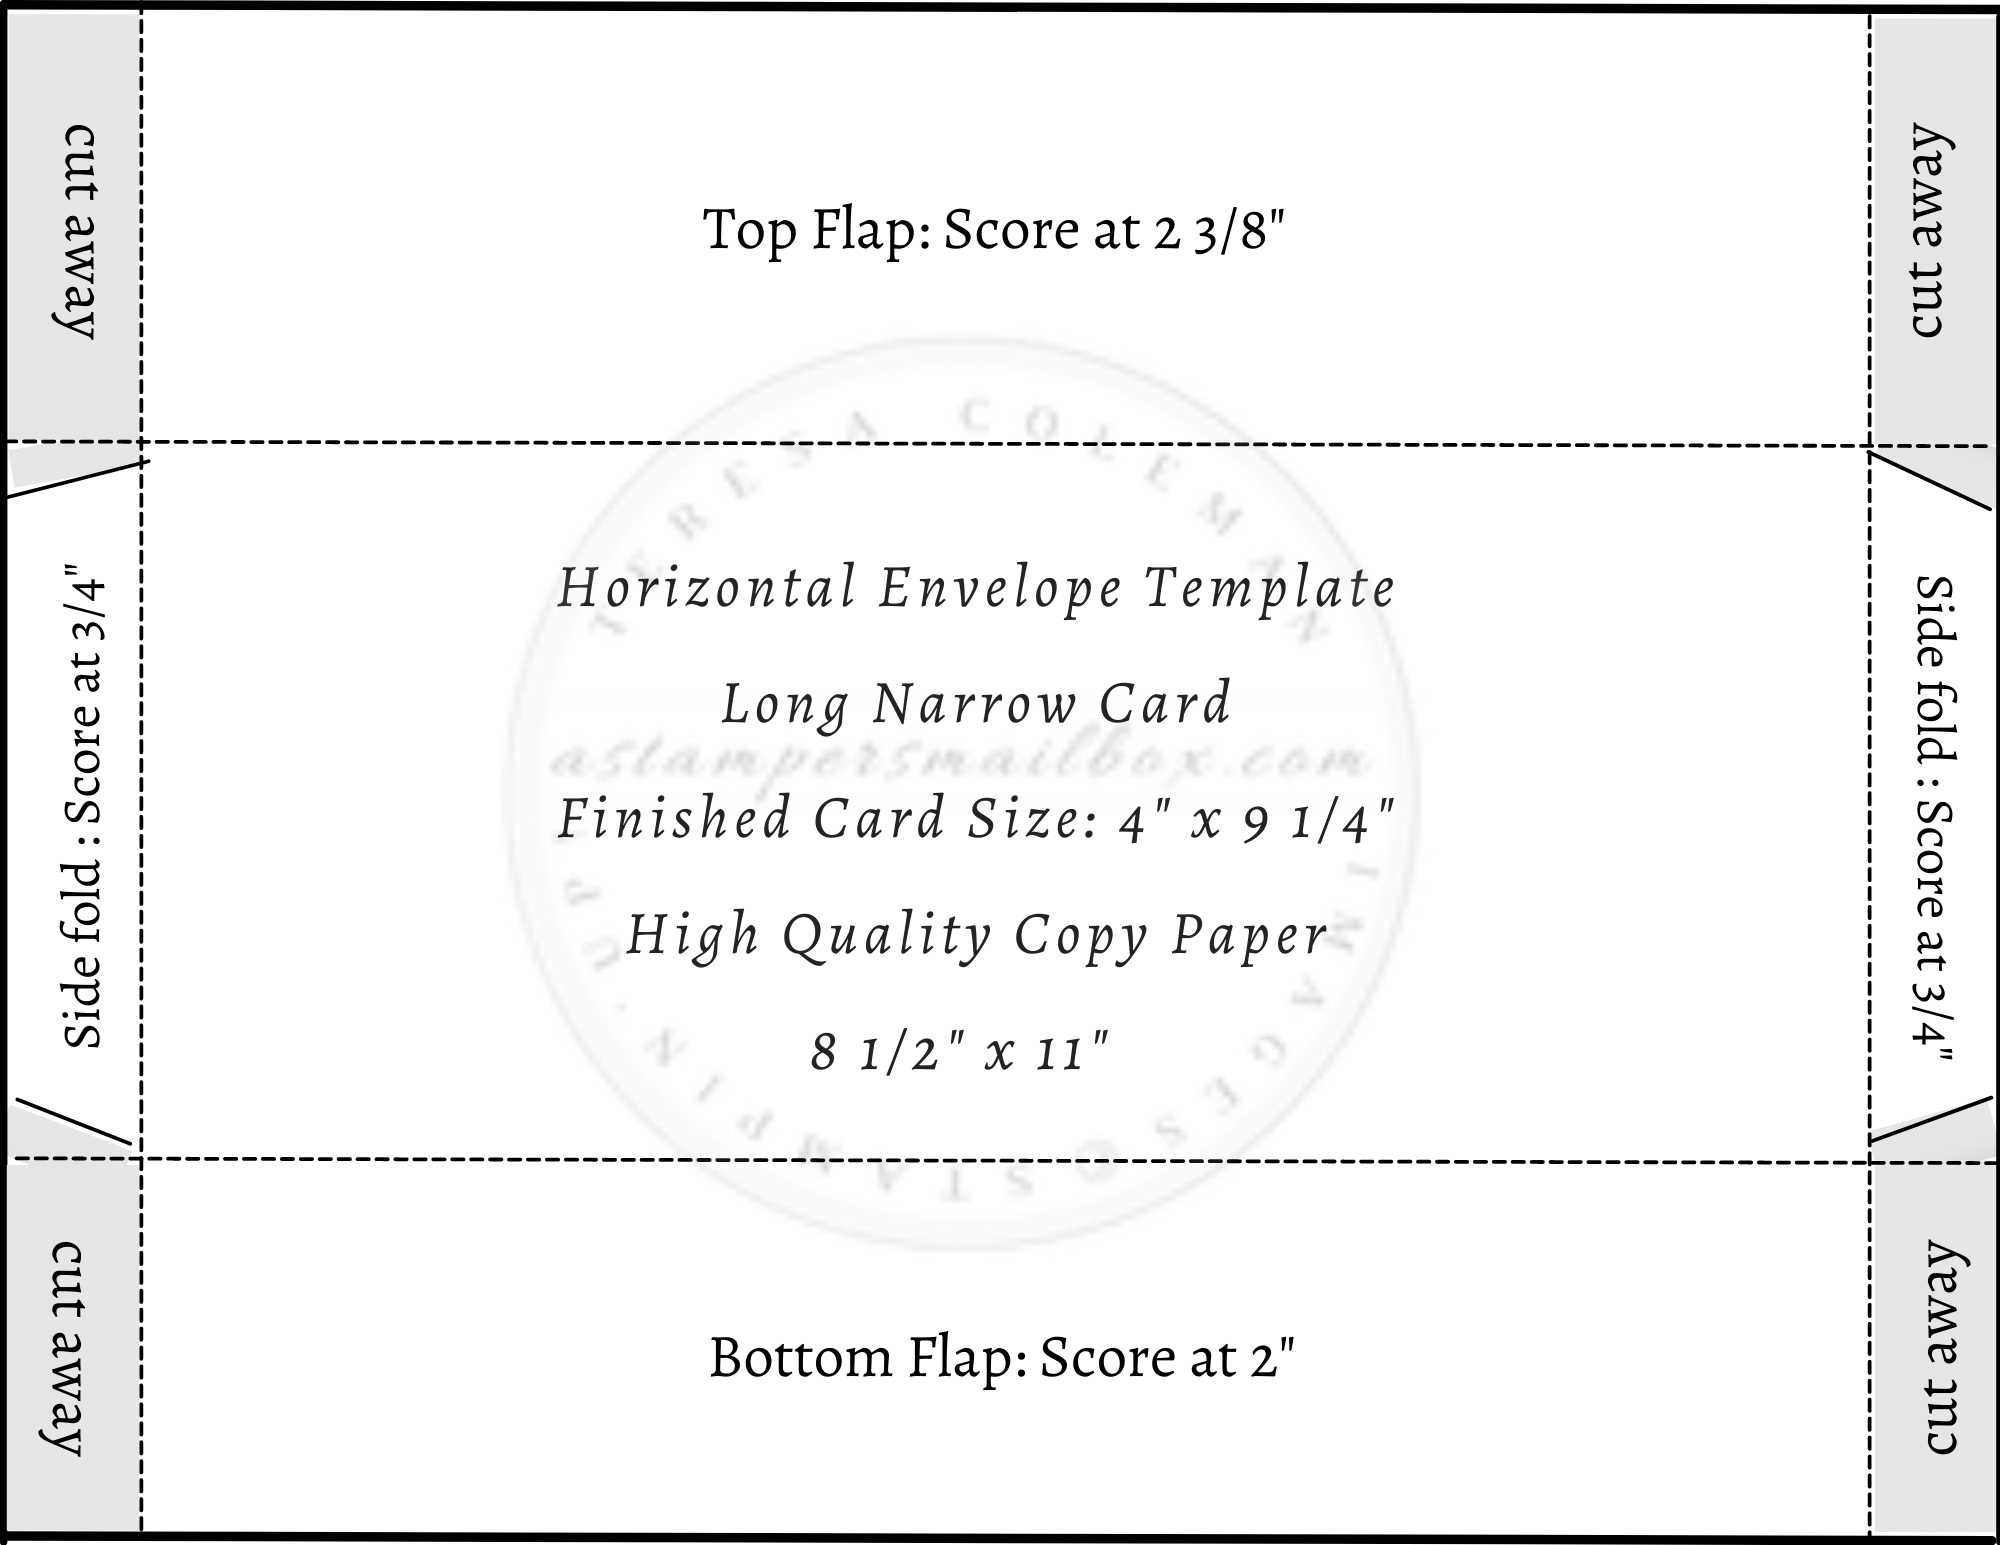
This template is for a horizontal top flap envelope.
Have fun with it!
Tall & Slim Card: Horizontal Envelope Template
Click the link above to have a print ready version of this envelope template!
Let’s Add a Decorative Flap- This serves 2 purposes- it extends over the edge of the copy paper to allow the Tear n Tape to be at the proper edge ( so it won’t stick to your card when you seal it!).
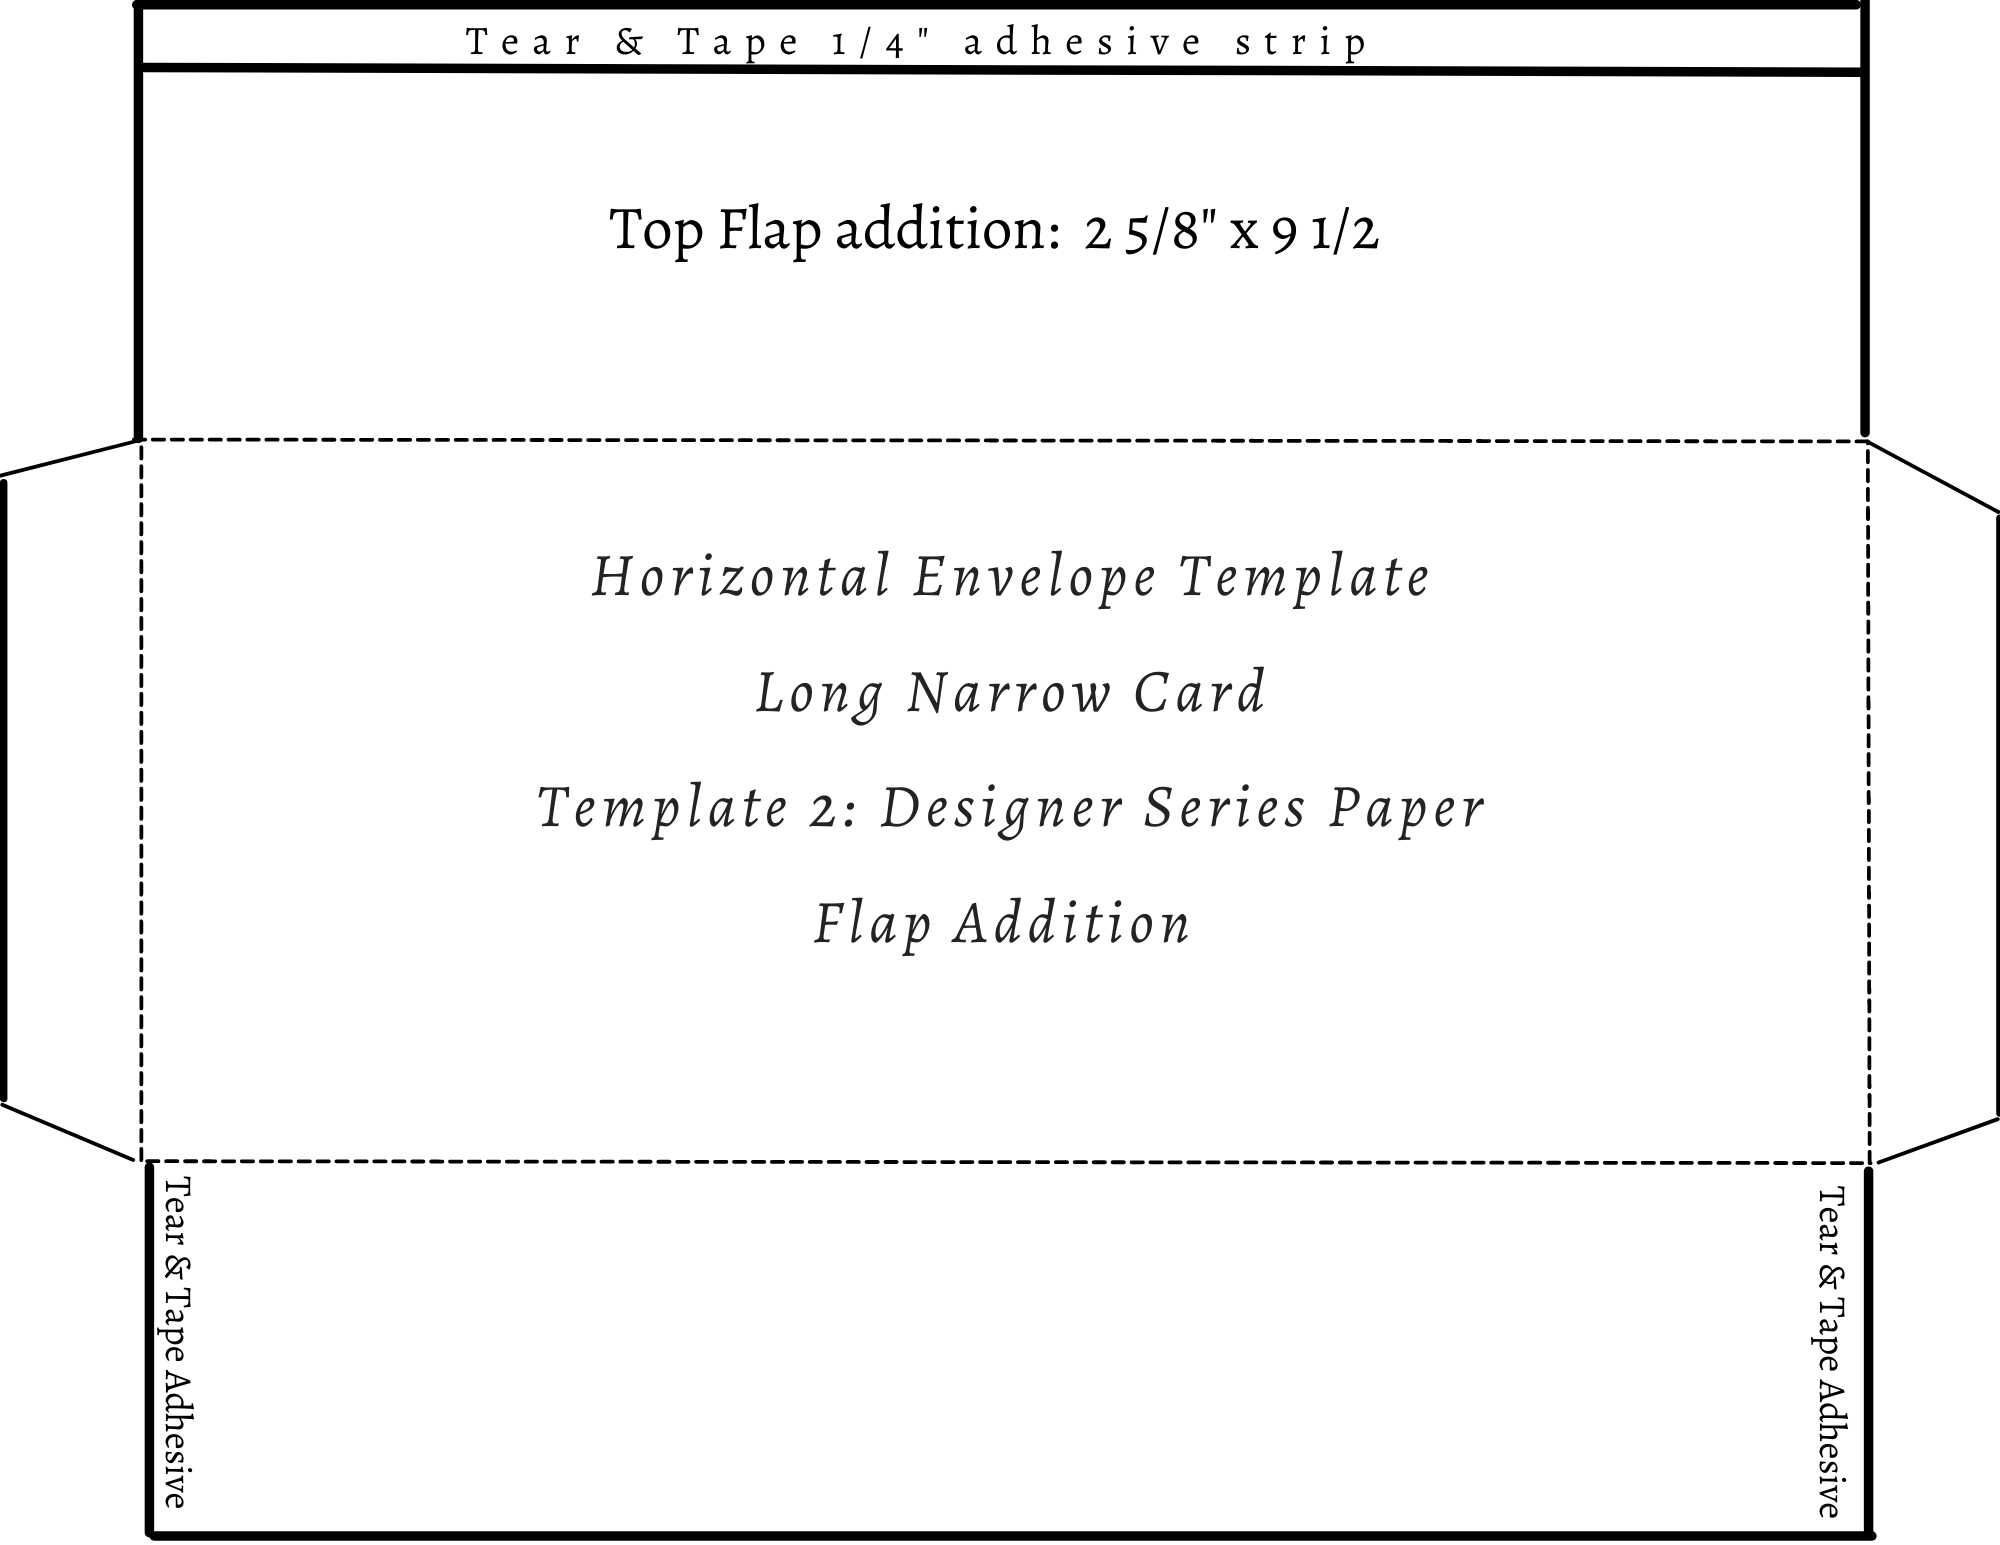
Tip: If you don’t want to add the patterned paper decorative flap as I did in the first photo – for this envelope template- you will need to add some sort of cardstock extender or fold the Tear & Tape in half to prevent the tape from sticking. This is a very narrow fit. I talk about this and show it on the Facebook demonstration.
________________________________
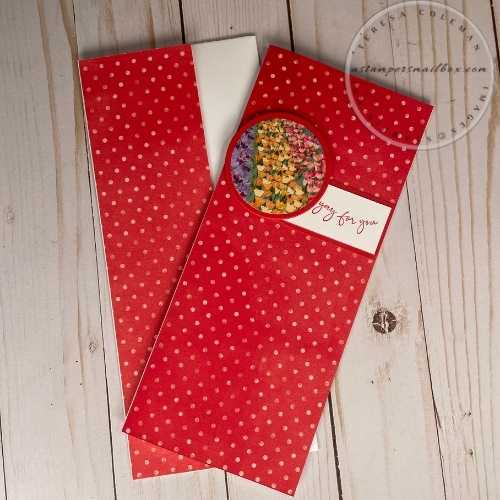
Here is another version of this same card, you can see how I extended the patterned paper on the envelope rather than fully covering the flap in the first photo.
I’m currently using this paper for envelopes from Amazon and like it well enough.
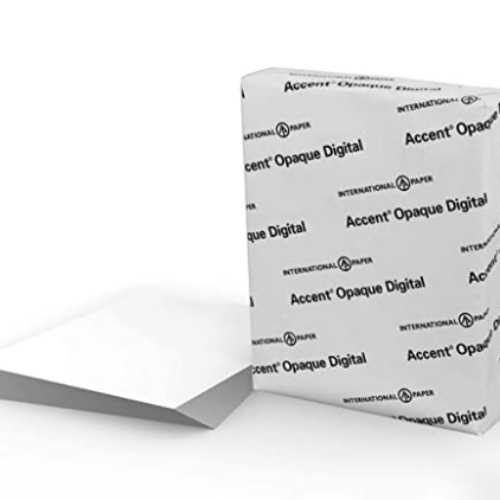
My very favorite copy paper for envelope making is from Staples. When this ream from Amazon is used, I will for sure go back to this. The price point compared to the hand feel and quality is worth the extra cost to get really nice handmade envelopes.
I find making varying card sizes with DIY envelopes fun, it does send me into the post office often to make sure I’ve got enough postage on a particular card. But it’s so worth it to mail out fun, unique, hand-stamped with personality cards!
Note: the Layering Circle Dies are unavailable as of this demonstration & post article. Feel free to substitute with any die you have or a punch. As well, you can sure make the card focal point a rectangle as I did in the ‘before’ pineapple card.
Supplies Used in Today’s Mailbox Makeover Project


Price: $11.50


Thank you for joining me here and on Facebook for today’s Mailbox Monday Makeover! The Facebook Live video is about 30 minutes long and shows you how to make this tall & slim card along with the DIY Envelope. Click on the first card image of this post to hop over to see that how-to demonstration.
Crafty Mail Really is the Best Kind!
Happy Stamping and have a brilliant, beautiful week,
Teresa

