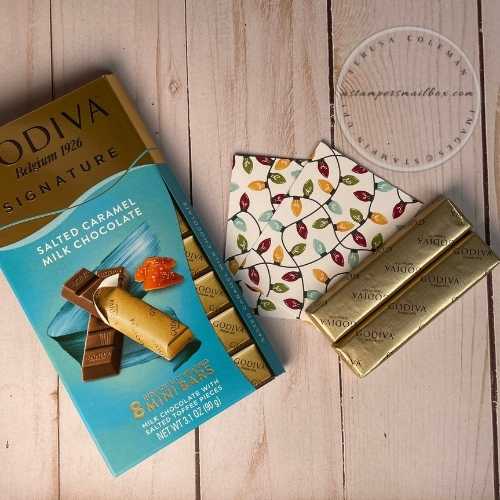
Mailbox Makeover takes on a recycle project. Pencil Lead Packaging becomes Godiva Chocolate holder!
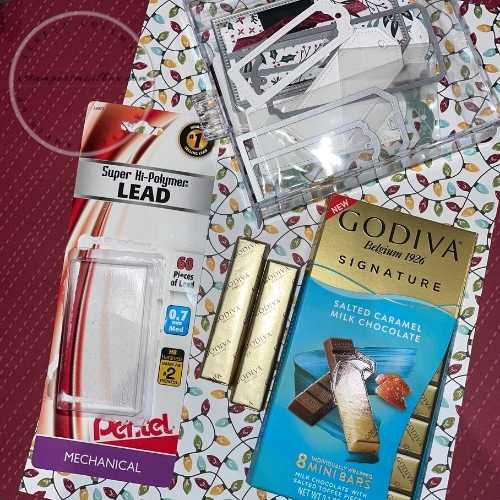
It was a happy accident that I happened to have this package of Godiva Chocolates on my desk as I was reloading my mechanical pencil with lead.
I looked at the plastic shape and the chocolate and thought- hmmm will those fit in there?
Serendipity – they do… That’s a Monday Makeover!
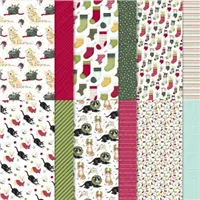
Here’s what I grabbed for this project – I wanted to use the entire package so the backer of the lead became the core of the easel base. The Sweet Stockings Designer Series Paper is thin and would need cardstock to stiffen it therefore, by using the packaging this takes the place of using any cardstock and completely recycles the product packaging waste.
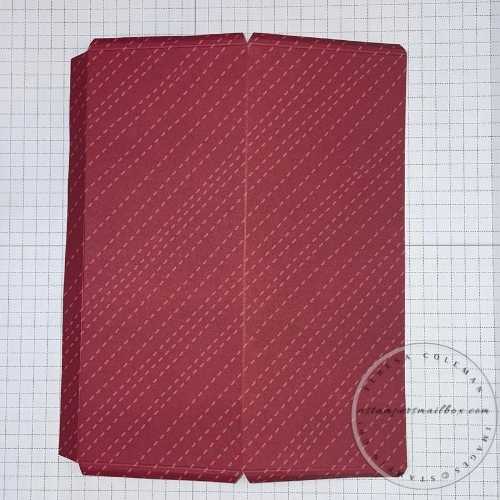
I began with a 6 1/2″ x 8″ piece of Sweet Stockings Designer Series Paper.
Score: on the 6 1/2″ side at 3″ & 6″ rotate to score on the 8″ sides at 1/8 on both sides.
Notch/wedge cut as shown in the above photo
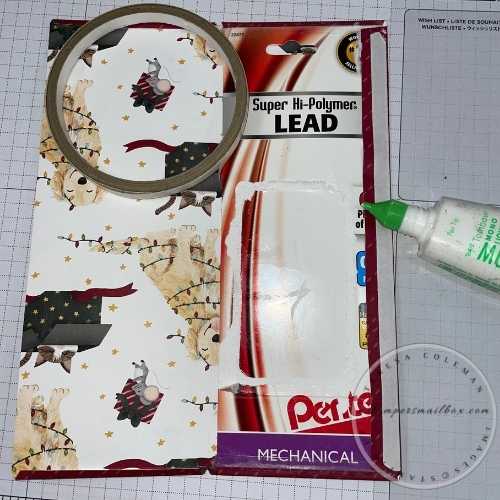
Glue and Tear N Tape makes quick work out of covering this packaging. I glued the 1/8″ top & bottom strips first then peeled the backer you see on the right bringing the left side over to meet up with the edge.
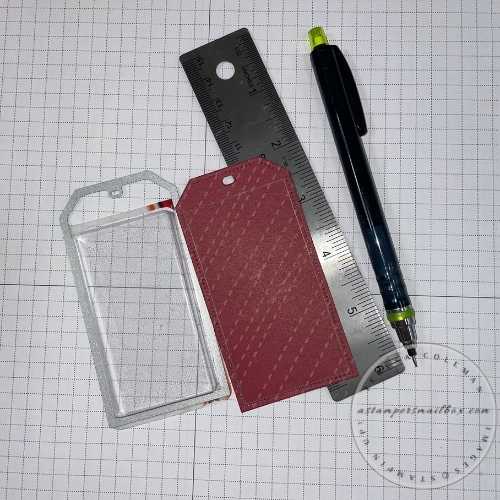
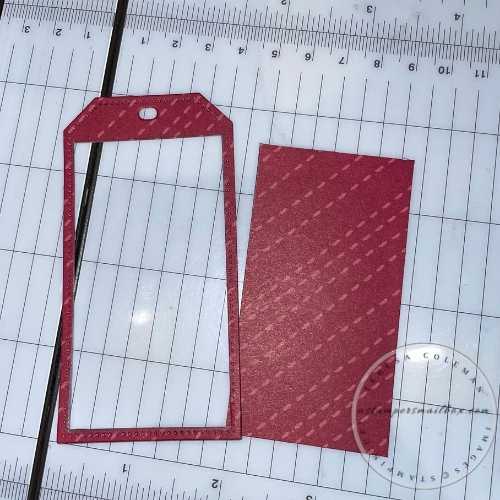
Now trace the plastic portion of the packaging on a die tag. From the set Tailored Made Tags. This is a fun variety size pack of tag dies. It’s a perfect fit for this plastic section. You will need 2 tags this size.
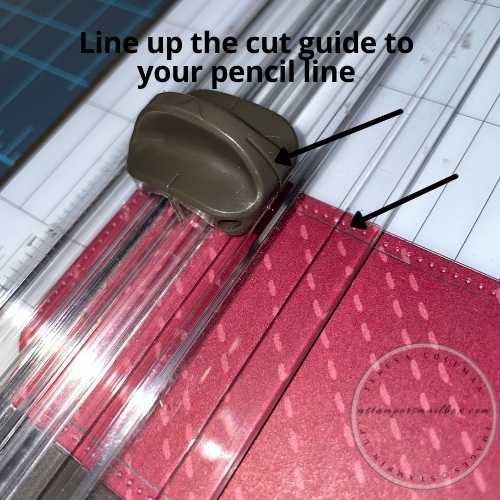
I took all the dies from this set and test fit to see which one would work. After tracing the plastic packaging portion , I brought it to my paper trimmer. However, this is light weight paper- scissors would have worked just fine.
For cardstock- I recommend the paper trimmer method. This is what I did:
Doesn’t that make for a neat tag opening?
If you were making holiday tags- you could do this with coordinating
patterned paper to make fun layered gift tags.
Place outline tag over the (cleaned well) molded plastic, take a second tag die shape to adhere to back. To make this easy removal to get to the chocolate- I used velcro. Note on the bottom I cut the Velcro circle down to a slim rectangle. The Top Velcro (hard to see in photo) are the full size. These are 3/8″ Velcro self adhesive dots found in the fabric section of craft stores or on Amazon.
Designer Series Paper: Sweet Stockings 2″ x 2 3/4″
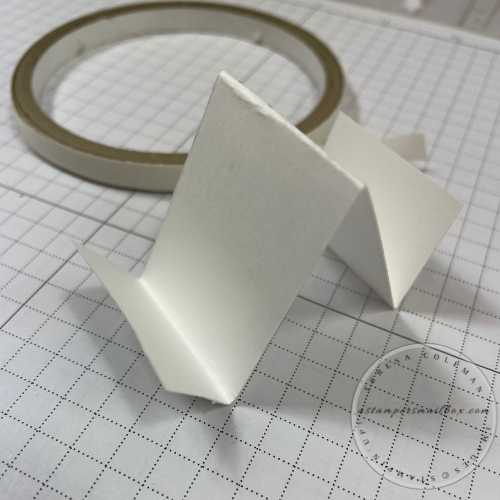
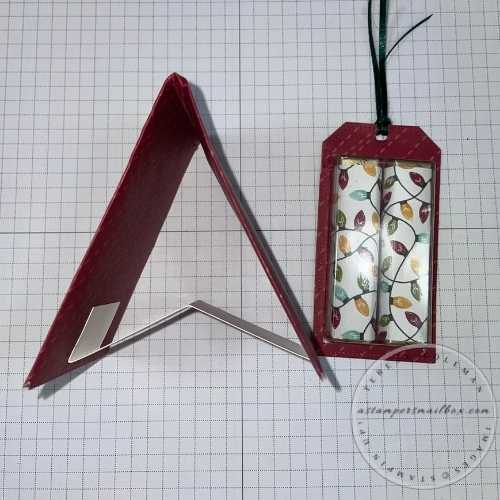
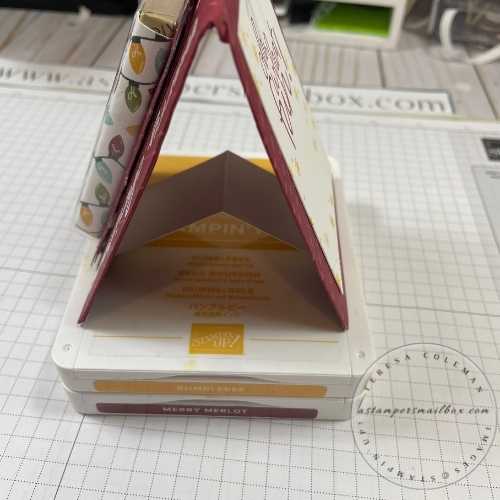
Now time to work on the easel portion of card. This project is quite heavy and needs some stability. I want it to stand up so I decided to fold the covered packaging in half, the weight of the chocolate pulls the card flat 🙁 OK- bring in a easel to support the weight! No problem.
Grab a piece of scrap cardstock- I chose white simply because
it’s near at hand and thick Basic White so it’s strong.
Measurement:1 1/4″ x 5″fold ends up an inch then fold in half. Easels like this that are simply supports can be any width you like and the length just needs to hold the card so that it stands upright nicely.
This is a quick way to make a card support.
Apply Tear n Tape or other strong adhesive to the folded upward flaps and there to inside of project.
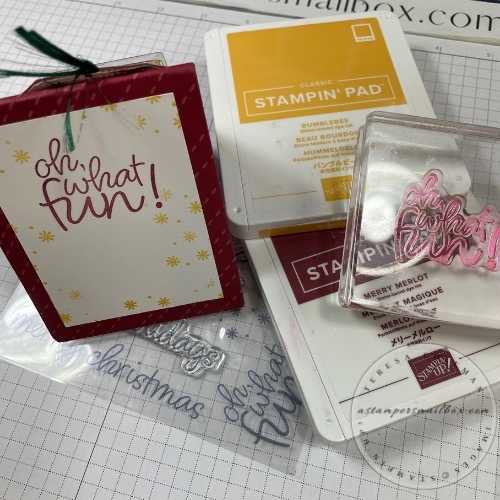
My Paper Pumpkin November box is sitting on my desk and the Merry Christmas from this fun stamp set fits perfectly on the folded base piece. I put the project in the Stamparatus Stamp Positioning tool to ensure that I got nice clean stamping since I rather made this decision after the project was put together. Boy was that risky! Whew, it worked out!
Also, using the stamp positioning tool allowed me to stamp the phrase several times to ensure I got a nice crisp image before applying white embossing powder.
The chocolate is easy to get to with a quick pull of the ribbon!
The velcro releases easily.
YUM!
Would you like another inspiration for chocolate? Click on the above photo for a Wine & Chocolates idea!
Isn’t this stamp set super cute! This Paper Pumpkin Kit is fun! Click on the photo below to hop out to www.paperpumpkin.com
Even if you are not interested at this time in subscribing to Paper Pumpkin – click on the blog link while out on the website. There is alot of fun creatively crafty inspiration there!
Here’s a side view of the finished recycle project card.
This makeover project was alot of fun. I enjoyed taking something as simple as what was destined for the recycle bin and creating a holiday chocolate project. It was serendipity that these chocolates fit in the plastic so well.
Happy Monday and a Wonderful Holiday Week to You All!


