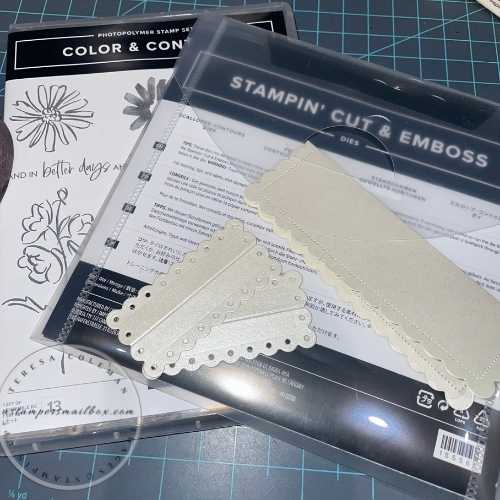
This project is really, really dated! Do you remember what year Stampin’Up! first began carrying die cuts? This die was in that first run. I loved it!
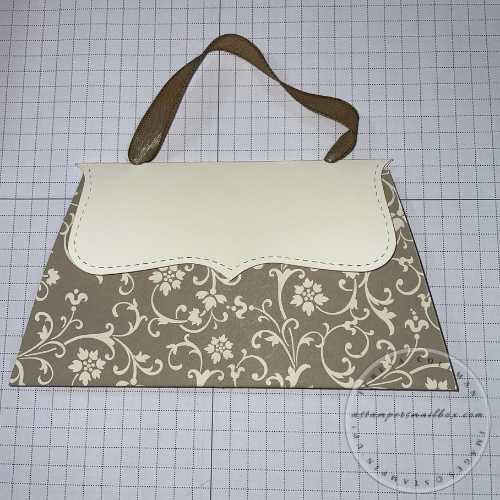
I was cleaning a paper drawer and wow, what a find, a sleeve full of these purse projects pre-cut and ready to use.
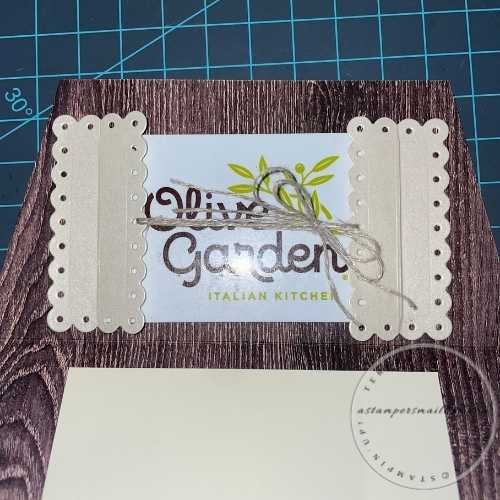
The long ago retired Designer Series Paper in this fun find are all lovely patterns and suede brown in color. Just beautiful with this Very Vanilla Top Note Die cut shape scored and folded in half.
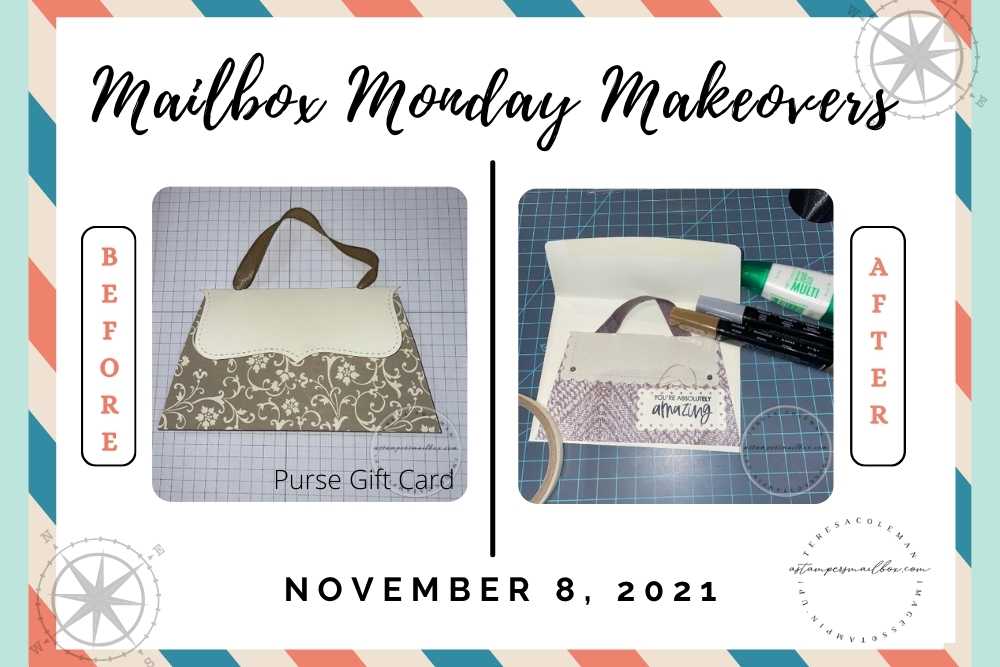
Ding, Ding, Ding there’s a Monday Makeover edition project!
I’m veering from the holidays a bit to bring in this project. It truly could be a holiday purse as well – while prepping this project I realized I am out of all ribbons that coordinates with any of the Holiday Designer Paper I have. So what’s a girl to do?
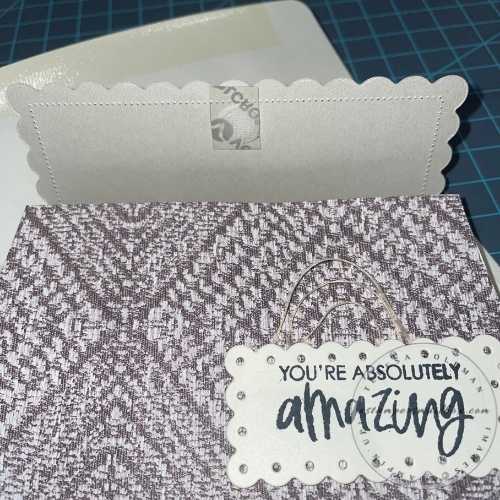
She makes a textured handbag with a faux wooden handle – that’s what!
Gather some supplies and make this project with me!
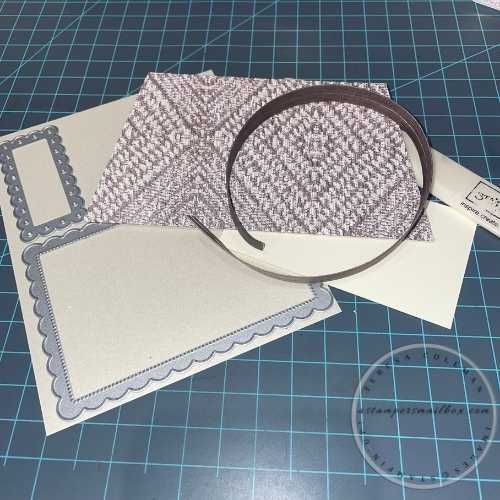
Designer series Paper (DSP): 5 1/2″ x 6″ Score lightly at 3 ” (on the 6″ length) then fold in half. I used one of the patterns that resemble textured fabric from the paper pack: In Good Taste.
Angle cut – fold end at bottom of card. This purse card opens downward.
Direction: bottom to top narrowing the width by 1/2″ on each side = Bottom width: 5 1/2″ and Top apx. 4 1/2″.
Tip: Cut one side then flip over to cut the other. I keep the folded edge on the cut guide and swing the top corner to the 1/2″ mark.
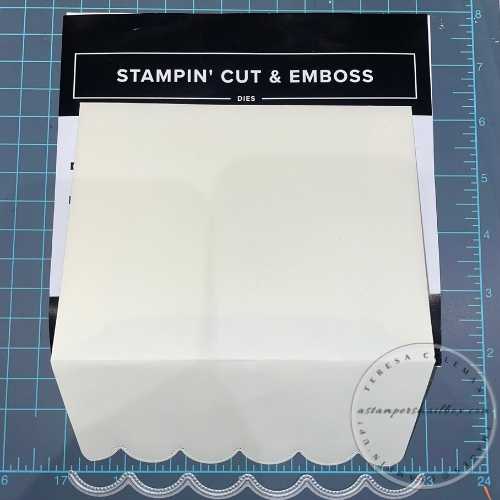
Large Die Cut Shape: anything in your collection that is large enough to span close to the top width of 4 1/2″ width. (Can be slightly wider or narrower). This is the purse flap.
Smaller Die cut shape or punch outs (2) – neutral to match your project- this will become the inside gift card holder.
Ribbon or coordinating DSP for purse handle. I used one of the wood tones from the same patterned paper as the purse card base layer.
Cut 1″ x 12″ Score each length 1/4″ on each long side. Turn over to opposite pattern and place a long strip of Tear & Tape down the middle.
Remove backing and tape down the scored 1/4″ sides
Use a bone folder to curve this.
Tip: Use the bone folder as if you were making a strip of curling ribbon with scissors. This is the technique I used to curve this.
Sentiments – Birthday, Thank You, Thinking of You, Holiday…
Coordinating scraps of cardstock along with a neutral for stamping the greetings.
Coordinating Neutral Cardstock 2 1/2″ x 4″ this is the inner writing area.
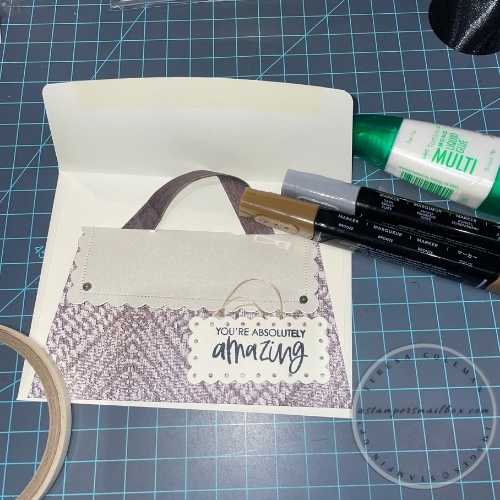
Any embellishments you might like to add. My After version is a ‘thinking of you” gift- for an amazing friend.
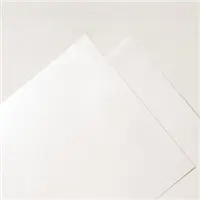
Makeover version – sure wish my camera would pick up the lovely sheen of the Pearlescent Paper!
It’s a lovely off white with a very lovely shine and slight texture.
This project can be a super quick put together when you realized you forgot a gift, or you can easily make up a number of these to have on hand for on the go gifting- grab a gift card on the drive to the host house for holiday parties or just need to pop and easy to send Amazon card through the mail for the holidays!
OR
Go big and really throw the crafty collection at this project- upsize it, put a big greeting on it and put an accordion insert in the base of the purse for a multi-gift card project!
OR
Shrink it down just enough for a gift card to be glued in (removable glue dot)- hang the handle of the purse around a gift bag handle to become the tag!
(hint: future project ideas for the blog)
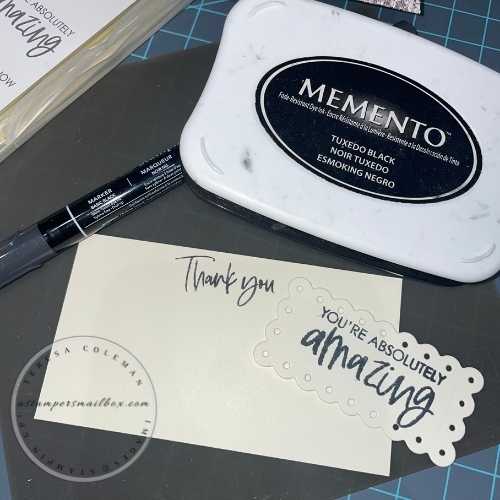
A note on stamping this project. I attempted to stamp with Stazon Ink- thinking the the shimmer of this Pearlescent Paper would respond better to that ink rather than the Tuxedo Moment Black. I was wrong. It didn’t transfer well at all. So I switched to the Momento Black – this was a much crisper image. For the ‘Thank You’ I used a Stampin’Write Basic Black marker to isolate just those two words. When stamping with photopolymer stamps I find it helpful to have something under the cardstock like a magazine, foam or this silicone crafting mat. The bit of ‘give’ helps to have crisper images.
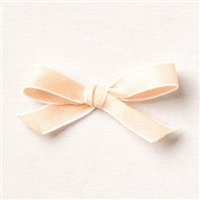
Start with your purse bag base: after you’ve scored and trimmed the sides, embellish the outside with stamps, die cuts & bling. I used Pale Papaya & White ribbon pulled apart to give me these thin fibers.
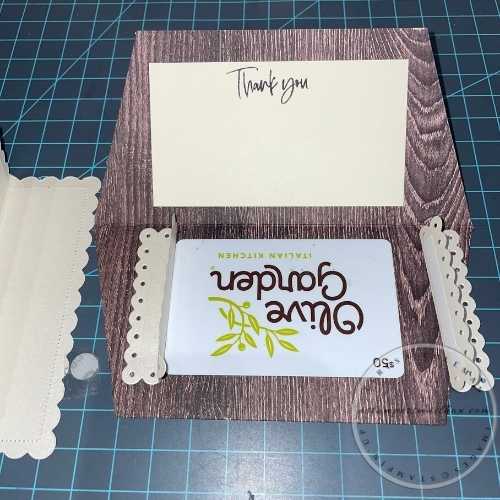
For the inside, take the 2 smaller die cuts score them down the middle and apply Tear & Tape to one side of both die cut shapes. You can use punch outs for this too if you don’t have a die shape you want to use. You can apply the gift card holder to either inner side of the Purse bag.
What I do is lay the gift card down- fold the taped & scored piece in half with the tape outwards. Dry fit the pieces, sometimes I will even put a light pencil mark where I need these to go.
Now remove the backers and put the shapes down.
Use a bone folder to really crease down the fit. You want the die cuts to really snug close at the score lines to the gift cards to hold it in place.
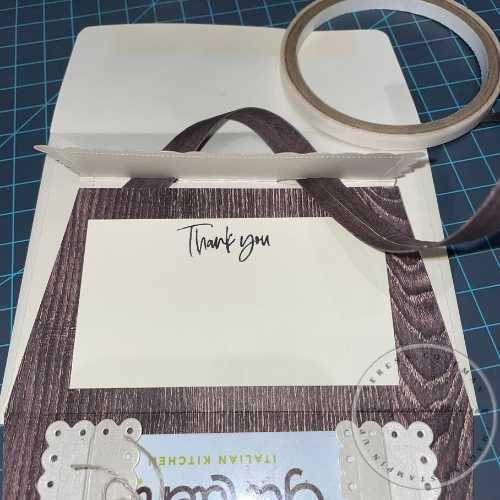
Stamp the inner greeting and adhere this to the side opposite the gift card.
Take advantage of the holes this scallop die. Run some Linen Thread through and tie a bow.
This detail is not necessary – the scoring/bone folder creasing will hold the gift card in place.
I thought it a nice touch!
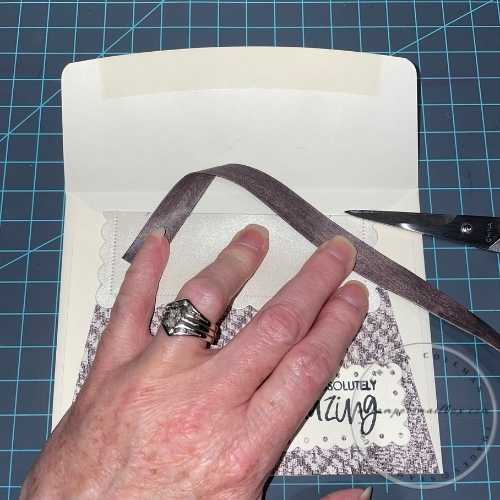
Next, let’s insert the handles and put the purse flap on.
Use a pencil to mark and paper snips to cut a sliver on the fold.
This is where your handles will insert into the flap.
Insert the handles into the slots you cut, slide the handle in- dry fitting with the purse flap and envelope under to make sure that the card will fit into the envelope. You don’t want your handle so tall that the flap of the envelope won’t fit over the purse strap.
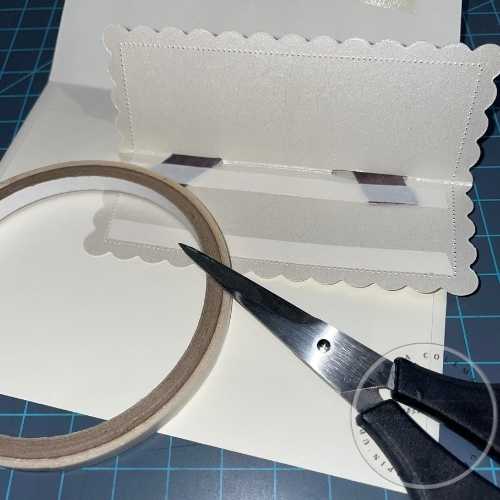
Next: slide the Purse Flap section out snip the ends to the length you want. I left about 3/4″ inside to adhere down in this example. Using Tear n Tape put 2 long strips on what will be the back / inside of the purse flap. Adhere to back of purse base card.
See the little pearl detail on the corners? I colored first with Bronze Stampin’Blend Marker- nope not a good match- right on top of that I colored with Dark Smoky Slate Marker- the combination of the two colors provided a nice taupe look that blends right in with the color of the patterned paper!
I brought this image back in to show where I added a velcro dot. It’s not necessary but it’s a nice touch to add to help hold the flap down. These can be found at Micheals (near the knitting/yarn area) or at Hobby Lobby ( in the craft area or fabric area) or on Amazon. The size used here is 3/8″.
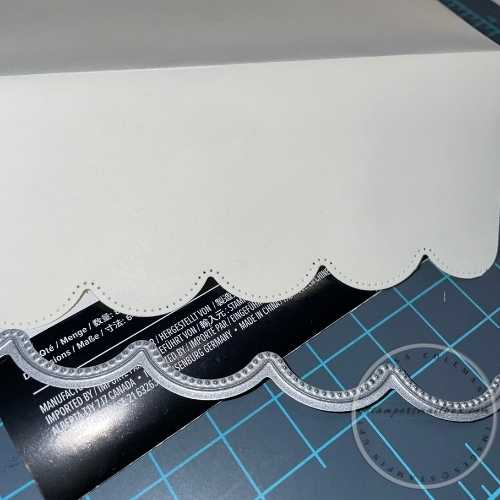
This die set includes a lovely large scallop with stitch detail.
Why not use it on the envelope flap!
Very Vanilla Envelopes
Now it’s ready for the mail!
Note: The handle will get flattened a bit during mailing but that’s ok- being paper- as soon as the person opens the envelope- they will pull the card out by the handle and be so happy.


