
Let’s make a Lollipop Treat!
Sorry folks, you know how best intentions just don’t always happen?
That’s how today is now Tuesday for Monday’s Post:)
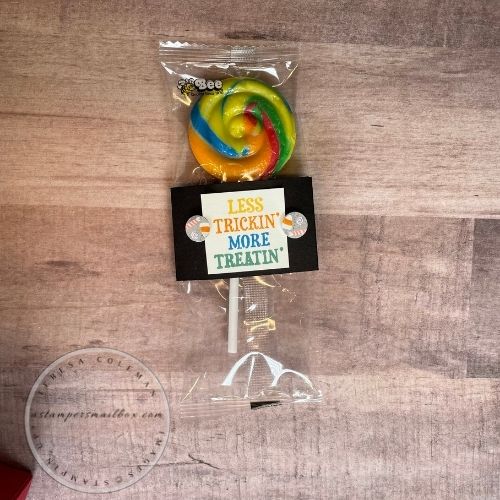
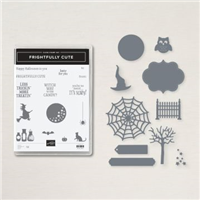
Before: This simple band wrap was made for the Come, Connect, Create Catalog Launch ( Facebook Live ) We featured the Frightfully Cute stamps & dies as one of our 3 ways themes. This is cute, but lets double up with a Monday Mailbox Makeover to make a 2 sided pouch style that has a door hangar and an easel so it will stand upright too!

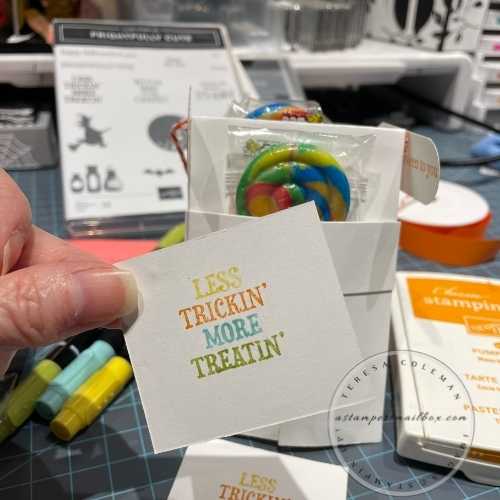
Up Close & personal with this stamped greeting! I love this… Using Stampin’Write Markers to color each word on the stamp in similar colors to the lollipops!
Let’s do that again- it’s so awesome it should be stamped again!

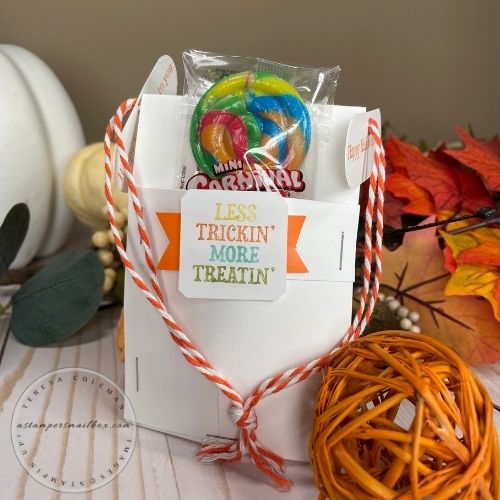
After: This is perfect to do a as a door hanger drop off for the wee ones in your neighborhood! This is a fun project that uses minimal supplies. It’s a great way to use up ribbons or twines you have hanging around!
Grab some supplies and make this along with me!
-
Thick Cardstock: I’ve used Basic White – Halloween treats don’t have to always be in the spooky colors! This will be very cute in any Spookster Color!
-
Base portion 3″ x 11 score in the middle 5 1/2″ then score each end at 1″
-
Pocket covering panels 3 1/4″ x 3 1/4″ (need 2 pieces) cut 1/2″ slit up the midline on one side of each piece of cardstock.
-
Scrap of white for sentiments. ( x 2)
-
-
Twine Inset: Scrap Basic White for under fold to hold twine in place. Size: 1 1/2″ Fold in half
-
Cute Halloween Designer Series Paper or any other Patterned Paper you may have in your spookster stash.
-
Twine 18 ” long x 2 / Ribbon/ Paper for ‘easel’ apx 5″
-
liquid glue & strong tape adhesive, stapler
-
lollipops! – I got these cute swirly suckers at the Dollar Tree. (husband taste test approved:)
__________________________
Steps along the way…
-
Cut & score base holder as directed above. Burnish all scores with a bone folder.
-
Mid score line: Mountain fold
-
Ends: opposite ‘valley’ fold – this is pocket end where the lollipop will tuck into.
-
-
Use strong tape adhesive on the 1″ sections on either end – sides only- you are making pocket.
-
Use same tape adhesive along the bottom & sides of the pocket you made in step 2
-
How to: adhere the 3 1/4″ layers. These layers are larger than the base to curve outward this accommodates the thickness of the lollipop. These are flat in shape apx 1/4″ thick.
-
Place lollipop end in small pocket then begin on one side, then the other side by pulling the mid area up a bit. You do want the sides to line up and middle to bow outward.
-
Now remove the tape backer from bottom, overlap the 1/2 cut area and tack down.
-
Use a stapler to permanently hold this layer in place. I found the adhesive Tear n Tape adhesive isn’t really strong enough to hold this layer in place well.
-
Note: the prototype photos have an additional layer at the edge of the now completed pocket- the original idea had hidden magnets for a ‘pop on / off covering’ – like alot of great ideas , paper just doesn’t do what you want it to. I had to kick that idea to the curb. (mwah ha ha:(
Time to add the twine and ribbon or paper ‘easel’
-
Easel: put strong tape on the ends -about an inch in on each end.
-
Fold in half Remove adhesive from one end – adhere to base as shown in photos – while holding folded in half – remove the other end adhesive backers and apply to closed base portion
-
Twine: put the 2 strands together, lie the twine along the inside of the mid-line fold.
-
Twine Inset: It’s a bit tricky and you kinda will need a 3rd hand here – IT IS OPTIONAL – I’m adding it to prevent the twine from dropping and looking sloppy. hmmm you know, you could just use a piece of wide wash tape here if you have it. Simple. I only have narrow washi tape – so this is my wordy solution.
-
Fold the base in half so that the the shape of your base portion of the project is now an upside down ‘V’. (Stand it up.)
-
Inset panel: Run a thin line of liquid glue along the side edges on what is the outside of this layer… Important that the glue is on the up side of this.
-
Now take your folded inset panel piece – pinched between index finger and thumb, place in the midline with fold apx 1/8″ from the twine.
-
Release the inset panel. Using liquid glue here will allow the inset panel to slide into its correct location with the base portion standing up.
-
I’m using some bright orange plastic type ribbon for the “easel” part. For the door hanging part, some thick orange and white twine that I think I found at Micheals Arts & Crafts store years ago.
Now to Decorate!
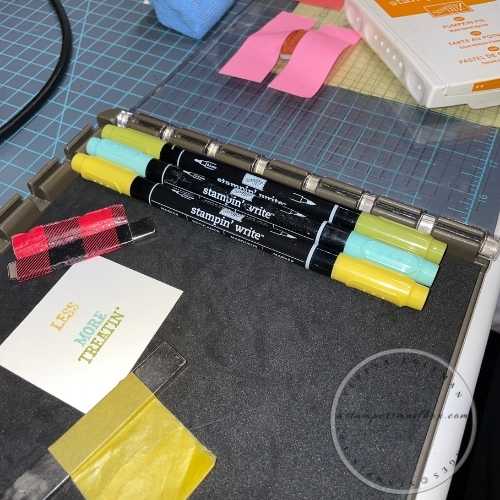
Using a stamp positioner and water based markers (not alchohol based like Stampin’Blend or Copic markers) directly to stamp I can have perfect positioning after each color using the Stamparatus (Stamp Positioner). Clean & Dry stamp after each color!
And you are done- this really is a quick project once you make the first one. It has alot of detailed verbiage to explain the steps but some aren’t intuitive of simple cardmaking. Which has me being the “over wordy blog writer” . Really, it’s a whole lotta words for easy steps. Except the part where you feel like you need 3 hands!
This is what I used for the Door Drop Lollipop holder
Other items: Lollipops, Stapler, and Twine/Ribbon from your craft supplies. I used the ink pad color Pumpkin Pie because I don’t have a marker in that color. Use masking tape to cover the other words then remove after inking.


