
Did you know a card can have a makeover to become a treat box?
It sure can! Donna and I shared this design on A Crafters Collaboration Facebook Live June 23, 2020 and I would like to bring it back for a Mailbox Monday Before & After Makeover.
This fun project began as a Paper Pumpkin Kit card base. It was my turn to design that month and I love the fun sentiments and bright cheerful colors this kit included.
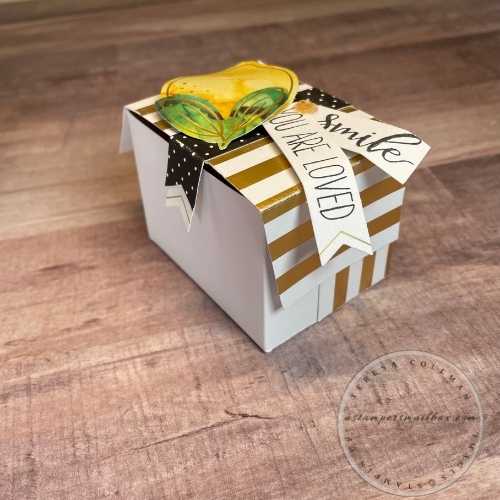
The gold stripes on this card front really fit well into the design and ease of the card to box concept!
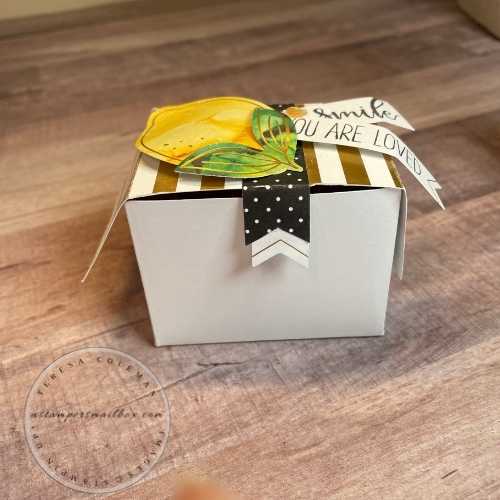
This Paper Pumpkin kit included layers of black & white polka-dot that made a great tab embellishment.
I definitely wanted to carry that tab closure idea over into the makeover design.

Alrighty! Is your curiosity peaked about how we changed up a card and created a treat box? You can go out to Facebook and check out our video. Here is the link:
_________________________
I’m going to give measurements & basic instruction now so that if you would like to pause in the reading of this post and go grab supplies it will feel like a tutorial flow rather than a normal blog post.
Measurements: Finished Box Size 2 3/3″ L x 2 3/16″ W x 2 1/8″ D
-
Card base: 5 1/2″ x 8 1/2″. You can use any color! I used Thick Basic White cardstock.
-
Score: 4 1/4″ on the 8 1/2″ side.
-
-
Elements: Any stamped images, Paper Pumpkin pieces, Kit Elements, Memories & More layers etc.
-
Embellishments: any ribbons or bling you want to add
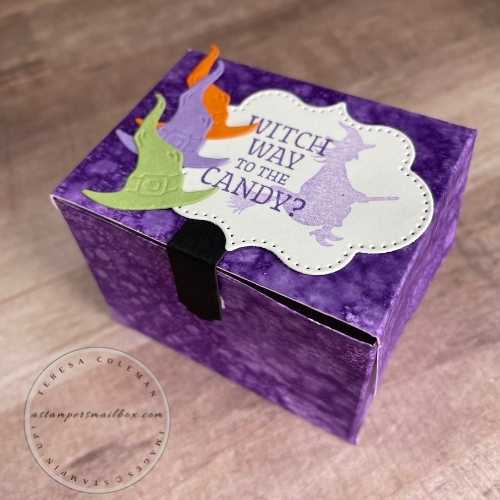
Create a Halloween base card that can become this treat box.
These are fun to make!
TIP: Begin this project with a card in mind. It can easily become a box – or use up a card base from a previous Paper Pumpkin kit! You can even take a card you might not love once done turn it into this wee box.
_________________________________
Ink Lifting Technique
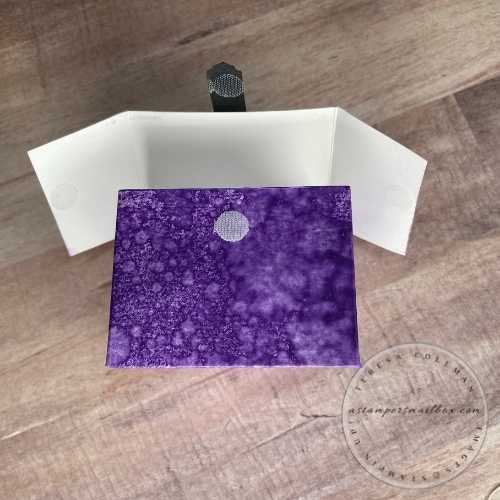
Begin with a Thick Basic White card base 5 1/2″ x 8 1/2″ Score at 4 1/4″ For this inking technique it’s best to have really thick card base cardstock. This ink lifting technique uses alot of ink and some water – the thicker your base card the better.

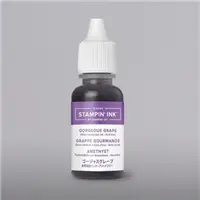
Step 1: rub ink onto cardstock – I used an ink spot because I don’t have a full size pad in this color yet! I need to get one soon- this purple is so rich! Simply turn ink pad over and rub all over the paper- keep a silicone mat or scrap paper under your card to protect your work surface- it’s a messy project:)
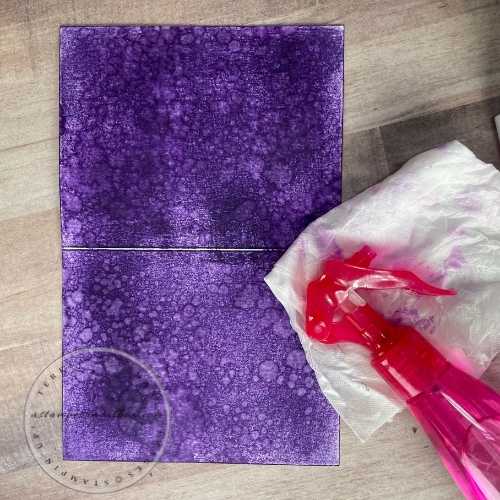
Step 2: Creating those amazing water droplet areas! Hold your water spritzer bottle about 15-18 inches above the paper- use light squeezes of the bottle trigger. Start with a few droplets – lay a Kleenex tissue over to dab up water and lift ink. Repeat until you like the pattern then use a heat tool to dry both sides of paper well. I took a bone folder before fully dry and ran it over the entire card base to help flatten, then finish drying.
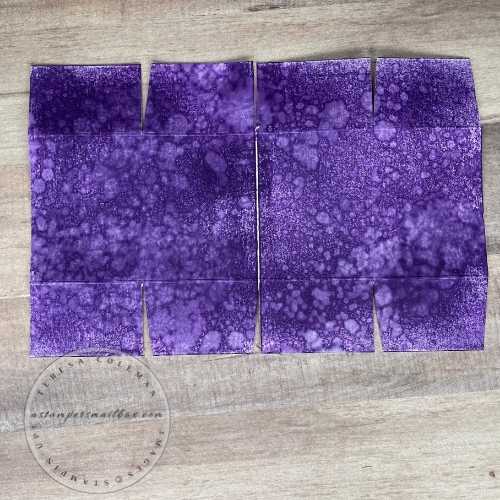
Refer back to the Facebook Live video to show you how to fold, score & wedge cut. This is super simple! Fold ends into middle, open card fully then fold long sides to middle. I found that folding the long sides in with the ink lifting technique was a challenge so I scored my paper (after applying ink) Score on 5 1/2″ side at 1 3/8″ rotate 180 degrees then score again at 1 3/8″. Now it’s time to cut and wedge side tabs as shown.
From left edge tabs: straight cuts, wedge, straight , wedge
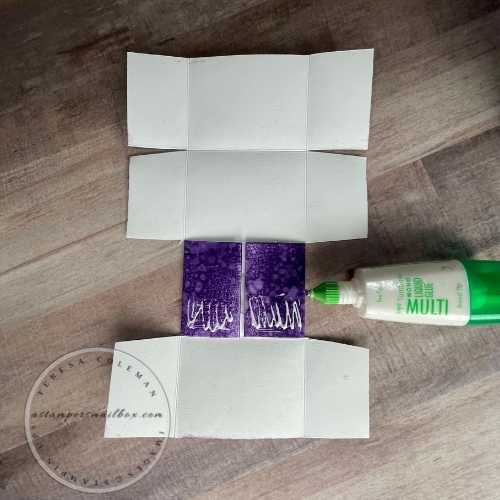
Step 3: Begin putting box together – practice dry fit assembly to see how tabs fit together. First: the 2nd tab in- apply glue to half of the tab as shown. Adhere to first tab on both sides to bring box front together.
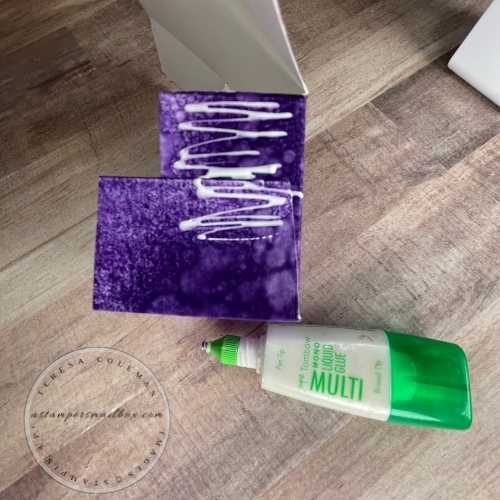
Step 4: Check where your glue line needs to stop. Here I have applied glue to previously assembled tabs rather than the loose tab going down. It worked for me because I could see exactly where the glue needed to end.
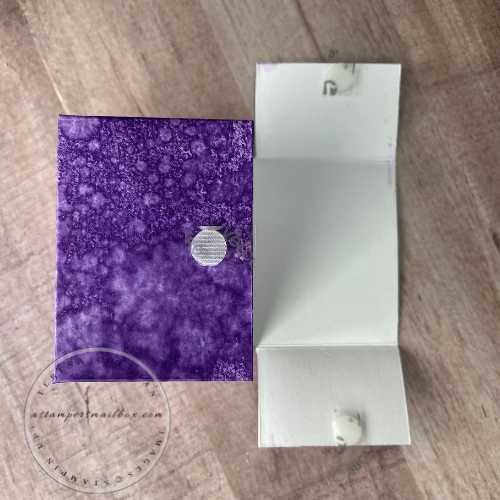
Step 5: Add Velcro dots. Remove backer & adhere one side only of the Velcro dots to the side tabs of top section and one to the front facing section. { The Front facing section velcro dot will be attached in next step. } Now remove Velcro plastic backers for the side tabs. Set box upright and adhere the velcro adhesive to the right/left sides of the box.
Die cut layers:
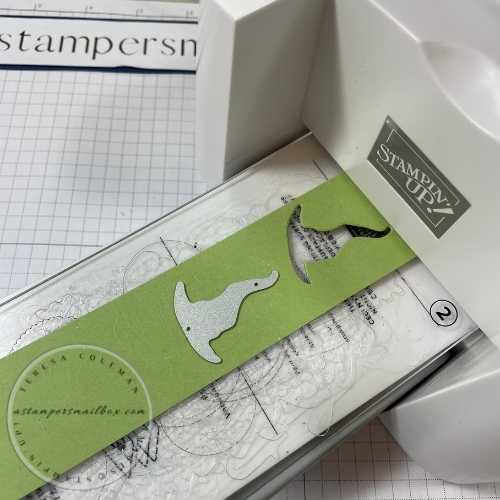
Witches Hats: Pumpkin Pie, Highland Heather, & Granny Apple Green. Basic Black banner for tab closure. Basic White decorative label. Stamp as shown. Note the witch on broom stamp is inked then stamped on scrap paper before inking onto the label. ( 2nd generation inking gives a lighter version of ink without needing two different colors of ink!)

Step 6: Adhere the Basic Black Tab. First apply Tear n Tape to half of the black banner piece. Then pull plastic backer off the velcro dot on front of box~ affix one end of your banner to the velcro. Then dry fit the other end to box top to see exactly where you want to tape down. Now remove the backer from the Tear n Tape to adhere the banner to top of box.
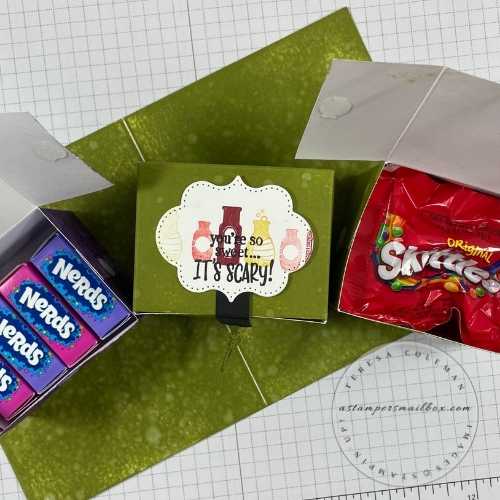
Step 7: Bring it all together! Isn’t this fun and not spooky at all! I love how the vibrant colors of the orange, green and purples coordinate for a colorful and unique spin on a box technique!

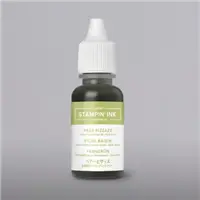
Facebook Live Today! It’s Scary Gross Poison Green!
No, Really its Pear Pizzazz but doesn’t that sound good for a Spookster Treat Box?
Don’t have ink spots – here’s another option other than ordering a Paper Pumpkin or Stampin’ Collection Kit. Order un-inked blank Stampin’Spots and Reinkers! Then you can choose exactly what color of spots you want! I added it into the thumbnails below with all the products used in today’s Facebook Live and this Blog Article! Click on the photo below to check out the video!
Products Used in todays Mailbox Monday Makeover


