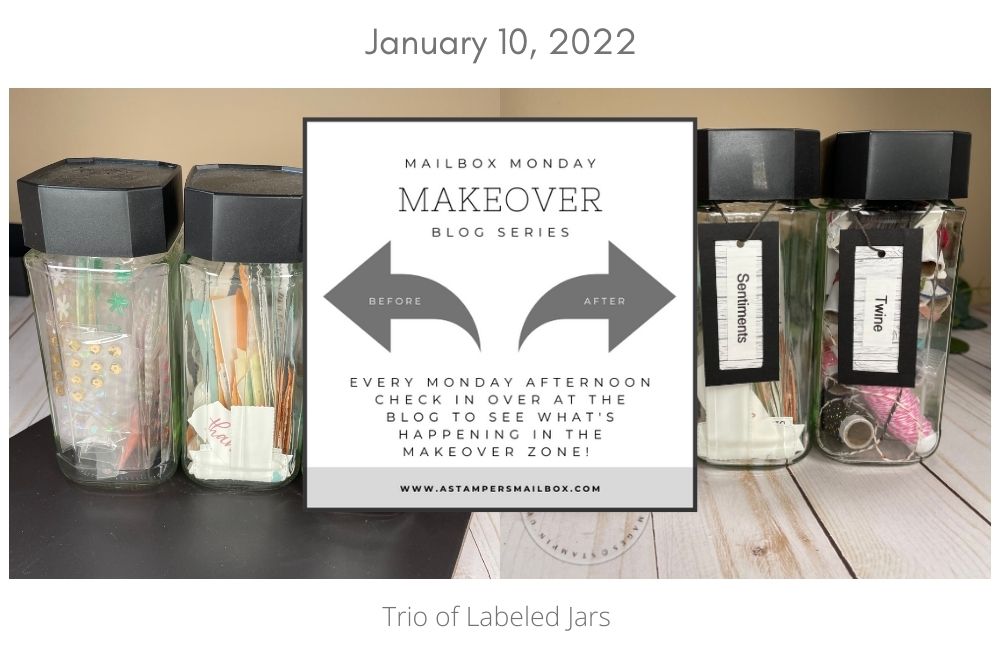
Mailbox Monday Makeover
Coffee to Organization
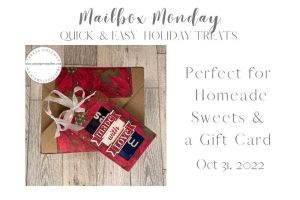
Mailbox Monday Makeover Coffee to craft organization! Take those awesome coffee jars & cans to create fun organization for your craft room! Today’s Monday Makeover is all about small stuffs organization. I love Paper Pumpkin but I’m not always good about finishing the full kit contents. Boy, was those boxes were piling up!
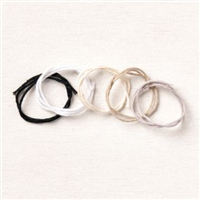
I needed something to store the small items in – these jars are perfect because the shape makes for easy use in the craft room!

OK… Coffee Connoisseurs are going to say – UGH- instant coffee and decaf to boot? Really? Yes, really. This brand of instant coffee really is worth the money. It is a rather spendy amount for a 3.5oz jar but those winter afternoons when you are entrenched in work and want something warm without the caffeine (53yr old toddlers -me- do not need caffeine after 2pm) this hits the spot!
My husband discovered this brand – it’s a keeper. I mentioned the jars shape- they are not round, this makes them ideal for small stuff, small space storage.

Soak the labels off and spray paint the lids to match your crafty space.
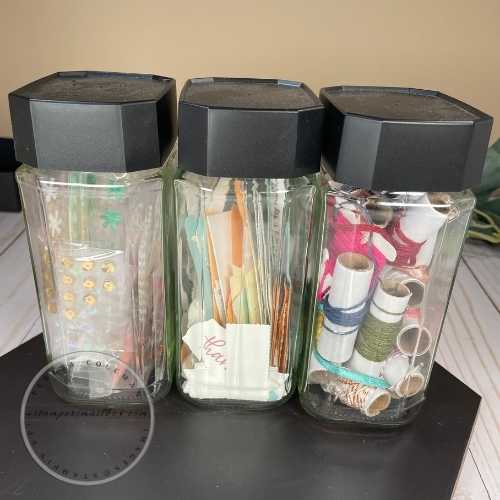
The jar on the left holds the embellishments leftover from Paper Pumpkin kits, the middle one holds small sentiments ready for card finishing and the right is small bits of twine, ribbon & embroidery floss.
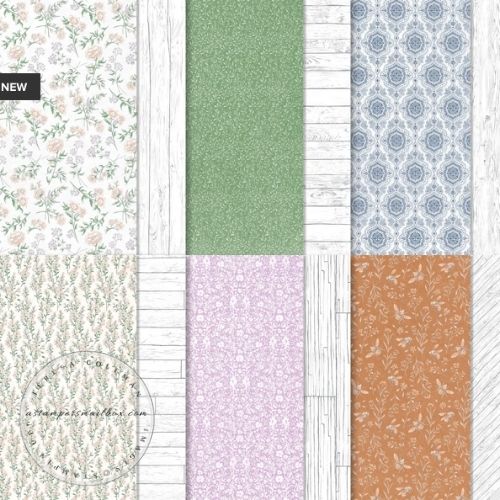
Creating fun labels for your organization projects is easy when you pair fabulous paper with easy to make labels.
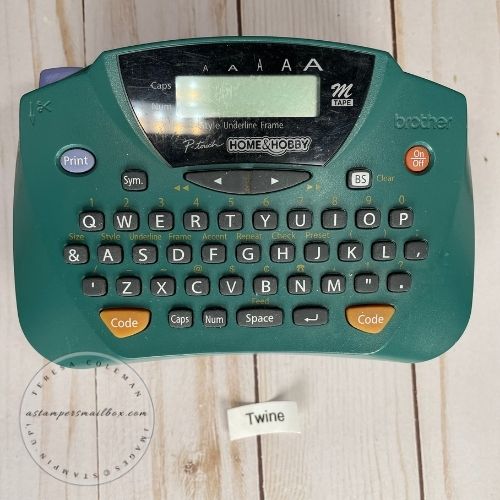
This is a very old label maker but it still works like a charm. Brother has a wide variety of options in hand held label makers. This gets a lot of use in my craft room as well as around the house. I have included an Amazon link if you want to pop over there to see one similar to this. Just click on the image above.
I am not an Amazon affiliate, just to share an easy resource for you:)
Making the hanging tags is simple. Create a label with either a label maker or your computer & printer. If you have fabulous handwriting you could even hand write the labels.
I have nice handwriting however, getting consistency in font size and look isn’t my strong suit. I’m keeping it simple:)

Tag Measurements:
-
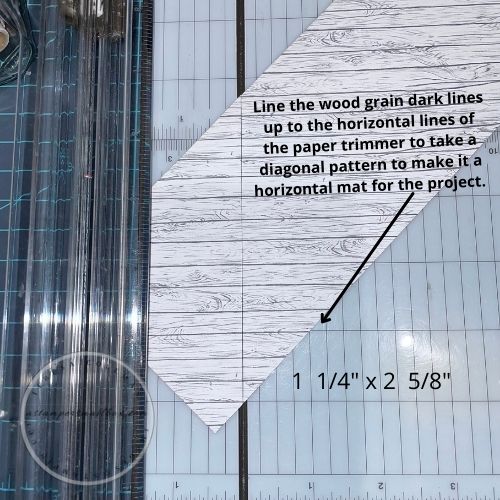
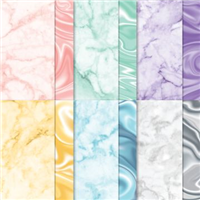
1 1/4″ x 2 5/8″ Designer Series Paper
-
1 1/4″ x 2 5/8″ Basic Black with 1/4″ rectangle opening cut with the Paper Trimmer
-
Glue the black frame to the wood grain side of the Heart & Home Designer Series paper, then affix the label to the center.
-
Punch a hole with a hand-held hole punch.
-
Run twine through and knot at back of jar opening. I used dark grey embroidery floss for this as it matches the DSP so well.
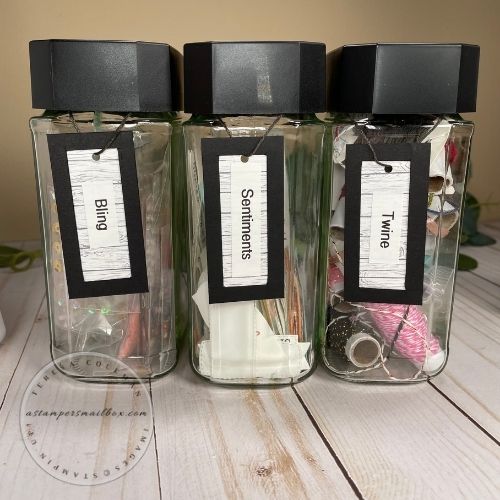
I kept this project simple, no stamping, no focal images, just the lovely grey wood grain tonal paper. My craft room is grey with black and white furniture. So keeping this simple made a really great accent to a well loved jar set. I’ve had these on my desk for a while and haven’t taken the time to ‘doll’ them up. I guess I was waiting on great paper!
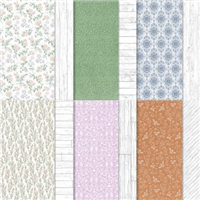
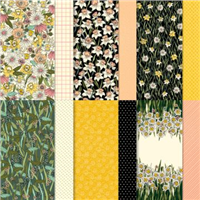
The Heart & Home Designer Series paper is really lovely!
You will be seeing in more of this bundle and patterned paper in the weeks to come.
Mailbox Monday Makeover
Trio of Jars Project
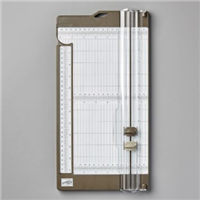

When you purchase $50.00 in Stampin’Up! products – during the Sale-A-Bration happening now through the end of February you can choose one of these items below for free!! The above project comes in at just over $50.00. If you don’t have this Paper Trimmer and you are in need of an upgrade- this is a fabulous trimmer. It’s lightweight, has a pull out arm and the measurements on all the rulers are concise and easy to read. It’s a great tool to have in your crafty tool box!
Price: $0.00
Price: $0.00
Free Sale-A-Bration Items $50.00 Level
