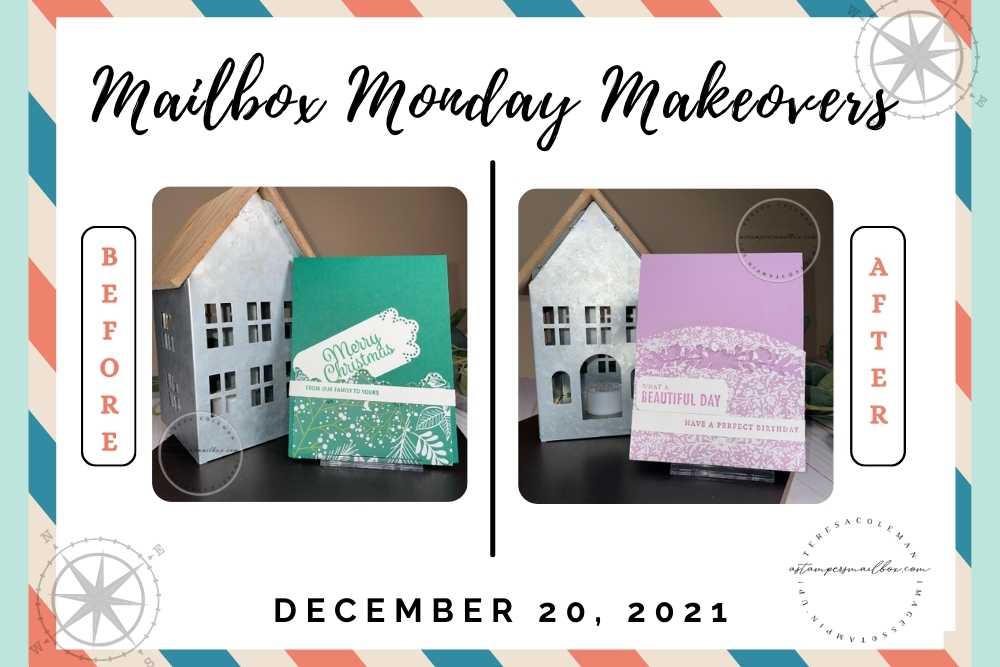
Christmas to Birthday
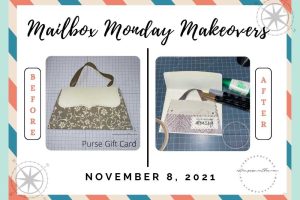
Today’s Mailbox Monday Makeover takes a Christmas Card and changing it to a birthday card! It’s time to switch gears from Holiday projects to happy mail for the coming year. Work ahead goals are moving to the top of my 2022 new year goals. I had them on my New Year Goals at the beginning of this year and Birthday Card making was one of my EPIC fails for the 2021 new year list.
“Looking ahead to work ahead”
#asmcrushthegoals2022
Enter a new hashtag. Who is with me? You’ll see this again in the January 1 post! Watch for it!
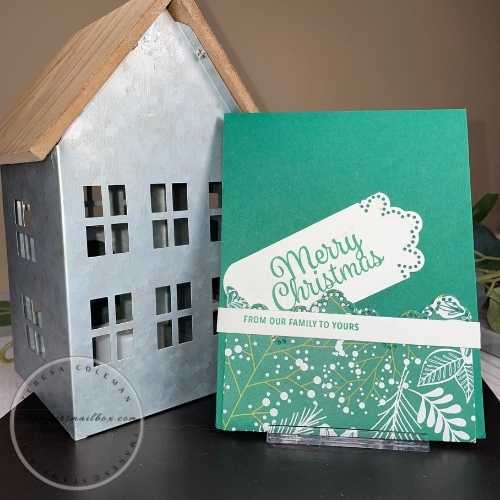
OK… enough cheery cheerleader jibber jabber- onto this makeover project. I thought since we are still in holiday making mode- that you can take it for the idea it is Holiday and run with it – or tuck it away in the crafty creative cave of your mind and pull it out when you are ready for Non Christmas Crafting! ( Soon!)
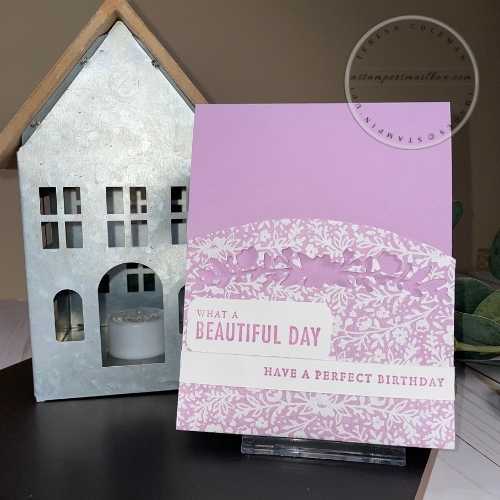
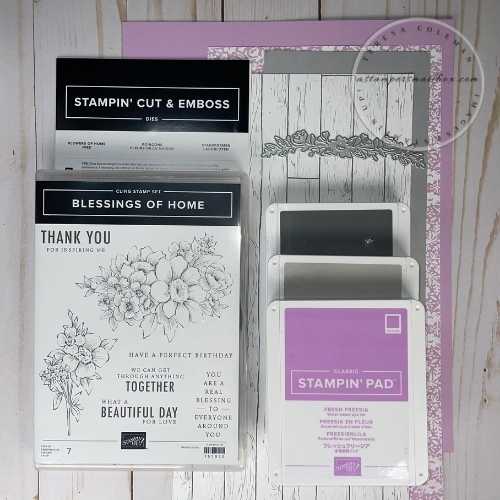
It’s also a product sneak peek. This suite of products is FABULOUS!
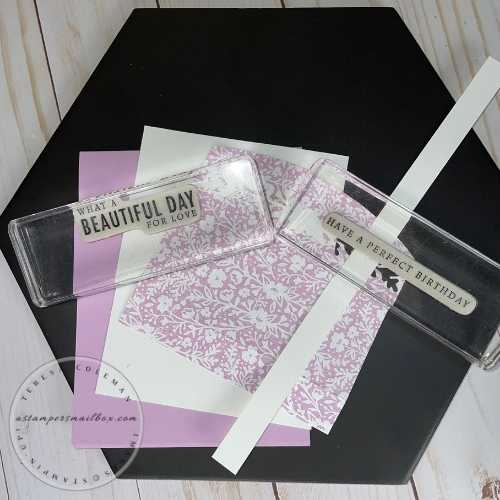
Measurements:
-
Cardstock Base Card: Standard A 2 4 1/4″ x 11″ Score in half at 5 1/2″
-
Designer Series Paper: 4 3/8″ x 4 1/2″ Die Cut Border Edge
-
Scrap for Sentiment Size. I rounded my corners just slightly
-
Strip for Sentiment Band: 1/2″ x 10″ Basic White Regular
These new stamps and dies definitely should be on your 2022 crafters wish list!
Use the long floral ‘garland’ shaped die to make a lovely floral cut away.

Follow the gentle curve shape to round the top Designer Series Paper section.
Single die cut and assemble. ( Use Tear n Tape). This is a very quick card once you have all the layers cut. If you would like to see another birthday card idea- click on the photo above.
One more – lets change this up and make a similar tri-fold style for the guys.
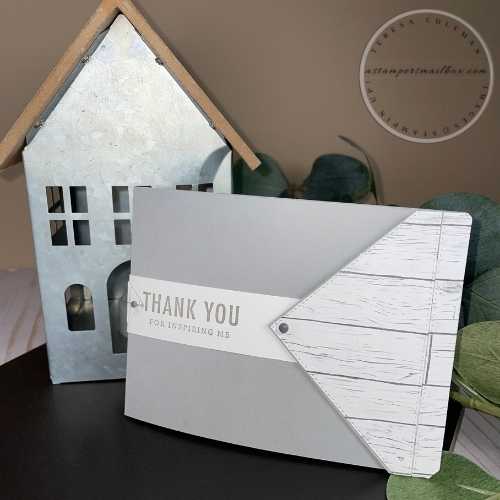
This photo really focuses on the flip side of the floral Heart & Home patterned paper.
All of the designs have a reverse grey wood grain pattern that is just gorgeous!

These photo’s may not show the stitched detail of the Stitched Triangle Dies well, but using these dies was perfect. I took two glued edge to edge with another layer of cardstock on the back for support to become the flap. Using magnets to hold the card closed was easy. One is tucked under the Thank You white strip of cardstock and the other is under the grey matte dot. (another sneak peek) These matte dots are going to be a hit! A great basic neutral to add to lots of cards.
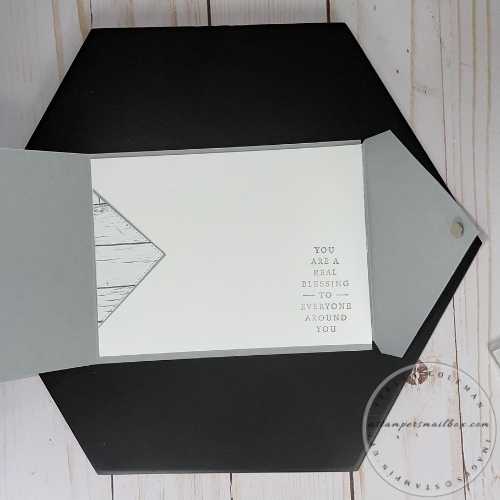
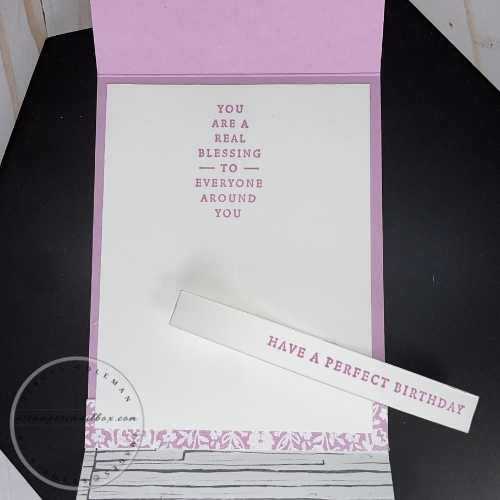
For the inside- trim one side of the front panel to tuck under inner white layer.
Glue the other end inside to bring that detail inside the card.
These sentiments are so nice! A great reason to add another floral stamp set to your collection!
Watch for these coming soon in the new release!
Mailbox Monday Makeover Dec 20, 2021
Note: some of the products used in todays sneak peek do not have photo links to the webstore as these are not available YET, check back on January 4th, 2022


Thanks for checking in to the blog on this busy, busy Monday before the Holiday Weekend. I hope your week is wonderful!
Inky Hugs,
Teresa
Crafty Mail Really is the Best Kind!

