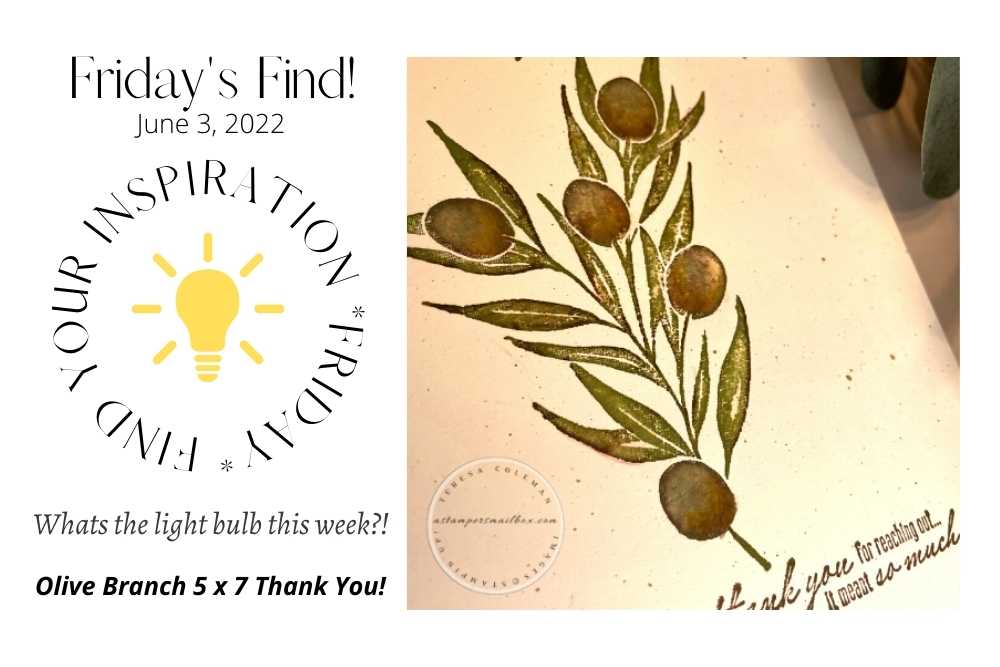
Let’s get our creative juices flowing with this lovely new stamp set!
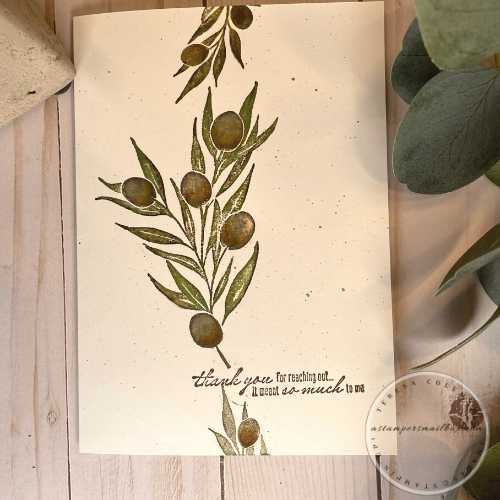
Today’s card is a multi-green 5″ x 7″ card with touches of brown for just the right touch of realism that can be achieved with the ‘Distinktive’ style of stamps.
Here is what Stampin’Up! has to say about this type of stamp.
DISTINKTIVE STAMPS
Get photo-realistic style images with Distinktive stamps, available only from Stampin’ Up! Distinktive stamps have a special texture that gives added depth and dimension in a single step. They’re available in red rubber and photopolymer; look for the Distinktive icon. Distinktive patent pending.
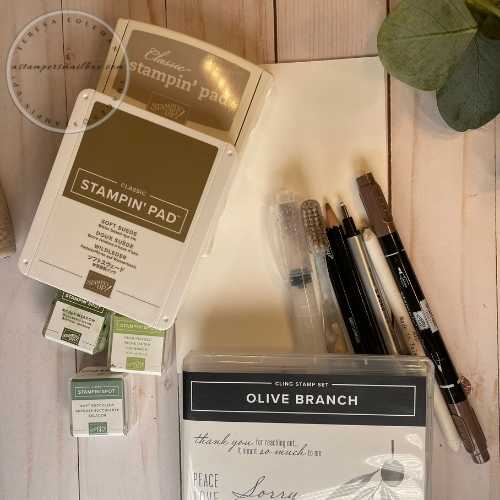
The Olive Branch set is a red rubber Cling Mount stamp.
I love this type of stamp for the ease of adding Stampin’Write Marker
right on the rubber it’s great for this project!
Measurements:
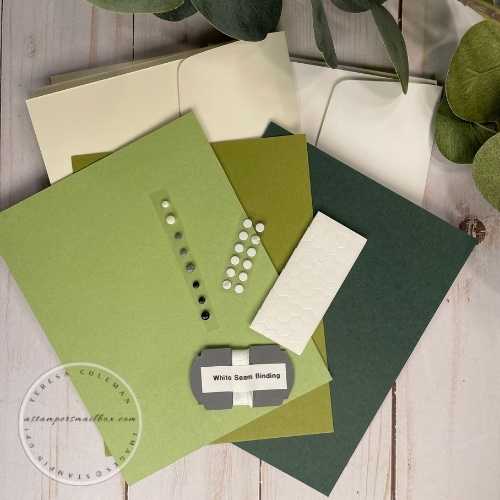
Card Base 7″ x 10″
score at 5″ for a 5″ x 7″
Envelope: DIY: Template Included
I’ve chosen to do a completely flat lay card so that I can pop it right in the mail
without needing any extra postage or a run to post office!
These inks are perfect for this stamp – don’t you think?
I love the range in greens that Stampin’Up! carries, these are just a few:
Pear Pizzazz
Soft Succulent
Mossy Meadow
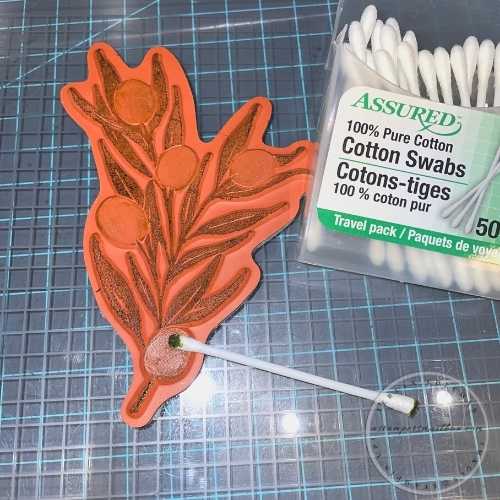
This is a large stamp – using the Stamparatus ensures that I can take each ink spot color one layer at time and have precise re-stamping of the image without worry of blur or mis-placing the stamp.
Using a Q-Tip (for stamping I like the cheap ones from Dollar Tree) to clean off areas I want a different color for is perfect. I then filled the Olive areas with Early Espresso Stampin’ Write Marker.
Now let’s bring it all together.
You may not be able to see it in this photo well (my lighting was really off the other day) but on the olives- I added alot of details:
First, I stamped lightly in greens, then filled with Marker as shown above with the Q-tip ‘tip’ then filled in with WaterColor Pencils at the base.
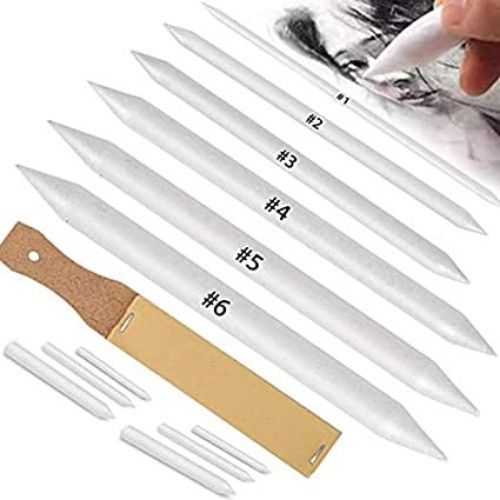
After adding the pencil color I then burnished the olives with a tortillon blending stick to give the olives that rustic look. The below photo will take you out to Amazon to see these Blending Sticks.
As a finishing touch – ink splattering to fill in the white space a bit. This card really is fast and easy! Stamp the greeting and done. The longest part is dry time for the ink splatter!
To do ink splatters: Smoosh your ink pad against the lid – this causes a smudge of ink in the lid- I drop water from my Water Painter brush into the case well to make an ink puddle. Mix well -then load the Water Painter brush with the ink and drag it along a handle. In this case I used the handle of an old toothbrush I keep in craft room. Voila- ink splatters!
TIP: protect your work surface with paper under your project! Ink splatters go everywhere!
Here is the card one more time. ( I think my greeting is a tad crooked:)
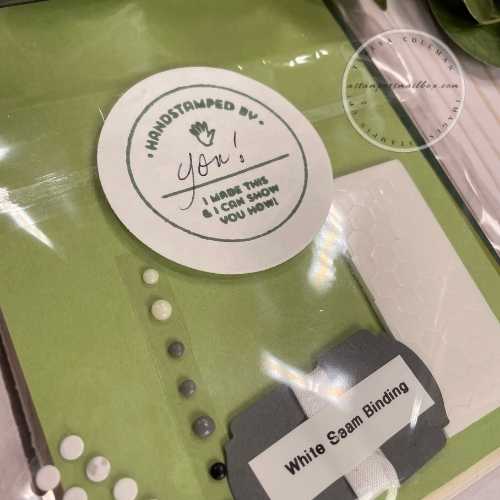
Whoops, It’s hand made with love!
Here is the DIY Envelope Template
Do you prefer Step-by-Step Instructions rather than a Template?


