Last Friday we gathered virtually for Coffee & Cardmakers!
![]()
Sheri & I had alot of fun CASE’ing the Catalog again this month. I love this challenge of taking something that Stampin’Up! Artists have created for catalog layouts and recreating them.
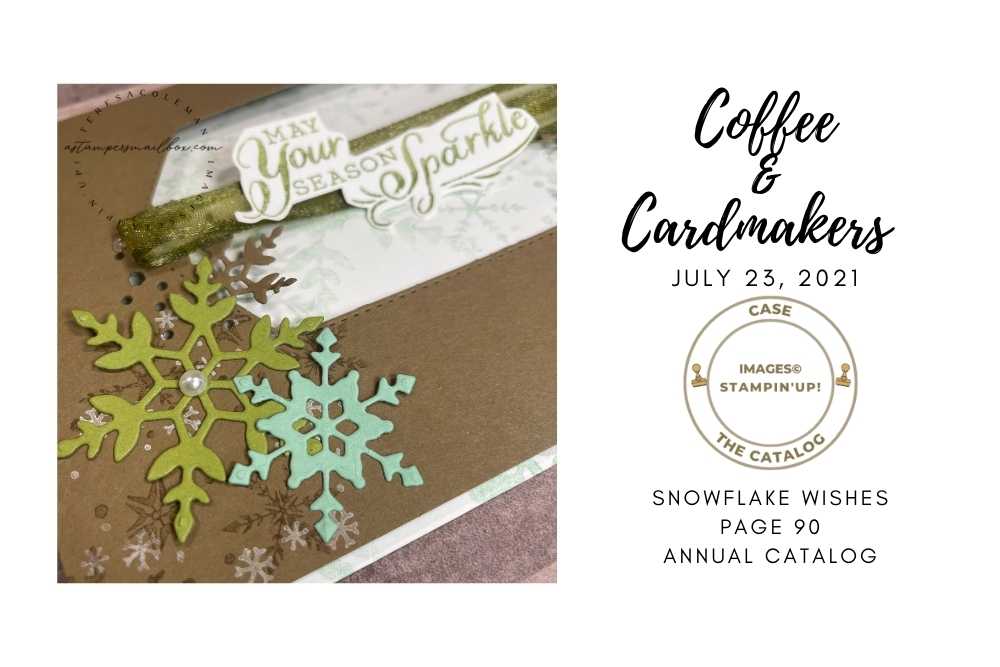
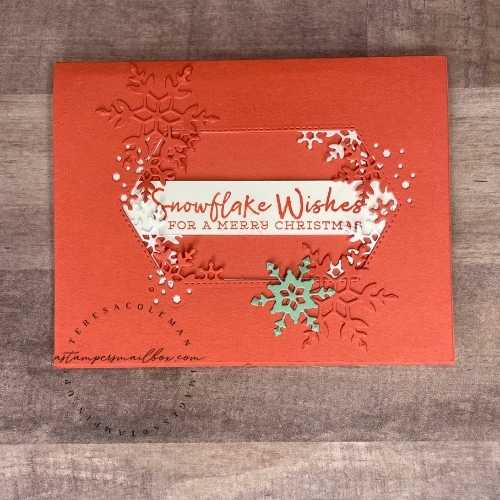
Snowflake Wishes page 90 from the Annual Catalog is our inspiration for this month.
Christmas in July with non-traditional colors. I LOVE IT!

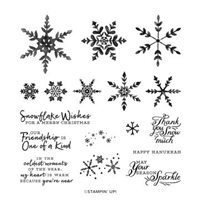
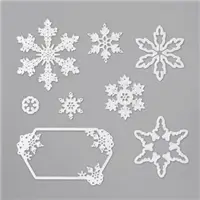
The details of this die and stamp set are truly stunning.
I varied very little from the card sample in the idea book & catalog. I love it that our catalogs have so many ideas contained that we could replicate one daily and likely not finish them all within one calendar year! So much creativity bound in one catalog!
OOOH speaking of catalogs!
The new mini-catalogs should be in your hands by now! If not- let me know!! It goes live next Tuesday!!
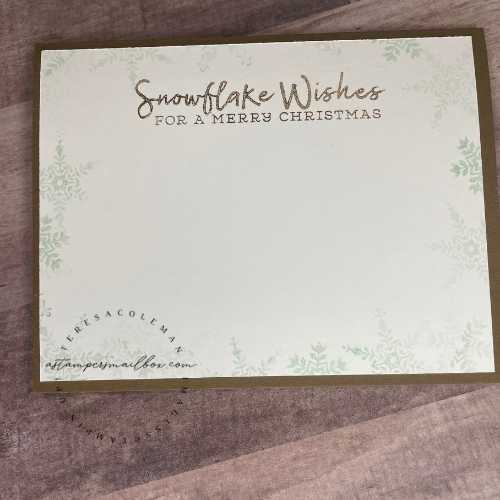
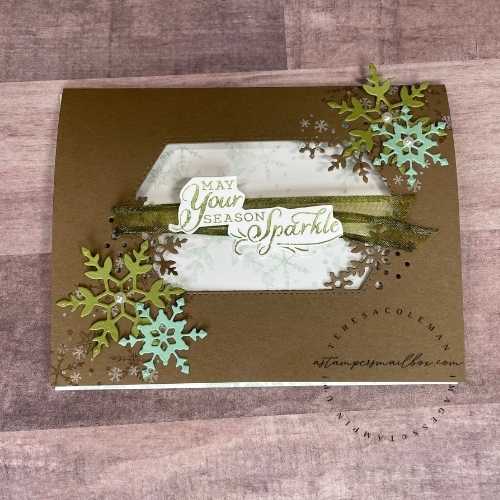
Inside or Backer? That was the question for this card- I wanted the hexagon & snowflake die with ribbon sentiment section to float as the catalog example seemed to indicate. Which meant the inside layer was just the beautifully snowflake stamped piece on its own with no other details. OK.. where’s a gal to write a holiday message? With Sheri’s input we decided to place it on the back. Sure why not?
I’m not sure the traditional “write on the inside” gal that I am can take non-traditional that far. Haha
With my 2nd card Sheri and I thought that a tri-fold would be a good way
to step this card up and keep the written message in the inner portion of the card.
Here is what I did:

Can you see on the white cardstock in the foreground- there is what looks like a seam? I added a ‘hinge’ – a strip of cardstock measuring 1″ x 5 1/2″ scored down the middle at 1/2″. For the card, I used the same layout, same colors- yet took that backer piece from the last photo and added it into the middle of the Soft Suede cardstock.
I adhered the hinge to the Soft Suede on the inner section bottom edge, then adhered the softly stamped inner snowflake piece to the remaining edge of my ‘hinge’.
This allows the front hexagon snowflake die cut portion with the ribbon
& sentiment to still ‘float’ on the front as you can see in the background of this image.
Stampers Tips: Floating the ribbon and sentiment need glue dots! But what to do about the tack of the glue on the back ? Do you have an old embossing buddy or an embossing prep tool? Take that and tap some powder on the back of the ribbon/sentiment where you’ve attached glue dots. Then you won’t have to worry that it’s going to adhere down to the inner pieces during mailing! As well, I needed something to hold the card together as it has added thickness – I grabbed Velcro dots. You can see one of them in the above image. Just enough to hold the card together.
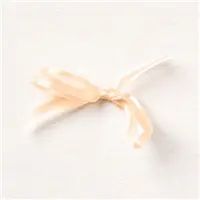
Ah, speaking of ribbon- this is the Open Weave In Color Ribbon in Pale Papaya! Yes, really! I took the dark Old Olive Stampin’Blend marker and colored it. It becomes this beautiful dark green ribbon that dries quickly and doesn’t transfer or bleed onto your cardstock! Alcohol markers to the win for custom colored ribbons!
Scroll back up and check that ribbon detail out!
I didn’t have the ribbon that Stampin’Up!© used in the catalog card sample, so I improvised.
Color & Ribbon swaps are a ‘stretch your supplies’ change –
we don’t have to have EXACTLY what the catalog shows!
Here are a couple of other samples I showed during the Coffee & Cardmakers gathering on Friday.
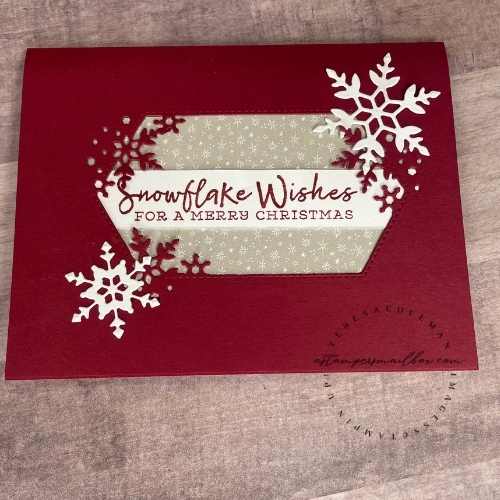
Traditional Colors of deep red and taupe with a touch of Tiding of Christmas Designer Series Paper (DSP) in the middle! I used an extra 1/4 sheet of Cherry Cobbler Cardstock in the inside to ‘hide’ the DSP.
Add a couple of Basic White snowflakes and this card is done.
Minimal stamping and quick assembly with the use of Adhesive Sheets applied before I ran the Basic White cardstock through the die cut machine.
Who would think that Calypso Coral ink & cardstock would make a fun Christmas Card!? I do! I really like this one! For a twist- I took the hexagon snowflake die again and ran plain copy / printer paper through – trimmed it down, flipped it over opposite side and ‘hid’ it between the Calypso Cardstock front and 1/4 sheet of same color. So that a POP of white shows though in the middle of the hexagon cut out portion. I did no other stamping on it just aded an additional color with a small Mint Macaron snowflake leftover from the CASE the catalog card making.
We really had a ball sharing some fun and getting a few cards ahead on our Christmas In July #holidays2021 cardmaking done! I need to count now and see how many I’ve got stashed for this year!
How are your holiday cardmaking goals going?
Next Month Coffee & Cardmakers Virtual Gathering will be held on Monday August 23rd!
There is a Stampin’Up! Demonstrator event being held on my normal 4th Friday. So I’m moving up to that Monday ~ let’s have Makers Monday! I will be sharing on Facebook Live that evening as well! Going to be lots of fun – mark your calendars! Remember- Coffee & Cardmaking Gathering is just that, a free hour and a half slot of crafty time that we chat, craft, drink coffee – Iced in this crazy heat, and have fun making!
I haven’t decided what I’m doing yet but I will soon!
Watch for my newsletter next week for more details!
I hope you join me for Coffee & Cardmakers Afternoon Virtual Gatherings!
Tri-Fold Card Measurements
- Card Bases: Soft Suede, Basic White 4 1/4″ x 5 1/2″ Score at 4 1/4″. (the Basic White will need to be trimmed a bit down to fit snugly within the Soft Suede base card)
- ‘Hinge’ 1″ x 5 1/2″ Score vertically at 1/2″ ( this is only if you are using 2 quarter sheets rather than a base of color and one of white)
Note: I had my card pieces pre-cut so I worked with what was at hand requiring the added ‘hinge’ piece- for your ease- 2 card bases listed above with your white being trimmed a bit is easier than what I did- imagine, 2 cards inserted into each other to create a tri-fold!
That’s all you need for the card structure.
Other Needs:
- Die Cut Snow flakes – I used Mint Macaron & Old Olive scraps to cut mine
- Adhesive Sheets – adhering this to your cardstock before cutting snowflakes is a huge holiday time saver!
- Ribbon of choice w/ Stampin’Blend Markers for custom color matching.
- Pearl embellishments
- Inks: I used Soft Suede & White Ink
- Velcro Dots: I picked mine up at Hobby Lobby. Amazon is a good source for them as well. Magnets could also be used to hold your card in place!
Here is what I used for these cards:


