Creating a DIY Scallop Trim Border is quick and easy with this technique!
Check this tutorial out!
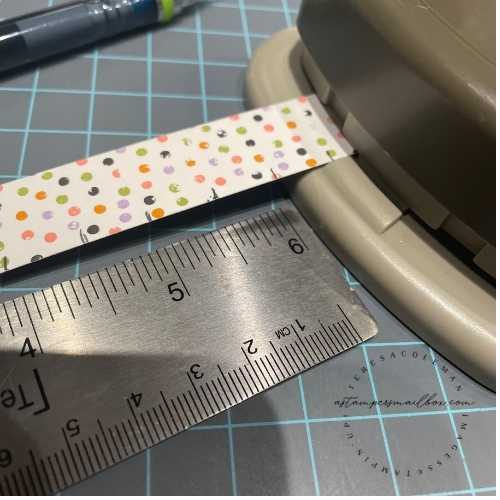
Try this out! It really is super easy- grab a scrap strip of DSP you have lying about, mark down one side every 1/2″, 3/4″, or 1″ fold on the tick mark insert into the corner rounder section of the Detailed Trio punch or any corner rounder you may have- punch and continue this fold/punch down the strip of paper and play with this technique!
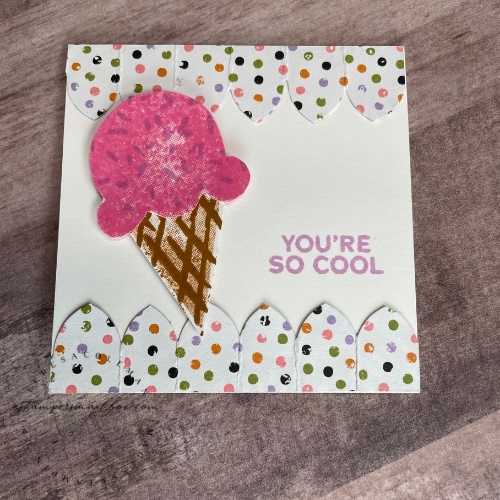
Narrow marks make a kind of pointy scallop look like in the photo with the drumstick ice cream,
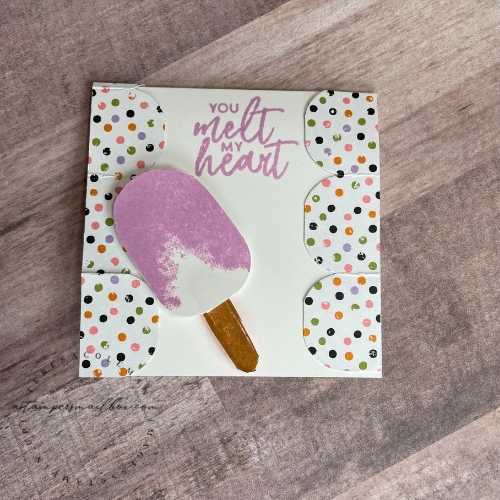
1″ marks make a wide rounded scallop like on the card with the grape popsicle.
If you mark every other side of your paper like in the blackberry popsicle it makes a unique trim element.
Here are some more photos of this idea!
Ruler & Pencil- super easy!
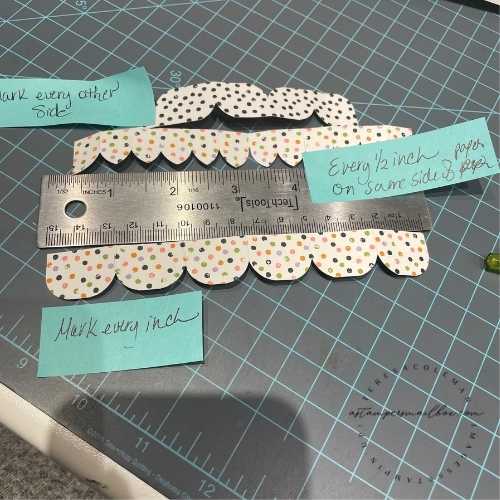
1/2″ marks make this pointy – ish look.
1″ marks this perfect rounded scallop trim
I marked every other side at 1″ – it’s hard to see the difference in this small section but the look is really fun.
Gift Card Measurements:
Strips of Cute Halloween Designer Series Paper 1″ x 6″
Thanks for joining me for this quick and simple fun tutorial! I look forward to seeing your take on a scallop border trim! Send me an email with a photo of your cardmaking and I will put your submission up into the gallery.


