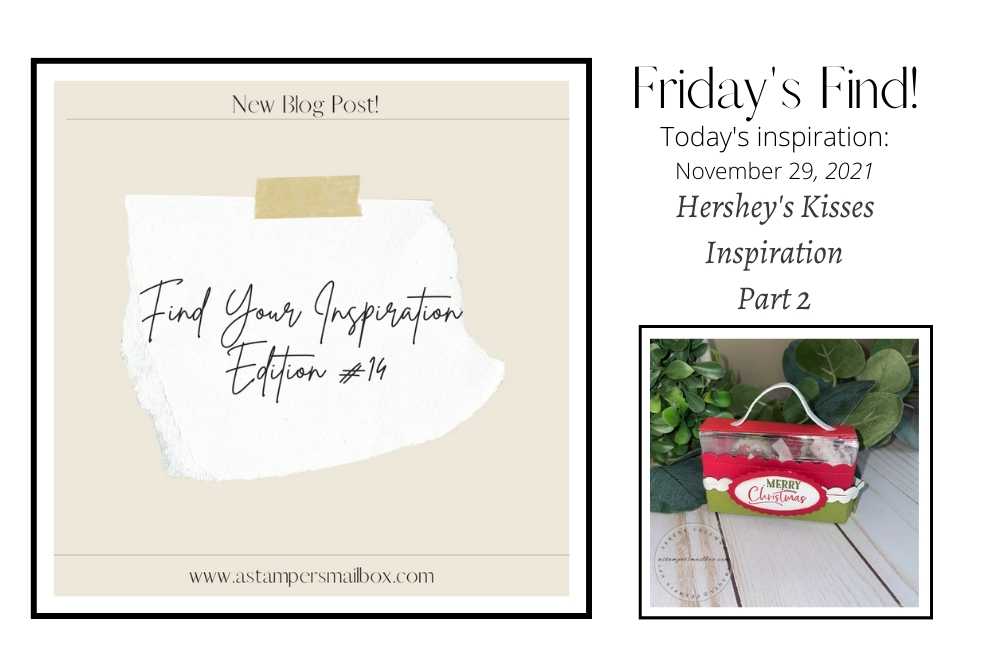
Find Your Inspiration Friday
A Stampers Mailbox Goes Grinch
Part 2
Join me today for a part 2 edition of Find Your Inspiration Friday. I posted this fun project last Friday very quickly as it was a holiday and I didn’t spend alot of time in the craft room or with the computer.
I thought it would be fun to share this project on Facebook Live and complete a full photo project tutorial here as well. These little acetate treat boxes are so versatile. I do some cutting and punching on this to turn it into a pull apart handled box.
Click on the above photo if to hop over to Facebook to view the video.
It is one hour long and details step by step along with some cheerful jibber jabber!
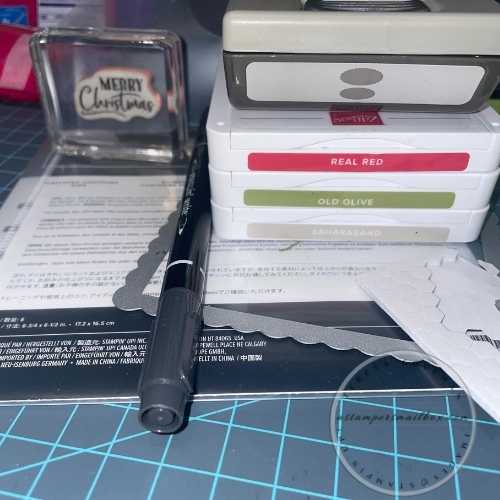
Gather Your Supplies
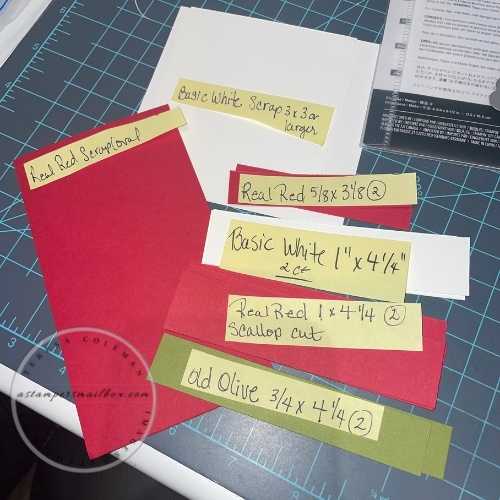
Supplies:
-
3 1/8 x 3 1/8 Acetate Box
-
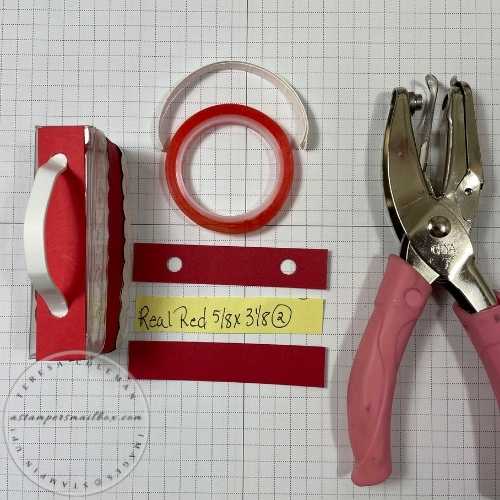
Real Red Cardstock
-
5/8″ x 3 1/8″ – Top of Box ( this hides handle ends )
-
1″ x 4 1/4 red Grinch Trim
-
Scrap large enough for Oval Punch
-
-
Old Olive Cardstock
-
3/4″ x 4 1/4″ base Grinch Trim
-
-
Basic White Cardstock
-
1″ x 4 1/4″ for scallop trim
-
1/2″ x 3″ score at 1/4″ down length – for handle.
-
3″ x 3″ scrap for Oval Punch
-
-
1/4″ Handheld hole punch
-
Red Line Tape – I specify this because of it’s super strong hold factor and has a clearer finished look than Tear n Tape.
-
Tear n Tape – to adhere cardstock layers to box.
-
Scallop edging: use anything in your crafty collection to make this: scissors, punches or die sets
-
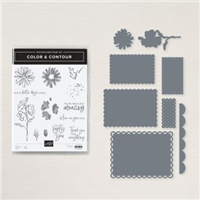
I’m using the 2021 Stampin’Up! Color & Contour Bundle
-
-
Oval Punch
-
Ink & Blending Brush to ‘dirty’ up the cardstock because ya know, Grinch is grungy:)
-
Basic Black Stampin’Write marker
Let’s Make This!
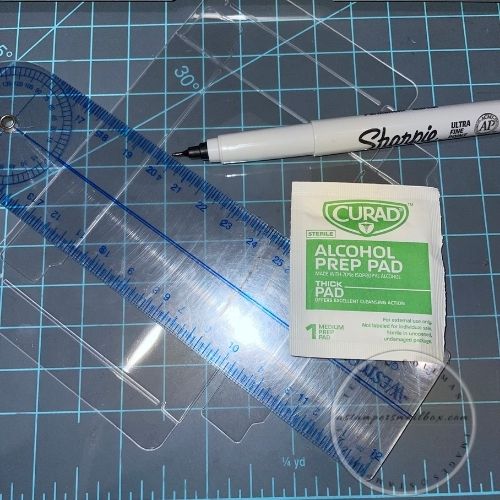
Use a ruler lined up to bottom edge of acetate box – marker a line with a Sharpie Marker. Cut the box along that line. I then used an alcohol prep pad to clean off the marker line.
Long Flaps: Run a strip of Red Line Tape – go ahead and adhere the bottom.
(Open up and crease the top section. Then using your hands give the top section a stretch. It won’t move much but stretching the plastic will help the top slide over the bottom. Now set the top section aside)
I put the long flaps on the outside of the box rather than the inside to allow a touch more room inside for the candy kisses.
Handle Portion: 1/2″ Basic White score down length at 1/4″ See Video time stamp 15:00 for How-to on the handle as well as my blooper! What not to do:)
To do:
-
Tape – run 2 strips of Tear n Tape down length of white. Fold in half and burnish well with bone folder. Then run the bone folder along the strip of cardstock to curve the paper.
-
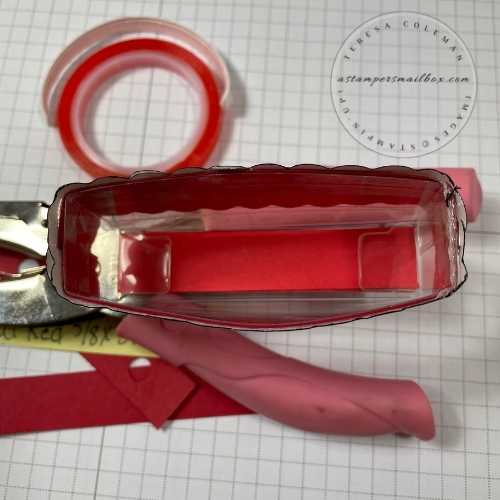
Punch holes (1/4″ office supply hole punch) 1/2″ from each end and lid end of top of acetate box.
-
Use Tear n Tape on the pc with the holes- don’t remove backing yet.
-
Use Red Line tape on the ends of the Basic White sections. Time stamp 25:00
-
Feed them into the holes of both the red hole punched piece and lid section of acetate. – bending when you have the handle section the length you want. Remove backer of Red Line tape adhere to acetate then remove backing from the Real Red cardstock. See the video if my sentence seems fuzzy.
-
Now put Tear n Tape on the other Real Red 5/8″ x 3 1/8″ piece. It will go on the under side of the lid to hide the ends of the handle.
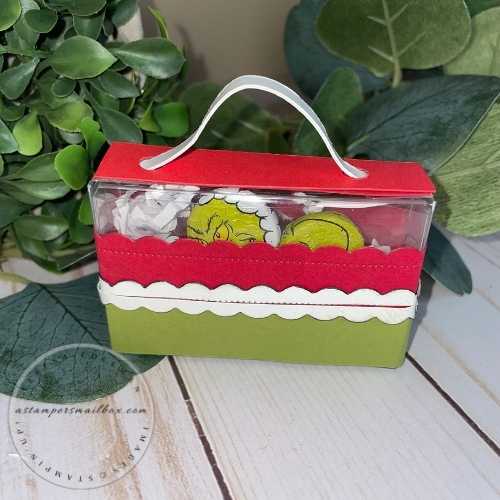
Die cut, blender brush and make ready to adhere all the Grinch layers.
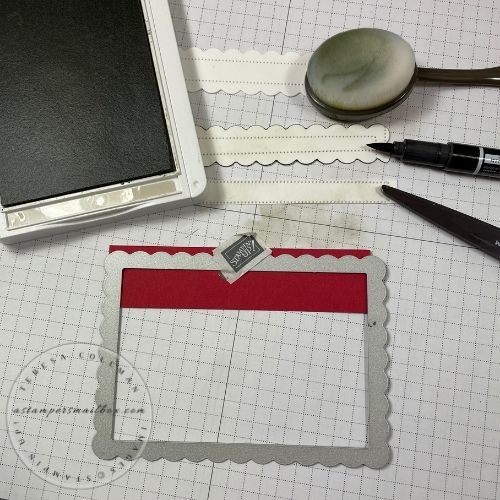
Prep the white by using blender brush on ink that will ‘dirty up’ the white. I used Sahara Sand Ink. Then take a Stampin’ Write Marker to add black detail of the edged of the white. We want to mimic the Grinch look as much as possible. Taking this extra step will help with that! If you don’t have a Stampin’Up! marker- any black marker that will give you a fine line edge will work! Cut apart just to either side of dotted line. I saved the cut piece- I think this will make a cute Santa Belt.
Old Olive on base / bottom of box.
Real Red scallop edge up. Tape the straight edge right against bottom cut line.
Now the white double scallop. Using tear n tape hanging off the bottom edge of the red section- pull the backer off and roll the tape back on itself.
To see what I’m referring to go back to the video and fast forward to time stamp 40:00.
If you don’t want to view the entire video – the 40:00 Minute mark will show you how to do this part!
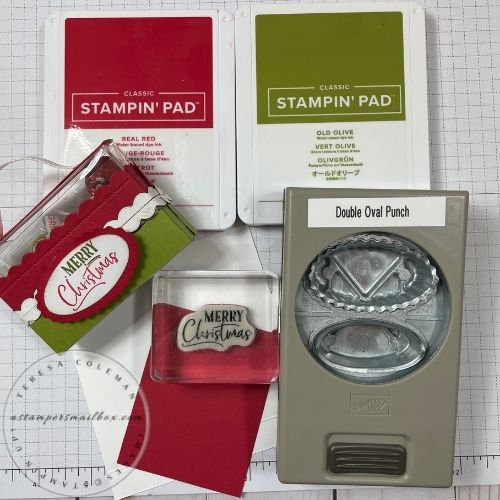
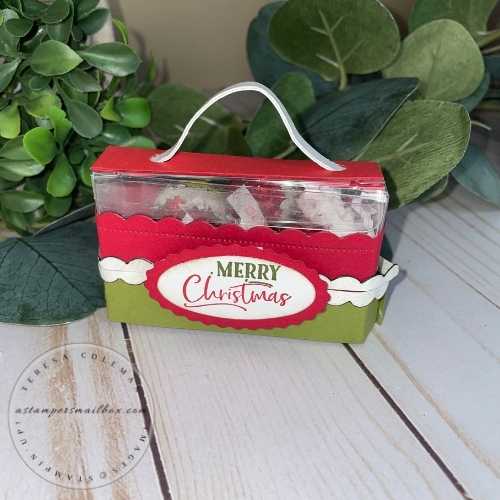
Now it’s time for a greeting! Any small holiday sentiment you want to use will work here. I used Old Olive for ‘Merry’ and Real Red for ‘Christmas’ To mask off the words for 2 color inking on one stamp I used post-it tape. See time stamp 48:00 for a blooper and really how I did the masking successfully! (haha). You could also use Old Olive and Real Red Stampin’Write Markers if you have them!
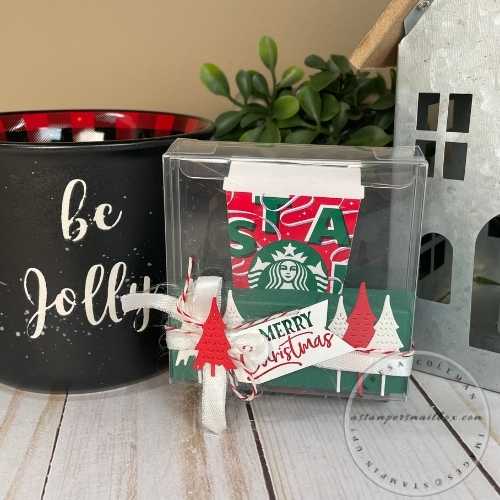
Here’s the finished project again. Note- this is my original prototype project sample and the side has come loose- in the video I show how to fix this. See time stamp: 41:44 to see where I added a touch of glue to the ends of the scalloped portion together.
This altered Acetate Card Box will hold 6 Grinch Hershey Kisses and a touch of white shreddie paper to keep the kisses from moving around too much.
_______________________________________
Here is one more fun project to show off Hershey Kisses and Acetate Boxes!
These are really Holiday Handy!!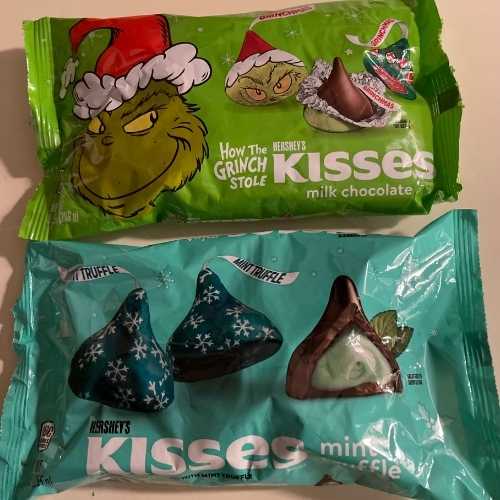
I needed an idea for the Mint Truffle Snowflake Kisses.
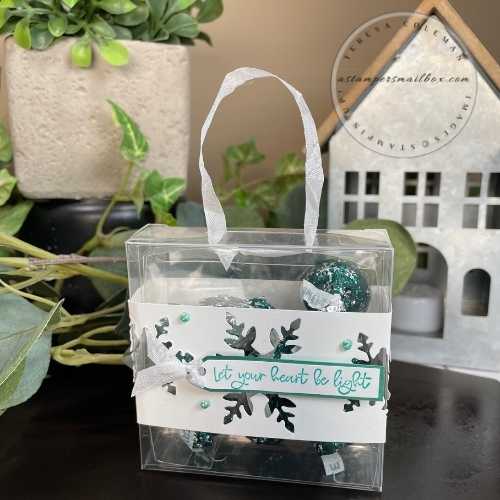
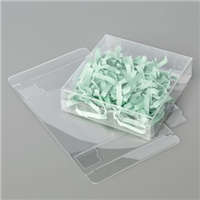
I made a candy tray from Window Sheets- Time stamp 54:14 of video shows you how this Kisses Treat Box works. Whisper White Seam Binding Ribbon became the handle this time.
(note the video does not show how to assemble the tray- just how it slides out of the acetate box w/ ribbon. )
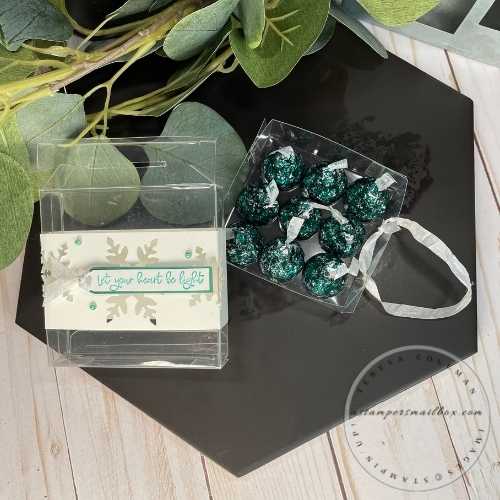
This treat box holds 9 Hersey’s Kisses.
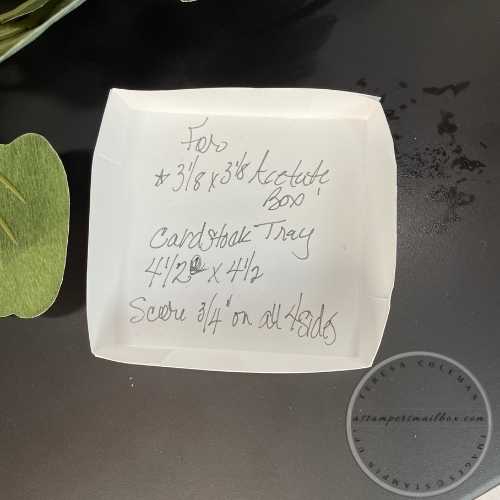
Here is a ‘quick hand written’ how to on the Window Sheet Tray/Cardstock Tray. I labeled it Cardstock- as you sure could use cardstock if you don’t happen to have any window sheet in your crafty stash!
Cardstock/Window Sheet measurement: 4 1/2″ x 4 1/2″ Score on all 4 sides at 3/4″
Assemble as any box lid would be.
A Stampers Mailbox Goes Grinch
Part 2 Full Supply List


Clicking on the tiny words ‘project supply list’ above will open a document with all the products used int today’s tutorial. My contact info is there too- feel free to text me or even leave me a comment right here on this blog post! I would love to hear what you think!
This is a super fun #asmholidays2021 Goes Grinch project! I give shout out and full credit to fellow demonstrator Amy Kombs presented at a recent Stampin’Up! Demonstrator Convention. She did a really cute baseball themed kids birthday party treat holder. She cut the acetate box down like I did and used Baby Ruth mini bars to fill it with. Super cute baseball themed ideas!
I think this idea has so much candy potential! Share your projects with me on Instagram or Facebook using #asmholidays2021
Happy Holiday Project Making!
Teresa
PS: At the end of the video I showed this cute gift card holder using this same size Acetate Box- here’s a photo you can click on to see the directions and full photo tutorial!

