FYI*F* Upcycled or Recycled
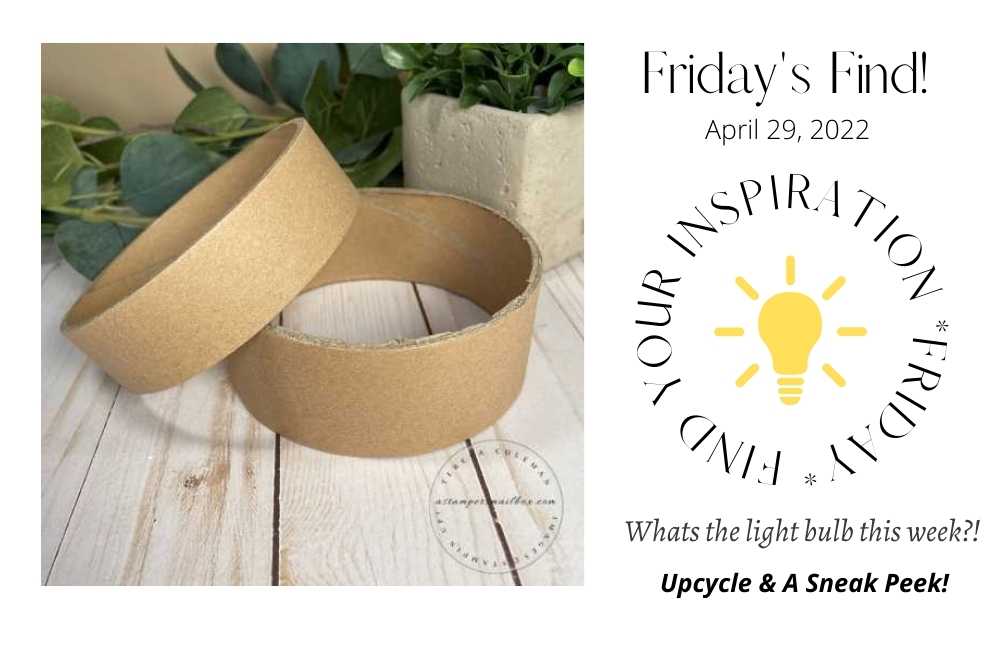
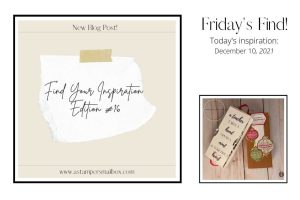
Whichever word you want to use… I call it Find Your Inspiration Friday! FYI*F* That’s the acronym I use for Friday’s blog posts. Today’s inspiration comes from an unlikely source… round packaging inserts from Ninja Brand Pots & Pans. This is going to be fun!
Do you look at random things and think “I can make something with that” ?
Then it hangs out on your kitchen table or maybe it gets moved to your craft space and you have to look at it for a few weeks? That, exactly!

These have been hanging out since we purchased new pots & pans from Costco. (several weeks ago) Crazy to keep these, I know – but I knew that when I had the time and some new products – these would make a stunning yet low effort ‘box’.
OK.. now that’s it’s done – maybe the label “low effort” is inadequate but it definitely is not hard and didn’t require any of that pesky four letter word: MATH!
This article is quite long and includes alot of detail!
I hope next time you have items like this you will be inspired to take them into your craft room!
Isn’t this paper lovely? Sneak Peek of the new incoming Sun Prints Designer Series Paper – can we stress the word Designer? This paper will be on everyones wish list! I’ve paired it with one of the new 2022-2024 In Colors aptly named Starry Sky.


I think it’s a beautiful shade of just the right blend of dark blue with a hint of deep purple. You know, the sky in the summer when it’s deep dark yet tinged with a slight hint of moonlight. I predict this is going to be a crafters fave for sure!
These products will be available on May 3rd.
Just a few days left to go!

Catalogs have all been shipped with a few still to hand deliver… if you aren’t sure you are on my mailing list- please contact me to request one!
I’m happy to post one out to you.
Let’s jump into to this project!
Measurements:
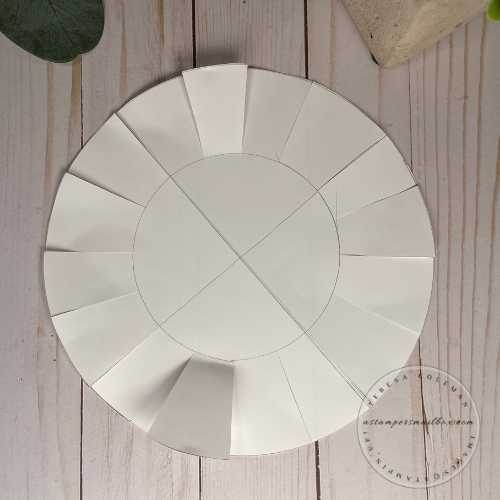
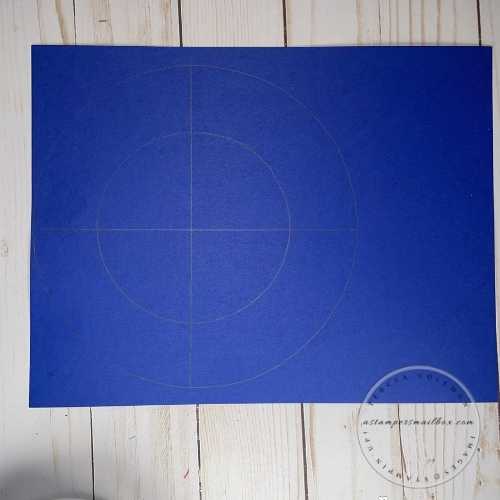
The joy of this – there are no measurements! The above photo is my practice on copy paper – it looks like measurements but it’s not- I put my kitchen to work. I’ve included this as a simple visual because my photos on the Starry Sky Cardstock – the drawings are rather hard to see.
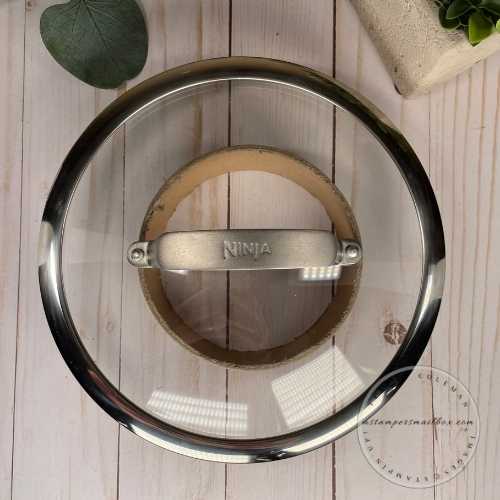
I grabbed one of the saucepan lids to see how it would fit on the taller of the two cardboard pieces to use as the base. It’s a great fit!
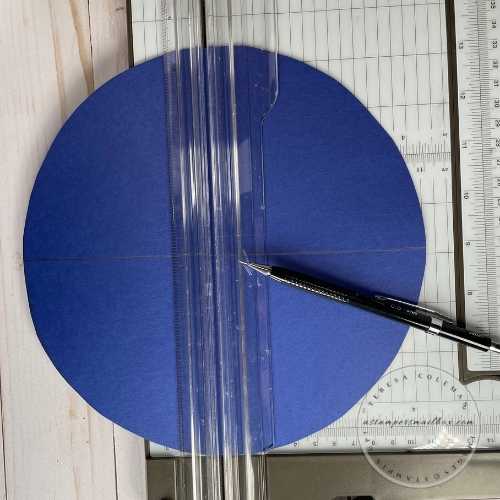
After tracing & cutting the saucepan circle, I placed the drawing into my paper cutter to check the width to get a general idea where the center is.
This circle is apx 8 1/2″ wide so I place one side at the 4 1/4″ mark then used a pencil placed in the cutting track to draw a crosshair center.

Next, I placed the cardboard round as centered as possible to trace the inner circle. By doing these extra tracing steps I know for sure how far in I need to cut. Because this is a round shape, I felt that ‘pleating’ the cardstock would be the best way to cover these cardboard rounds.
I used the ‘quarter’ sections as my guide- I cut in the middle then towards each drawn crosshair line apx. 1″ apart up to the inner circle drawn line.
This allows the cardstock to fold up and pleat around the base.
As you can see in the above photo, 2 strips of Tear & Tape made this easy.

Some layers needed a touch of Multipurpose Liquid Glue to hold them down. I wasn’t too worried about perfect gluing on all the pleats, corners and edges as I knew I would be running a strip of either decorative Designer Series Paper or Cardstock over the to hide the pleats.
Time to repeat the process for the lid.

I grabbed a clear dessert plate for the lid.
The depth of the 2nd cardboard round is much shallower.

Use the paper trimmer to make easy crosshair lines again then line up the lid cardboard round.
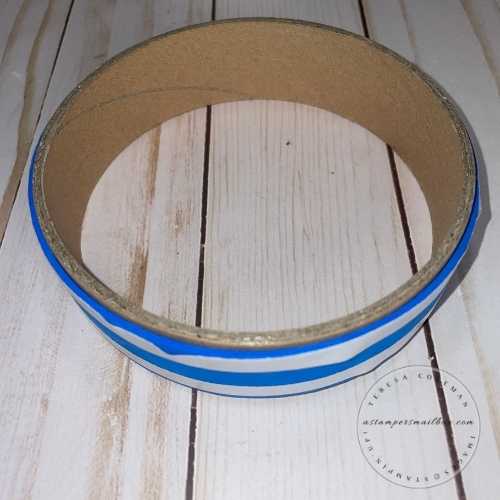
The lid needs a way to fit over base so, I decided the easiest way was to ‘extend’ the diameter/width of the lid without alot of hassle was to simply glue a strip of fun foam to the outside of the cardboard round. Now, the overhang of the cardstock edge should allow the lid to slip over the base to hold the lid in place. Perfect!
Then I used 2 strips of Tear & Tape as on the base to adhere the Starry Night Cardstock.
Follow the directions above for covering the lid piece.
Now, let’s make it pretty.
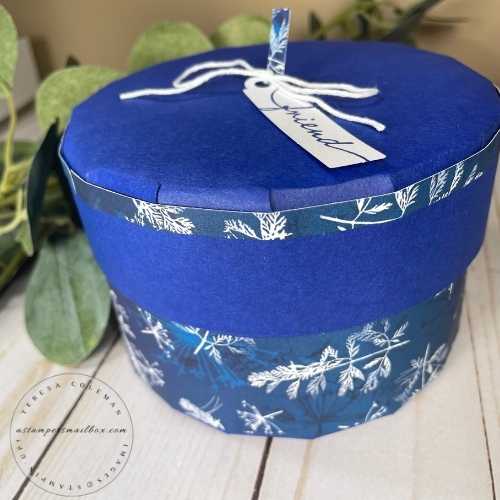
I kept it simple for the box design by running a wide strip of Sun Prints Designer Series Paper (DSP) around the base of the box.
For the lid, I first used Starry Sky In Color Cardstock then another narrow strip of the same Sun Prints DSP to bring it together.
For the lid pull- I turned the lid upside down using the penciled cross hair for my center guide: I used an X-Acto Knife to cut a small slit in the lid. Now, take an eraser to remove the cross hair lines.
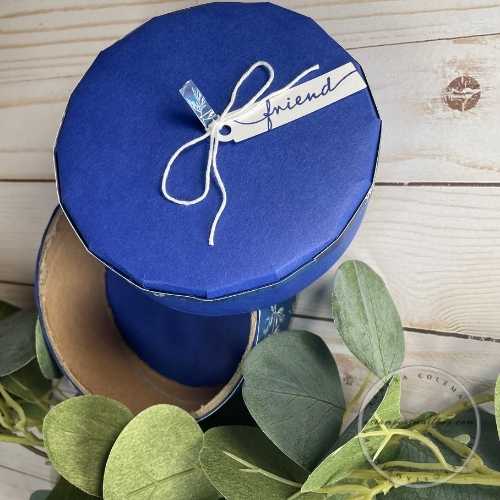
The white tag with the word ‘friend’ stamped on it, the banner tag is pulled from a Paper Pumpkin kit- I had extras left over and I loved the rounded top of this tag!
The photo below is a link to pop over to Paper Pumpkin to learn more about it!
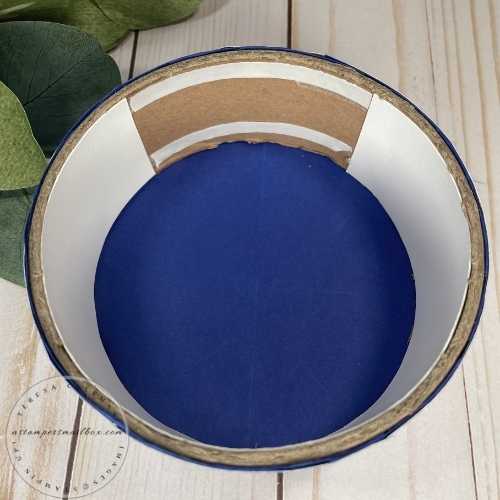
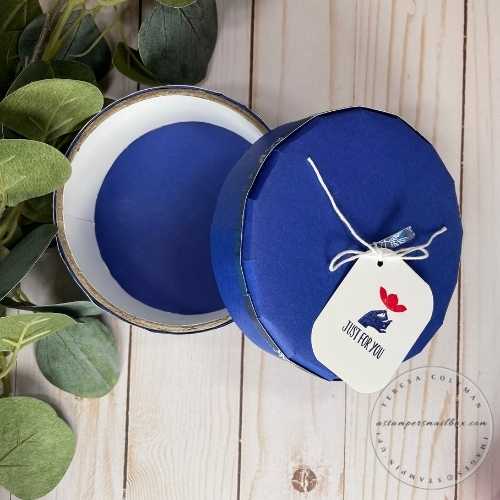
This needs something to cover the cardboard on the inside too.
I chose Basic White Cardstock to line the inside. Using two strips of Tear & Tape like I did on the outside makes this easy! Tip: Don’t pull all the backing off at once, pull just enough of both strips that you can grab them easily- adhere the leading end of cardstock and pull the backing as you go along adhering small areas at a time working your way around the circle.
I’m confessing myself stumped to what to do with the upper top edge. The packaging round cardboard is a bit on the rough side. If this were a square edged box rather than round – I would have brought the cardstock around the edges adhering the lining as the first task rather than the last.
So for now, it’s just going to be au’naturel.
I just have to say it again… this paper is so lovely!
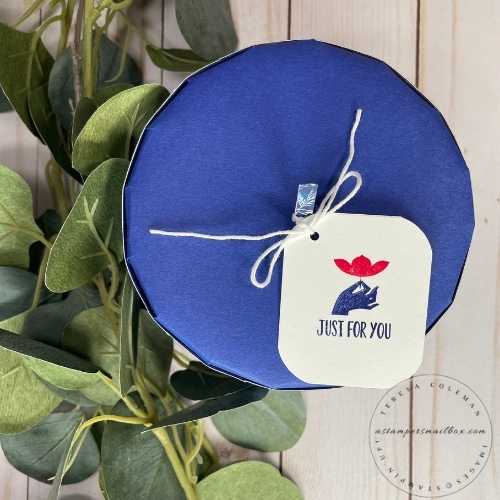
After making the above simple tag – I decided to change it up!
New markers!
In Color Starry Night & Sweet Sorbet are perfect for this tag.

Here is another photo of the inside and a different sentiment. I’ve paired this with a sentiment from the new soon to release ‘Limited Edition’ stamp set.
To create this shaped tag- I grabbed this punch: Label Me Fancy to use it as a corner rounder.
It is carrying over into the new catalog but the Detailed Trio Punch that includes a corner rounding section will not be.
It’s a great way to get more use of a punch!

I really like how these corners now have a soft curve.

One last photo of the box with the 2nd tag.
Finished dimensions of this box are 4 1/2″ Wide x 4″ Tall.
Starry Sky Box Basics…sneak peek means no links to new products…yet!


