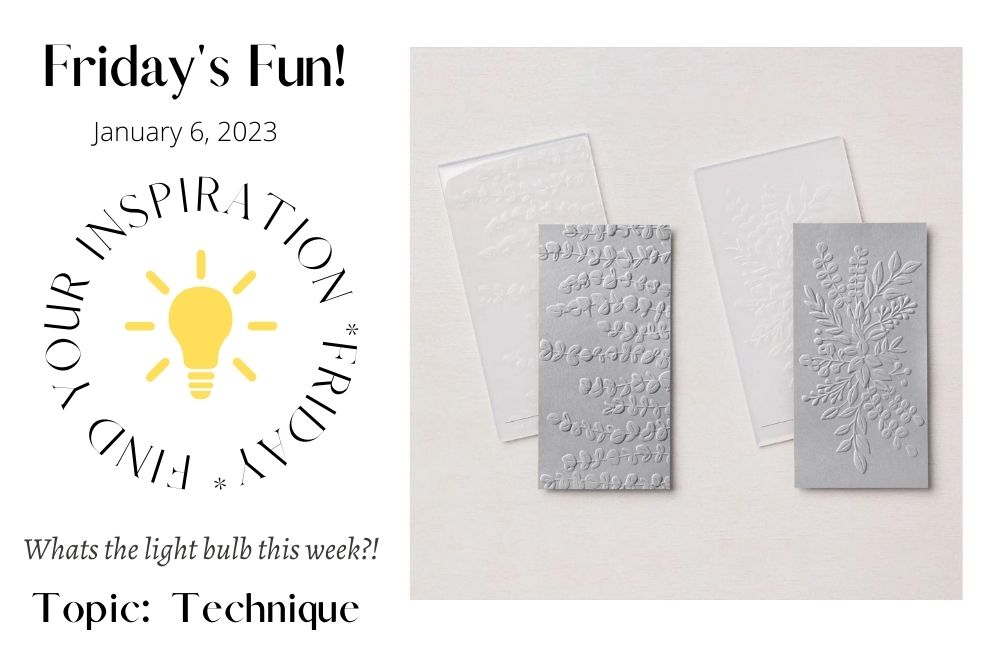
Techniques! Today’s installment of FYIF: Tear Off Series Part 4 is inking embossing folders. I’m keeping this post brief to show technique process not projects. I’ve taken some time off from the blogging for Thanksgiving holiday travel as well as early HOHOHo gift giving all of the holiday & new year busy was so much fun but of course crunched my time on prepping, wrapping & shopping ahead.
So I let the blog take a pause so I could play Mrs. Clause! ( I rhyme :))
Today, having a play is the goal – not to complete a project- just ink to paper to see what comes out! Sometimes good, sometimes MEH, sometimes just needs time to simmer in the creative flow for a while!
Let’s see what happens with this idea!
You know how techniques that have been around for a long time that give you the
“why haven’t I done this in a while?” question…
This is that thing for me.
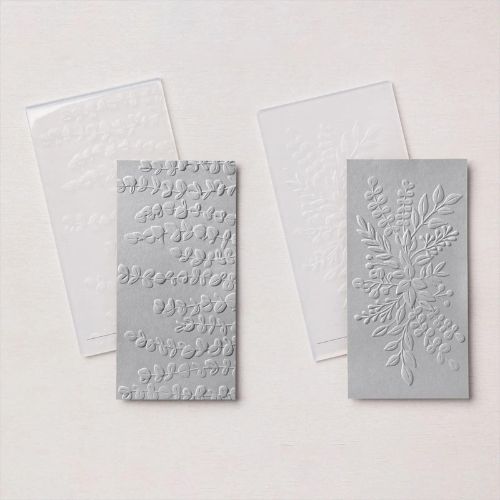
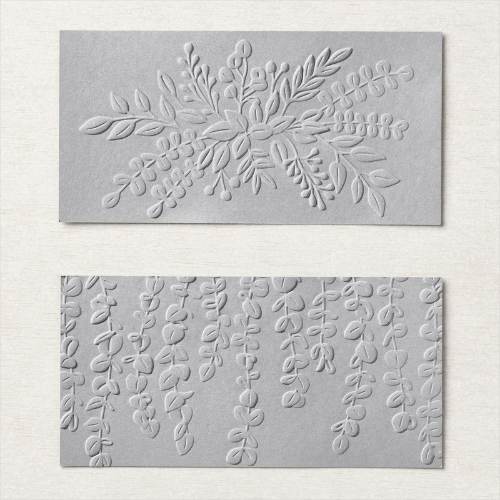
I chose this 2 pc embossing folders set Elegant Eucalyptus because they are 3D which means there will be alot of depth & dimension with the ease of simply running paper through a Stampin’ Cut & Emboss Machine or any die cut machine you may already have!
Here are a few images straight from the Stampin’Up! online store. I brought these in to the blog article to show the detail without color before I jump into today’s technique of inking embossing folders.
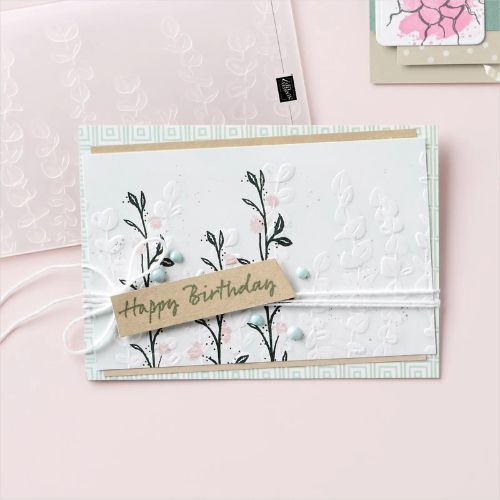
This card was created by the designers at Stampin’Up! When you look at the embossing folder it sure doesn’t seem like it would make for a spring inspired card with so much understated elegance.
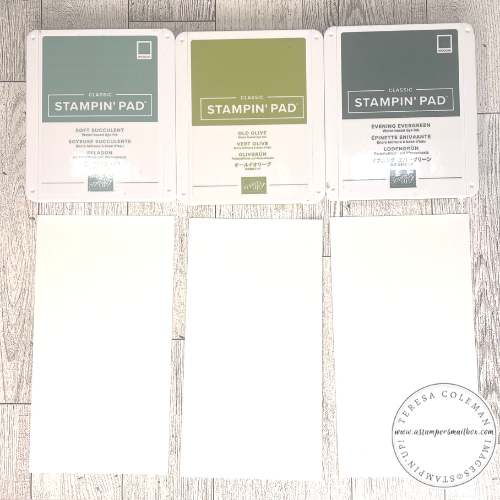
Now lets have a quick play with ink. I’ve chosen a range of green hues to use on today’s technique.
Supplies:
Basic White Cardstock 3 3/8 ” x 6″
Inks: Soft Succulent, Old Olive & Evening Evergreen
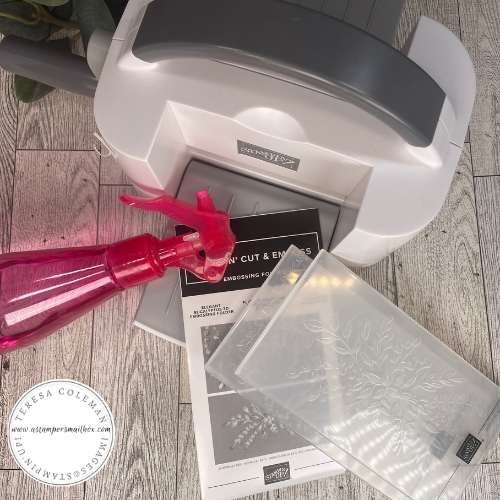
Stampin’Cut Embossing Machine
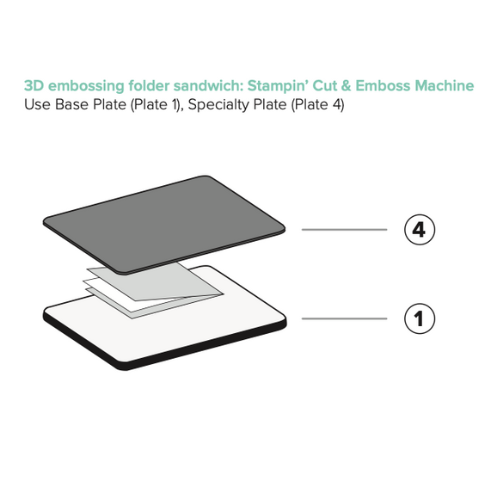
Plates: Platform #1 & Grey Plate #4
**The above diagram for your Plate ‘Sandwich’ is direct from Stampin’Up! Click on the image to go read all about using the Stampin’Up! Cut & Emboss Machine.**
Note: When using your Die Cut/Embossing Machine: use caution when first using a 3D Embossing folder- these are thicker than standard folders – you will have to adjust your plate usage.
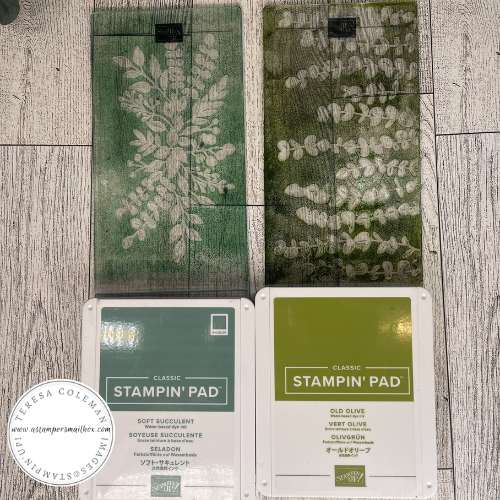
These first 2 colors trials are inked with Soft Succulent on the left and on the right Old Olive ink pads. Inking done on the side of folder with the Stampin’Up! Logo.
To Ink: simply open pad fully – locking back and pad together – hold upside down and pounce ink onto folder. Be generous to get good ink coverage. Make sure to use very wet ink pads.
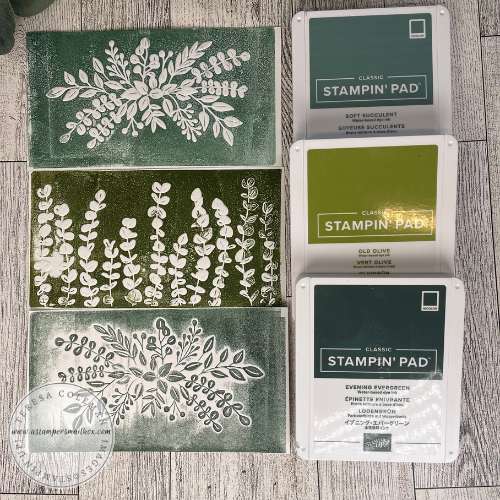
The 3rd color is Evening Evergreen and the folder is inked on the opposite side from those above. It’s been a while since I played with the technique. From memory- the best coverage comes when you use the side with the Logo.
Let’s see how they all came out!
Top: Soft Succulent/Stampin’Up! Logo Side
Middle: Old Olive/Stampin’Up! Logo Side
Bottom: Evening Evergreen/ Opposite side
Compare top to bottom images.
The bottom has alot of open white space while the top image has full ink coverage.
Which do you like best? I like them all!
Tips
Always run embossing folders through the machine hinge-first. This keeps the folder aligned while it goes through the machine. If you insert it open-ends first, the two sides might not stay aligned, which can damage the folder and the hinge.
Place the hinge edge of the folder approximately 1″ (2.5 cm) from the end of the Cutting Plate. If it’s placed too close to the end of the plate, it’s harder to turn the handle to run the sandwich through the machine.
If you’re not getting a deep enough impression on the cardstock, you can spritz the cardstock lightly with water, put it in the embossing folder, then run it through the machine. This weakens the fibers in the cardstock and allows for a better impression.
Add a shim. Be sure that the sandwich is not too high. If it is too high and you force it through the machine, you can damage or ruin the machine.
With dense designs, you might see some cracking on the embossed cardstock. To prevent this, break the fibers in the cardstock before you put it in the embossing folder.
Watch future blog Friday Tear Off Series on Color for some ideas on how to finish these card fronts.
Look in your collection and have a play with this technique. It works with any kind of embossing folder!
Clicking on the Project Supplies will take you out to my Stampin’Up! Demonstrator Website – you can view a photo of today’s project along with a filled shopping cart. To get only the items you need or want – simply UnCheck the items you don’t want.
Thank you for joining me on this long overdue addition to the Friday FYIF Tear Off Blog Series. I will be back next Friday with the next installment!


