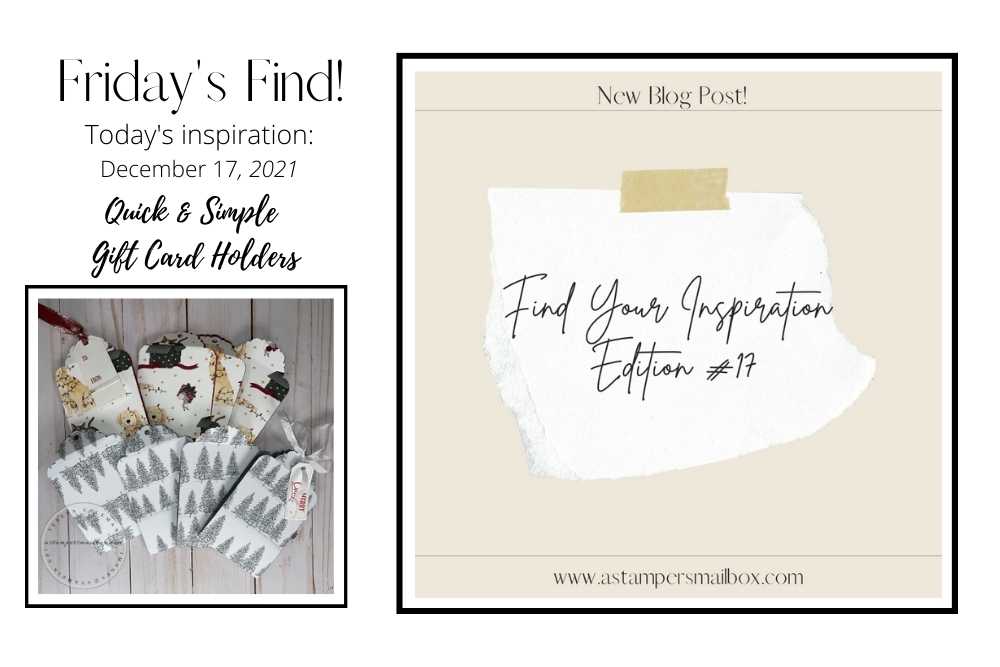
Today is a get the things done kind of day! Let’s make some Quick & Simple DSP Gift Card Holders. It’s the last Friday before Christmas weekend, time to knock out some quick projects to use up those full sheets of Designer Series Paper that you still have hanging around. Making use of these papers in a fast & easy way was the inspiration and this project knocks out a bunch of super simple giftables in no time!
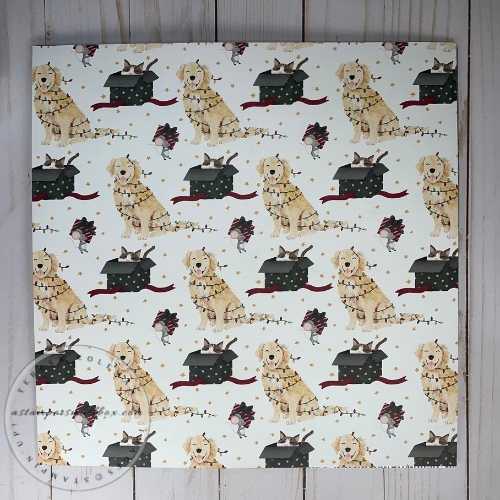
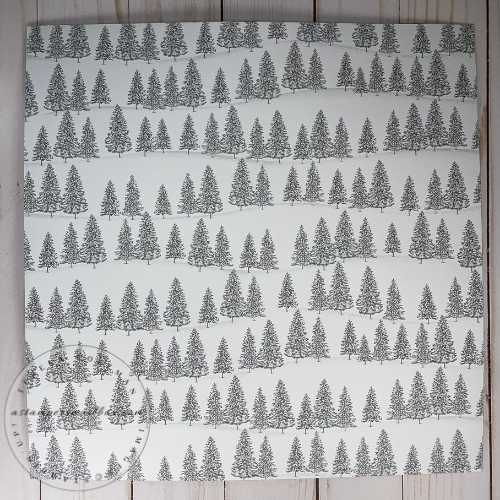
I grabbed a couple of full sheets that need used up. These are from the soon to retire Mini Catalog.
Lot’s of photos to walk you through the process! It really is fast!
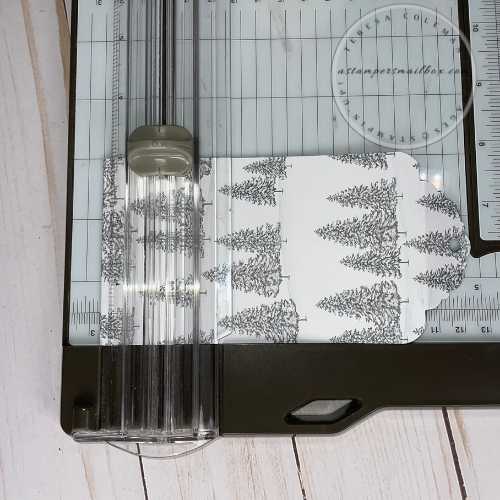
Step 1: Cut your 12 x 12 sheets of patterned paper down to 3″ x 12″ strips.
I cut these two sheets together to save time.
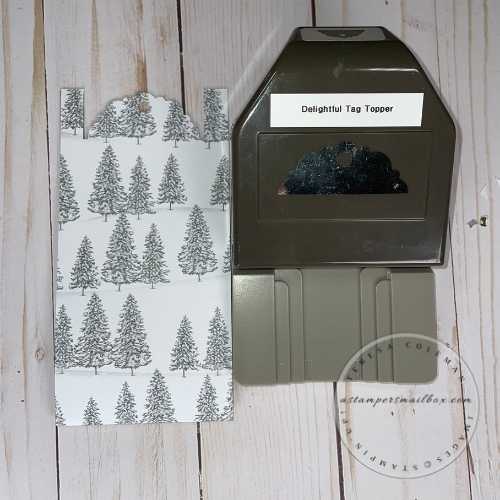
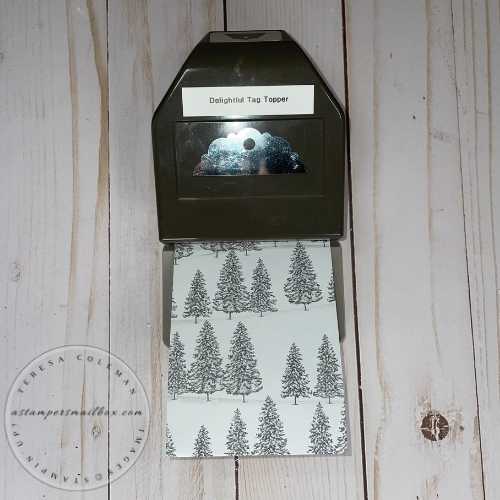
Step 2: Fold all your strips in half. Now it’s time to punch the top.
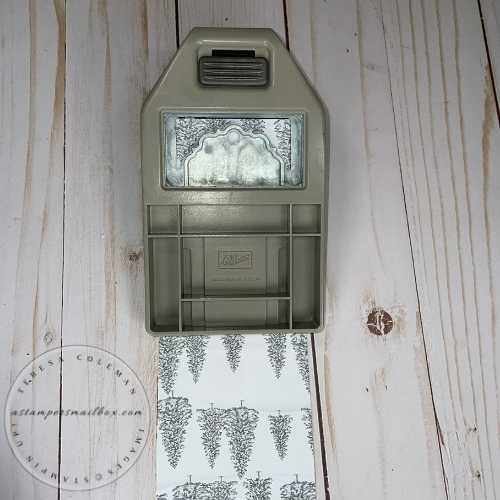
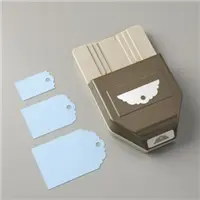
I used the Delightful Tag Topper punch. You might be thinking – but Teresa, this strip of paper is wider than the insert for this punch. That’s true, but if you gently wedge the paper through lightweight paper as shown, it will punch just fine- even folded double like I’m showing here.
Once you slide the paper into the punch making sure it’s all the way in and in the midline you are ready to punch.
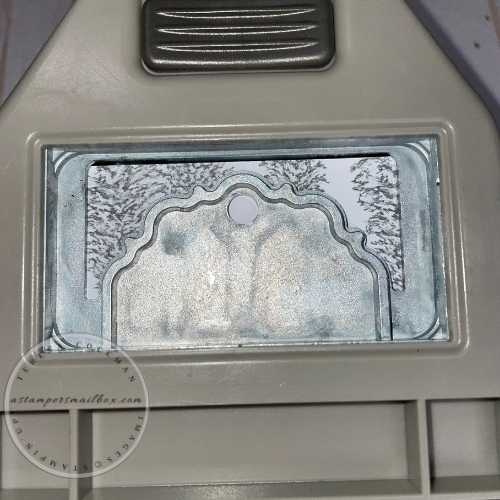
Tip: I suggest flipping the punch over before to make sure it looks good from the back. Once you get a feel for this you will be ready to do each one and punch through your stack of folded strips in no time!
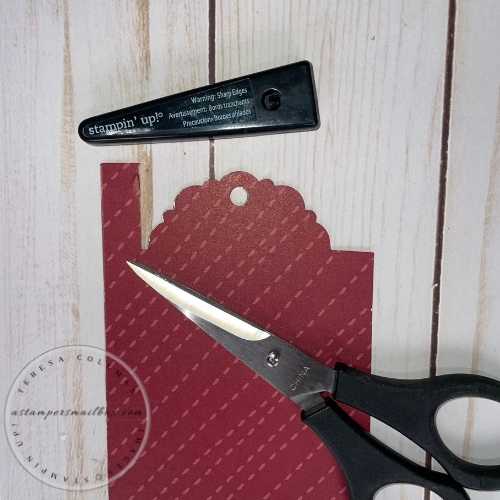
Step3: Now that you have punched all your strips – you can stack them all together and cut the tabs off.
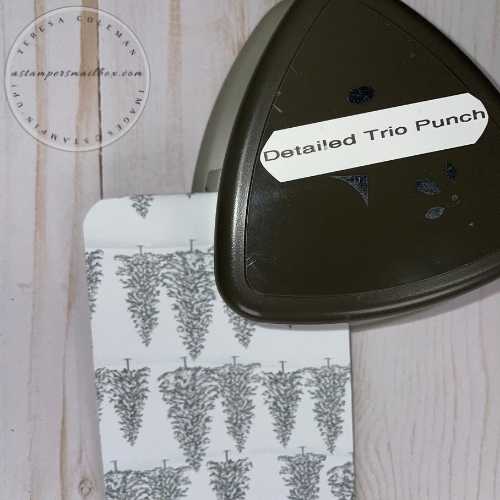
Step 4:Fold all the shaped ends down to tuck into the Detailed Trio Punch to round the corners.
Step 5: Score each at 1″ on the folded end.
I suggest flipping the folded paper over to score both sides at 1″
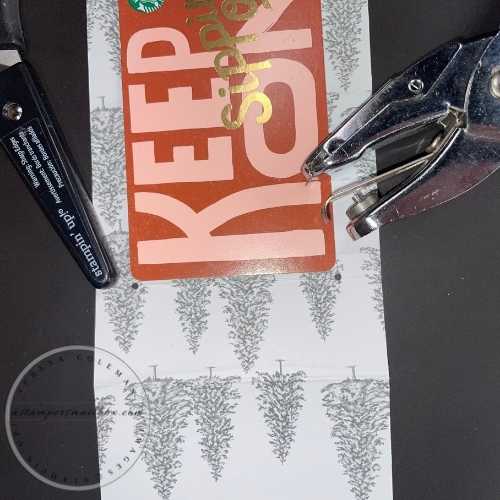
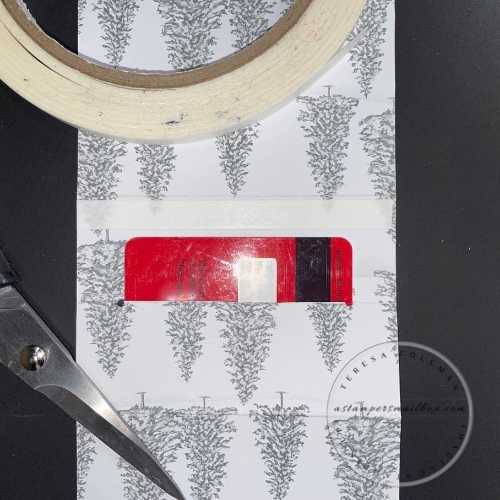
Step 6: Mark where to punch the tiny holes on the center fold line. I like using a 1/16 hole punch to give me a quick start/stop guide to cut the slit for the gift card to slide into.
Step 7:Now that you have one punched and ready- stack all of your strips together and align the punch back into the first hole punch and repeat on the entire stack. In this photo, there are 8 strips.
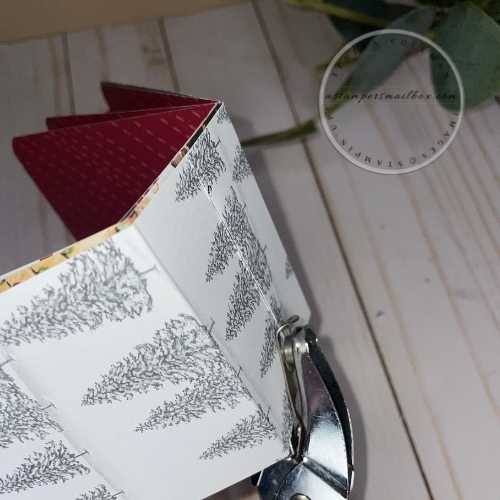
Step 8: Cut between the holes you just punched. Then add a strip of Tear n Tape just inside one of the score lines. One strip of adhesive is all that is needed.
Step 9:Remove backing and and adhere so that the middle area is upward/inside.
Step 10:Time to decorate! Use up those leftover tags, ribbon, embellish anyway you like.
I kept these super quick and super simple by using tags and that’s it.
You can jazz this basic idea as much or as little as you have time and creative flow for!
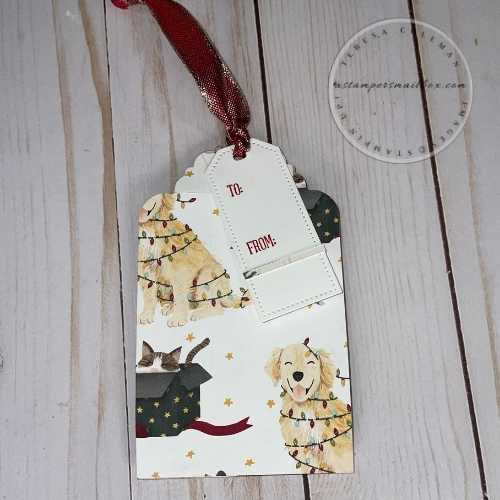
Sweet Stockings Designer Series Paper makes a fun and whimsical gift card holder for the pet lovers in your life! This cute paper is already out of stock – but I’m sure you have lot’s of fun patterned paper in your crafty collection to make something adorable!
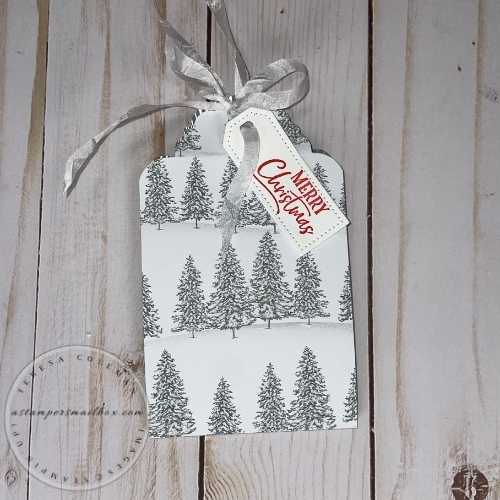
This Gift Card Holder is made with Peaceful Place Designer Series Paper- it too is out of stock:(.
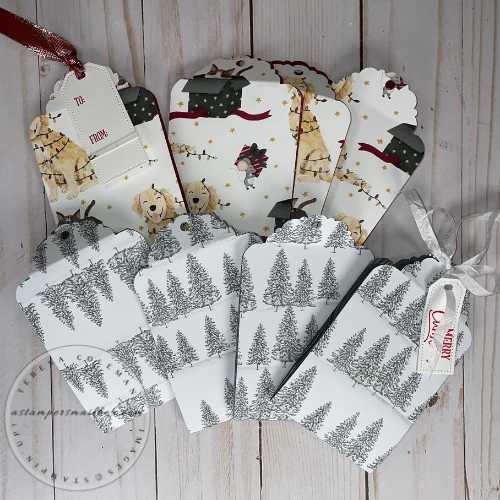
I am using up what’s in my stash to make way for new paper releasing January 4th!
Here is a photo of my whole stack – that isn’ t quite done yet, I need to make some more tags and that’s an easy thing that doesn’t need to be put in the blog post today:)
I’ve linked the above photos to previous tag making articles.
I’ve only included the base tools you will need for this project. As it’s too late in the month to order Christmas items. I encourage you to use up your crafty stash of papers 🙂
I hope you’ve enjoyed today’s Quick & Simple Find Your Inspiration Friday!


