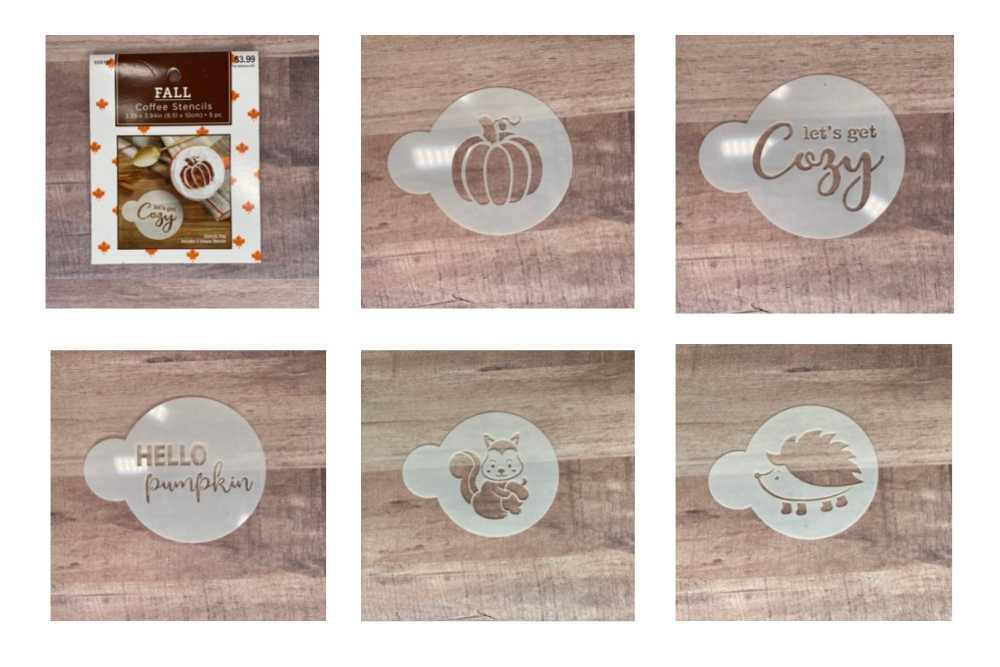
Bread & Tag Gift Squirrelly Gift Set: October 15, 2021
Let’s Get Cozy Coffee Cup with Gift Card Insert: October 22, 2021
Hello Pumpkin Baby Onesie card: October 29, 2021
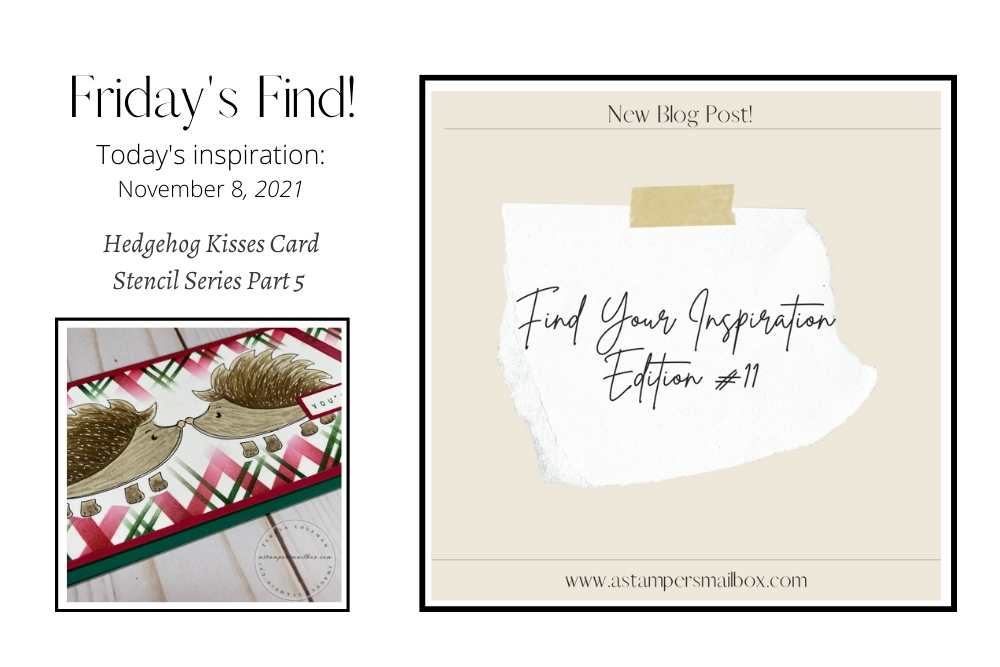
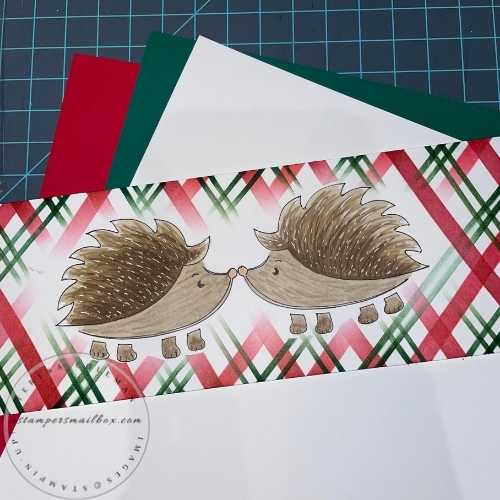
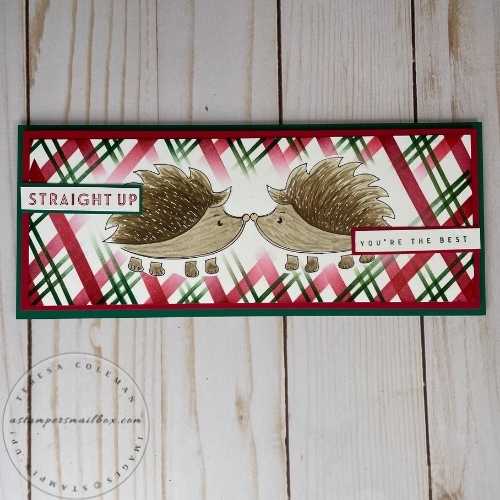
Holiday Hedgehog Kisses: November 5, 2021
Mirror Imaging this stencil is so easy! Those pointy noses gave me the ‘light bulb moment’ for this design. In todays project I want to show how to use the plaid mask and to bring in good quality pens to use with the Stampin’Blends Markers for added details to your projects.
This card tutorial has alot of photos to show you the inky fun step by step!
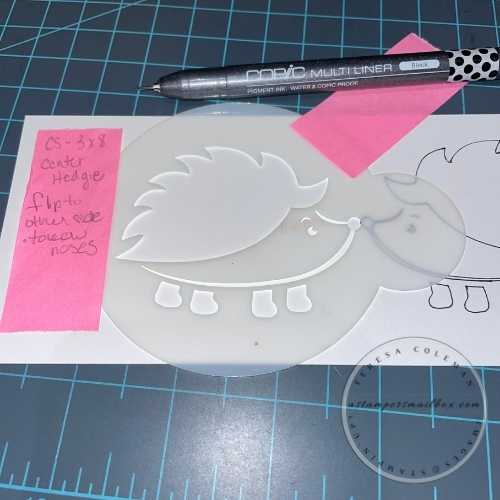
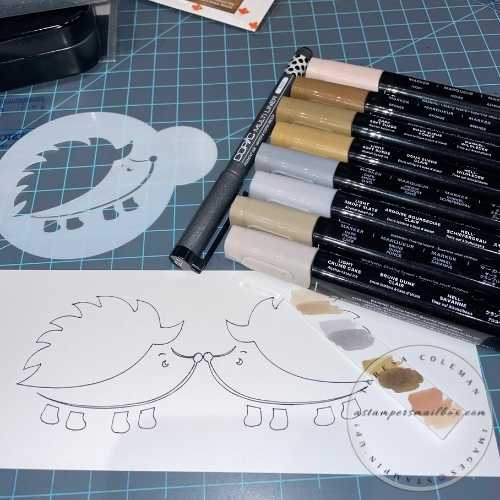
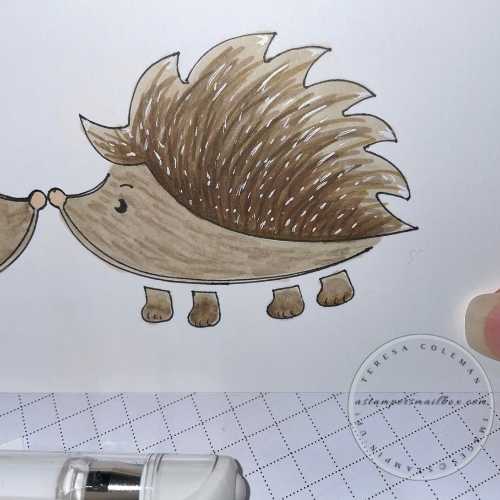
I traced the hedgies with a black Copic Multiliner pen. Stencil/Trace one
Hedgehog then flip over to trace the mirror image noses touching.
A quick Google search to have an image to help with color choices. This little guy is adorable!
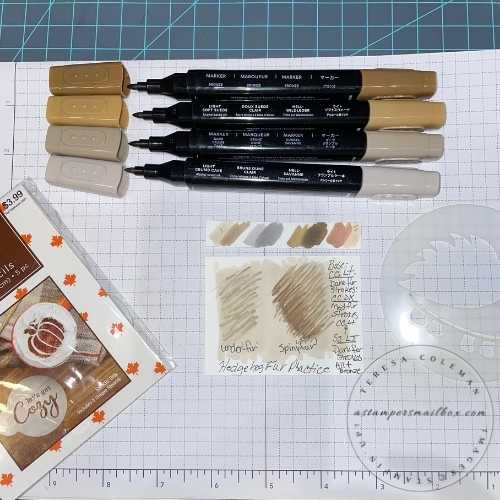
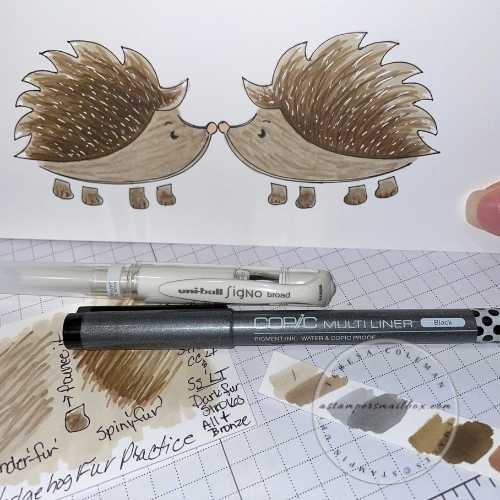
I grabbed these markers – I think they are going to be a good Hedgehog color palette.
The trick to the blends – patience with layering the ink.
It’s always a good idea to practice on scratch paper.
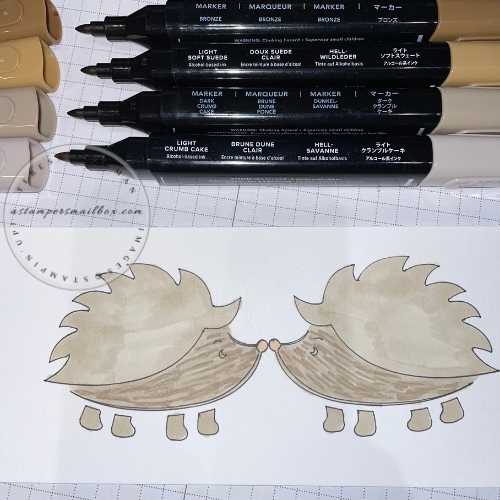
First layer: Light Crumb Cake allow to dry then begin adding in fur brush strokes.
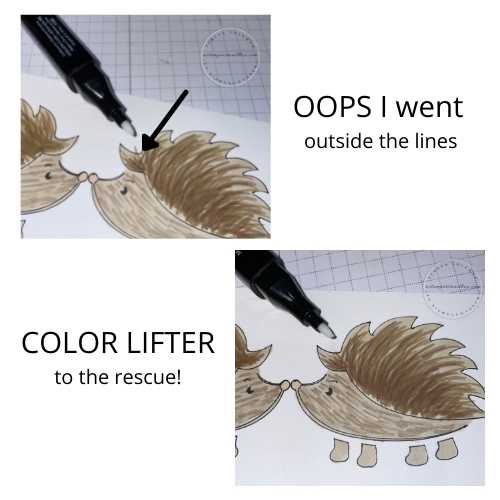
Having a Color Lifter Marker on hand when using the Stampin’Blends is super helpful.
Ooopsies always happen!
Use light flicking motions in a natural direction for fur strokes.
For their adorable Eskimo kisses nose color, I used the Ivory Stampin’ Blend Marker.
Add some white tip detail and little claws for the Hedgies.
The white pen is a UniBall Signo White Gel Pen and the black-the same Copic Multiliner used to trace the stencil.
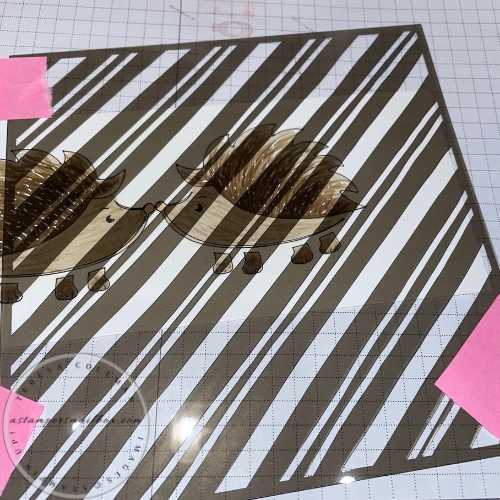
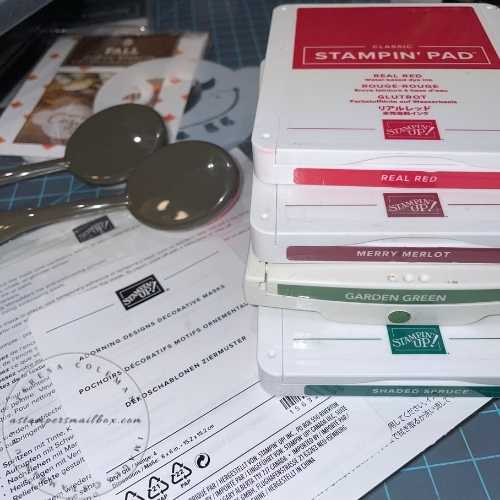
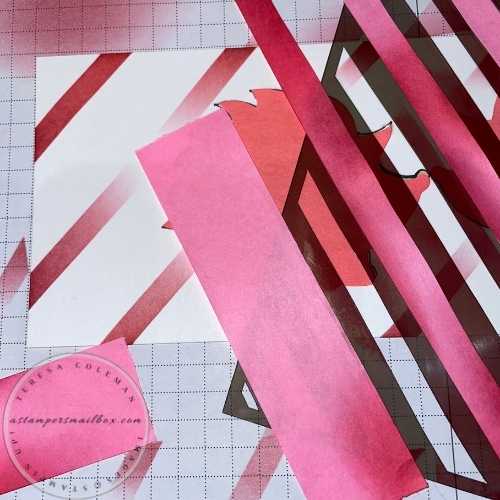
Now it’s time for some bright & cheerful holiday plaid!
Make sure you mask the Hedgies- no risk of accidentally coloring over them with red & green ink.
Simply trace trace the stencil on 2 post it notes stuck together so that you have mirror image animals with one tracing & cutting.
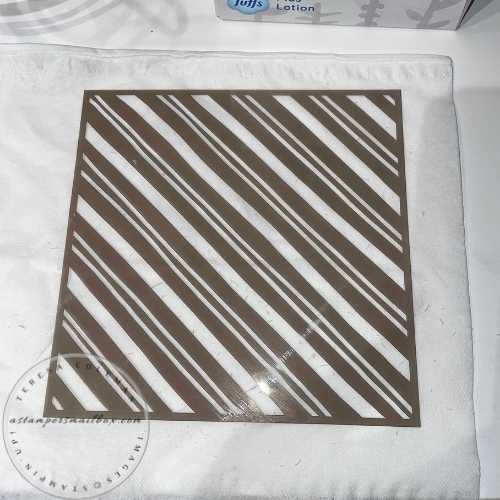
These Adorning Design Decorative Masks make for inky stencil fun!
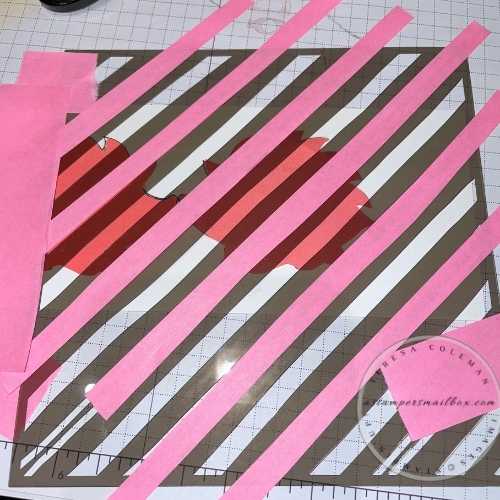
I decided a medium shade and a darker shade of each color would be fun.
(not necessary)
I wanted dark edges and lighter mid tones.
Make sure you mask off the lines. I cut strip sticky note into thirds to cover the thinner lines.
(Washi tape or Painters tape make good masking material too)
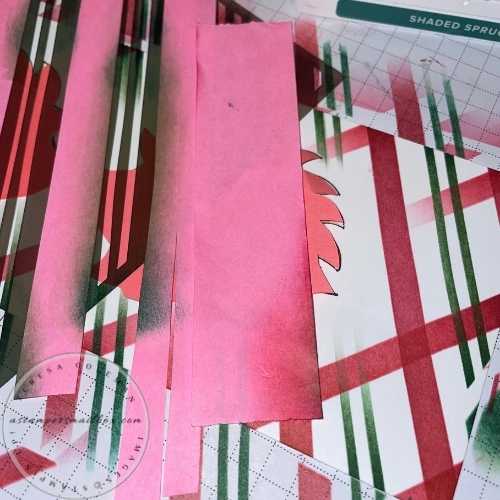
Clean the stencil between color changes!
Tip: To minimize risk of transferring red ink to the green areas,
I took the extra precaution of starting with new thin strips of masking Post-it tape.
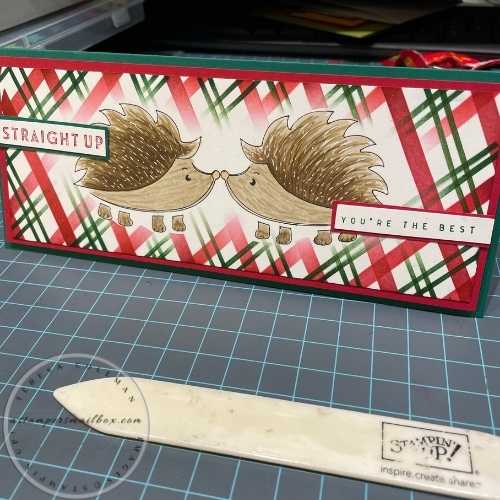
Time to put it all together.
Slim Line Card Measurements:
Shaded Spruce Base: 7″ x 8 1/2″ Score at 4 1/4″
Real Red 3 1/4″ x 8 1/4″
Basic White (x 2) 3″ x 8 Front Image & Inner Greeting Panels
Scrap of all 3 for front of card sentiments.
I used Stampin’ Dimensional foam dots to raise the top panel up for a bit of interest (optional)
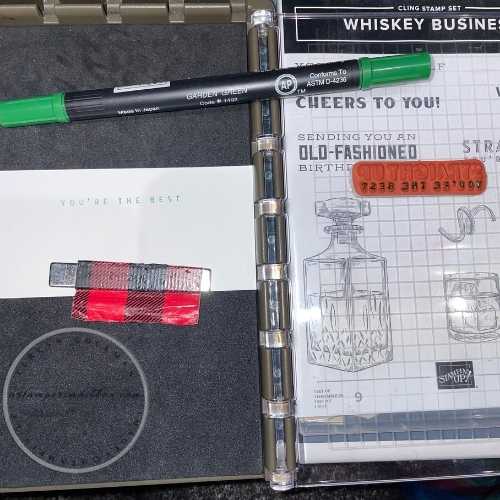
Using a Real Red & Garden Green Stampin’Write Marker with the Stamparatus stamp positioning tool makes for nice images. I wanted the greetings to be as bold as the plaid therefore I needed to re-stamp the sentiments several times.
The positioning tool allows me to do that without worrying that I’m going to blur the words when overstamping.
I’m sporting some inky fingers but this holiday card is alot of fun!
I chose a Non-Holiday stamp set for the greetings.
“Straight Up” from the set Whiskey Business I thought would be too funny for Hedgehogs!
Get it, pokey quills:). Funny stuff there! hahaha
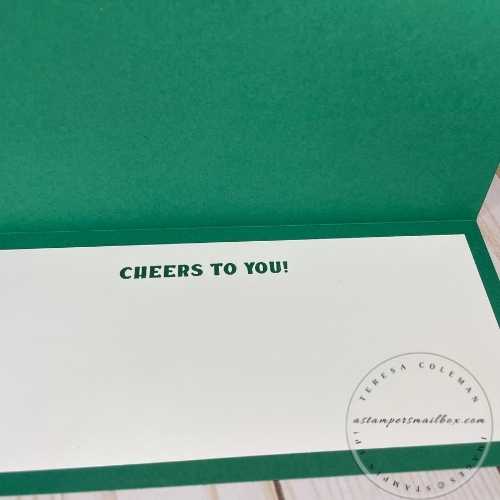
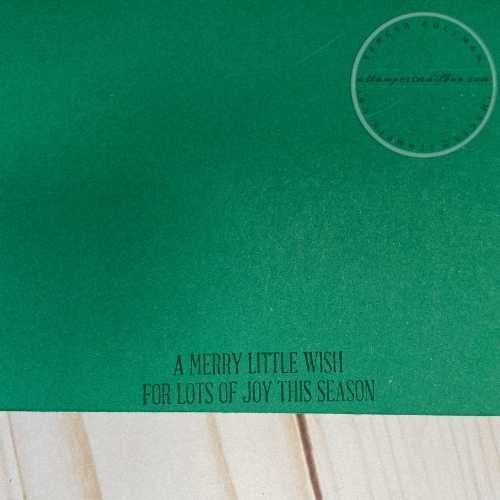
Brought in a more traditional sentiment stamped on the back of the card….
– sigh- stamped it crooked. Hand stamped the love there:)
Be sure to check out all 5 of the series projects.
The Holiday Hedgehog Kisses slim line card will fit into a standard business size envelope.
Products used in today’s FYI*F* Coffee Stencil Card
Thank you for joining me for the last of the set of coffee stencil project posts. As well, thank you for shopping with me! Check out the Thank You Ticket Voucher link- I share how I mail out a fun certificate to you to use on your next shopping trip when you shop with me online using the monthly host code. Heartfelt thank you!
FYI*F* will be back next Friday with more Find Your Inspiration Fun!
OH! Speaking of next shopping trip- the Seasonal Sale is coming soon!
Watch the blog, Facebook & Instagram for news and details!

 Mirror Imaging this stencil is so easy! Those pointy noses gave me the ‘light bulb moment’ for this design. In todays project I want to show how to use the plaid mask and to bring in good quality pens to use with the Stampin’Blends Markers for added details to your projects.
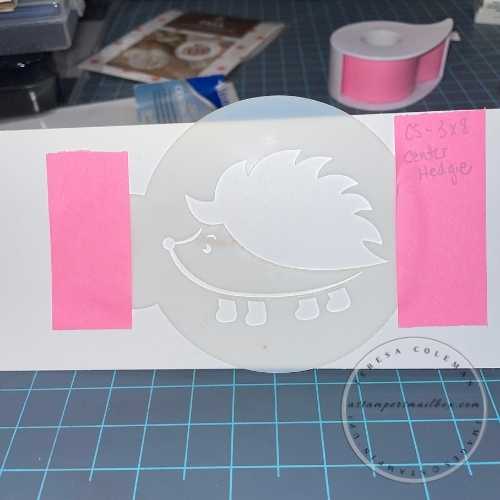


