First Monday Back…
It’s back to the craft room time! I’ve been on a long hiatus – alot of travel and a minor kitchen renovation. I’m so excited for a Monday off from work to have a fun day at all things creative. But a short but whopper summer thunderstorm, technology issues – I’m assuming from power outage, Facebook Live (with it’s own set of tech & audio issues), and my first blog post after a long hiatus. All that has left me out of sorts but I’m persevering and bringing in another First Aid Kit idea before I hit that fun ‘publish’ button.

Facebook Live Take One uses ‘He’s the Man’ Designer Series Paper.
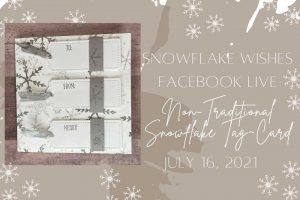
This project has a corresponding Facebook Live – click on the photo above.
Dimensions, Directions & Supplies list at bottom of post- keep reading!

No stamping, all patterned paper and Cardstock!
When you click the card photo below it will take you out to see another project made with this Designer Series Paper Pack. BBQ 3d Project Style
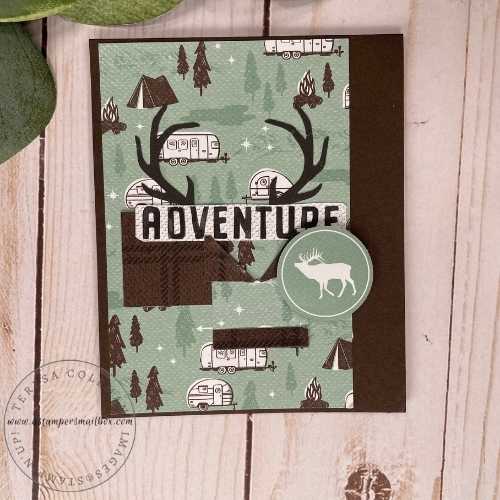
This project comes together in less than 30 min! Grab your supplies, watch either Facebook Live.
For Take One, click on first photo. Beware, Take One is rather blurry and has some audio issues in the beginning. I resolved the issue fast but mute your audio for the first 2 min or so!

Facebook Live Take Two features ‘Hues of Happiness’ Designer series Paper for a spunky kids version of this boo-boo /feel better pouch click the photo above to view that video. I paired this fun paper with simple sentiments from the stamp set ‘Through it Together’ found on page 69 of the Annual Catalog.

If you watched the Take-Two Video- I shared how to create this pouch with a couple of extras- it has a white divider on the inside as well as all the floral patterns that would normally show on this double sided paper are covered up.
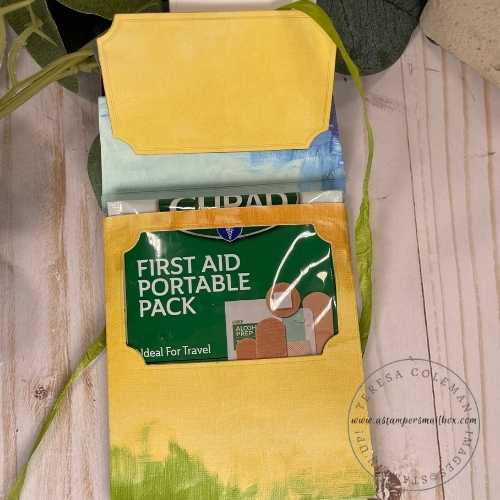
The Take-Two project video is an hour long as this was unpracticed and needed extra finessing to get the paper layers to cooperate:). The other pouches – shown in Take One- really do only take about 30 minutes each and conserve paper- two pouches per sheet of DSP.
____________________________
Dimensions: Pouch:
Card: 3 1/4” x 4 3/8”
Supplies: Pouch
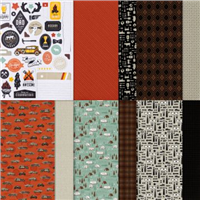
6” x 12” Pattern Paper – I’m using ‘Hues of Happiness’ Specialty Designer Series Paper (DSP) from Stampin’Up!
Scissors
Tear N Tape or other double sided adhesive
Multipurpose Glue or your favorite craft glue
Paper Trimmer
Scissors
Label Die of your choice (optional). I’m using Painted Labels Dies found on page 172
Card
Cardstock Base: 3 1/2” x 8 1/2” Score at 4 1/4”
Inner layer: 3 1/4” x 4”
How to:
Score DSP portrait/vertical in Paper Trimmer at 1 1/8” on rt/lt sides
Score DSP horizontal/landscape orientation in Paper Trimmer at:
1/4”, 1 3/4″, 2”, 6 3/8”, 6 5/8”, 10 7/8”
Burnish all score lines & trim at 1/4″ areas on side sections which will become inner flaps. Wedge cut these.
Top ends of inner flaps need to be cut at a deep angle.
See video for details on assembly!

Here’s another sample using the same paper but using the floral pattern – you know,
because Adulting is Hard and sometimes just needs a bandaid!

Supplies


Price: $15.00

Price: $12.00


