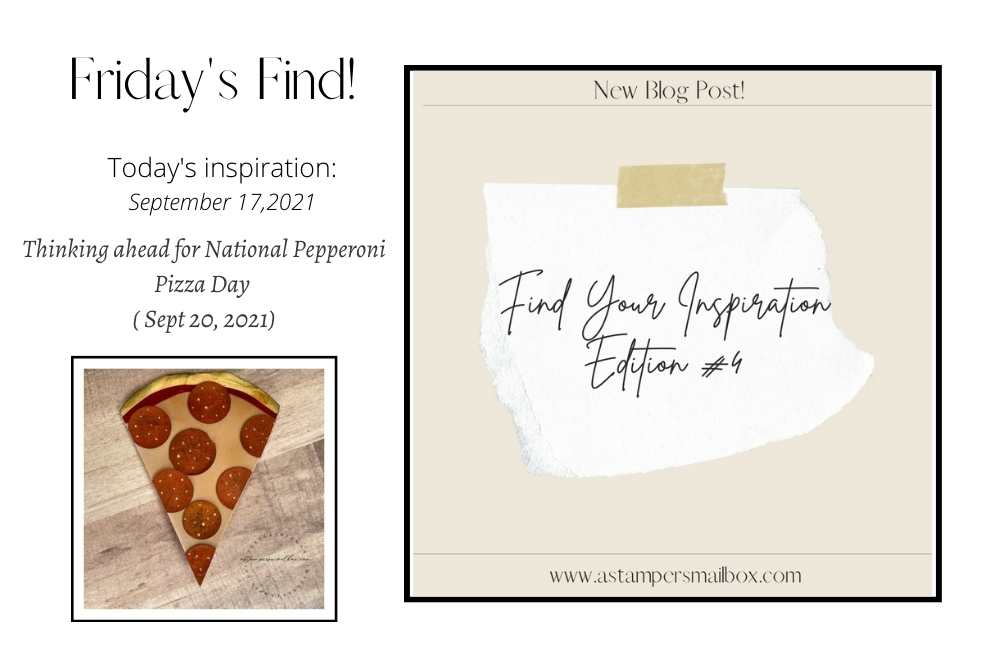
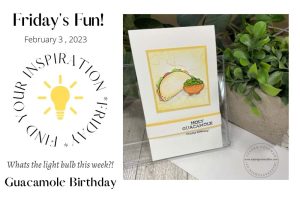
Find Your Inspiration Friday!
Edition #4
Today’s Friday light bulb moment came from looking at the National ‘Days’ Calendar – it’s a fun way to send some happy mail! Looking ahead a few days – September 20 is National Pepperoni Pizza Day! I light bulbed when I remembered that several years ago an amazing Demonstrator created a fun supreme pizza card ( name , sorry- can’t remember) but it wasn’t my original idea. I’m bringing the patterns back in that I made all those years ago!

Today’s card isn’t a supreme it’s good, old fashioned pepperoni & cheese!!
Yum!
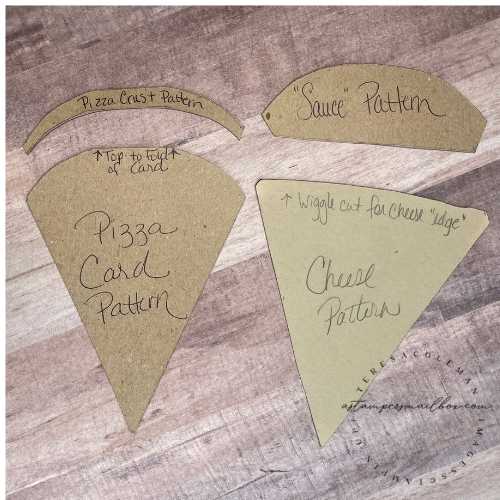
The templates are fun to make! I made these years ago- but making a new round of patterns will be a cinch! What I grabbed from the crafty stash is this:
Pizza Makings:
- Patterns: Chip board or thick pressed cardboard- even the thick white backer board from Designer Series paper packs is great for pattern making. (these are hand drawn)
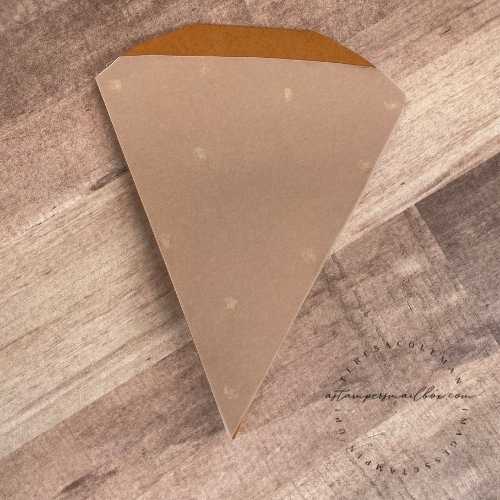
- Pizza Base Card: I used Cinnamon Cider Cardstock – I think Crumb Cake Cardstock would be great too!
- DIY tips – draw a triangle whatever size you want your pizza slice then use a circle to trace the top making sure to ‘flatten’ out a section of top for the card fold.
- Top Crust: Vanilla Cardstock
- pattern: I freehanded this based on the upper most width of my triangle. Using the same circle to guide my shape & size.
- Sauce: Cherry Cobbler Cardstock
- pattern: same as crust- only making it larger so I could decide how much ‘sauce’ I want to show.
- Cheese: Vellum Cardstock
- After making your Pizza Card Pattern- use that to trace for cheese- then ‘loosely wiggle cut’ the top edge.
- Pepperoni: Cajun Craze Cardstock Circles – I used Layered Circle Dies for my pepperoni- both smooth edge & scallop edge. If you have handheld circle punches- use those! Quick and Easy!

Tools to help make paper look like ingredients:
- Scissors
- Sponges/Sponge Daubers/Blending Brushes (any will work great)
- Vellum – it’s translucent quality makes great cheese
- White Marker
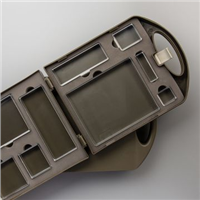
- Foam/curved end utensil ( craft room or kitchen:)
- I used the rounded end of my Green Glue Bottle as a distressing tool.
Make’a da Pepperoni… terrible accent … right?? haha
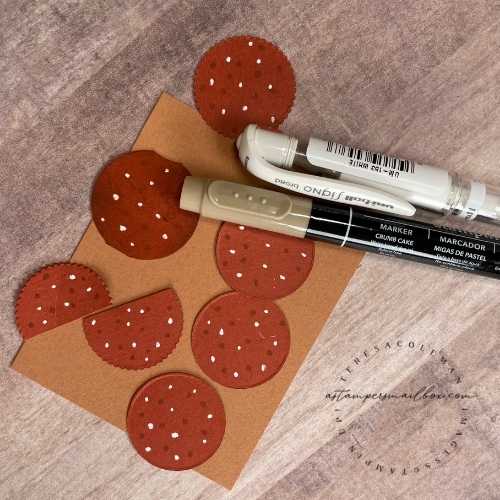

Create a well cooked pepperoni by taking your circles of cardstock- draw dots with a Crumb Cake (or Cajun Craze if you have it) marker – Stampin’Write or Stampin’Blends will work here. Then add white dots with a gel pen. Now use a sponge or blending brush to burnish the circles. I used the blending brush to ink all over then on my mat work surface ( a silicone mat works good for this) I flipped the cardstock over and rubbed the circle into the pools of ink. This made the pepperoni look fresh out of the oven crispy.
To distress the discs I used the rounded cap end of my Multipurpose aka Green Glue to round and crumple the cardstock. The grey foam shown in the above photo is a leftover from my Clear Block Storage Caddy. I like taking this extra step of distressing the cardstock- it makes for a more realistic, finished pepperoni.
The Perfect Pizza Crust
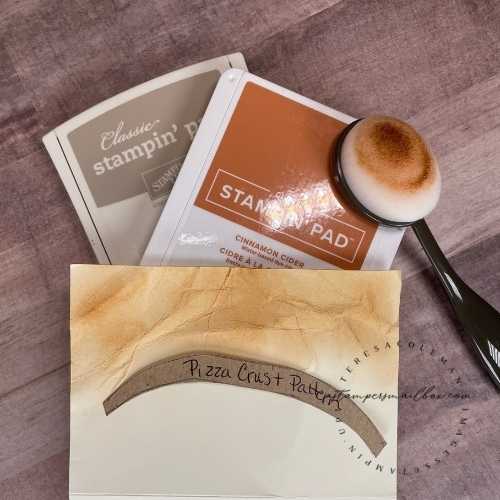
Spritz a scrap of Very Vanilla Cardstock with a light layer of water then crush and wrinkle the paper. Smooth it back out and allow it to dry. Once the paper is dry – use Crumb Cake & Cinnamon Cider ink pads with a Blending Brush to get a well distressed and inked mess. Now cut your pattern out and like inky magic you’ve transformed that hot mess into a yummy crust!
I chose to ‘tack down’ the vellum for the cheese layer of my pizza card using Mini Glue Dots. I laid out the pepperoni cardstock rounds to see where I needed to hide those glue dots. Vellum is tricky- all glue shows through so hiding where you place your adhesive is the big tip!
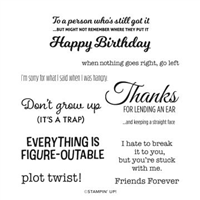
What to say on the inside?

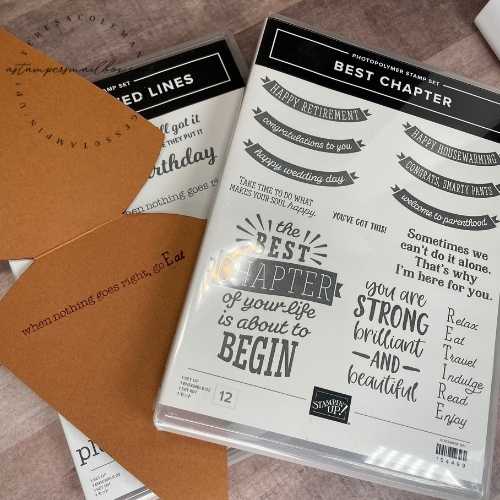
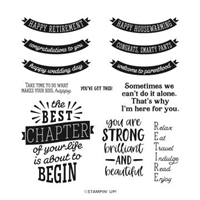
I wanted a sentence mash up. I chose sentiments from Best Chapter & Lighthearted Lines Stamp Sets.
Do you follow me on Instagram & Facebook? Everyday this week I have posted Quick Tips and this was #3. It’s a great way to line up your stamps with previously stamped words or phrases.
Vellum ‘insurance’ is a great way to use nearly translucent paper. This scrap will be used over and over again for the same purpose. No need to throw it out until its too inked up to use any longer.
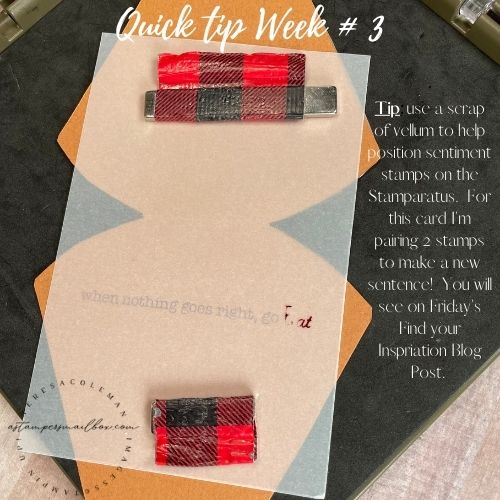
When you don’t have one perfect sentiment… use the Stamparatus for perfect alignment and a Stampin’Write Marker for isolating the word(s) you need and pairing them together for an all new sentence. It’s OK the fonts don’t match- have fun with it!
Tip: Alcohol Markers (Stampin’Blends, Sharpies, Copic etc) can NOT be direct inked onto your stamps. Only Waterbased markers can be applied direct to your stamps for this technique.
A perfect ‘mash-up’ sentence – “When nothing goes right, go Eat!”
That’s a good pizza motto! Especially for those of us NOT retired yet!!!
Realistic touches…I added a small amount of Early Espresso ink – blended on the edge of the crust to give it that piping hot, fresh out of the oven with slightly burned edges and burnish a bit of ink remaining on the blending brushes to brown up the vellum/cheese a bit too.
yum… Monday – National Pepperoni Pizza Day. Who’s ordering Takeout???
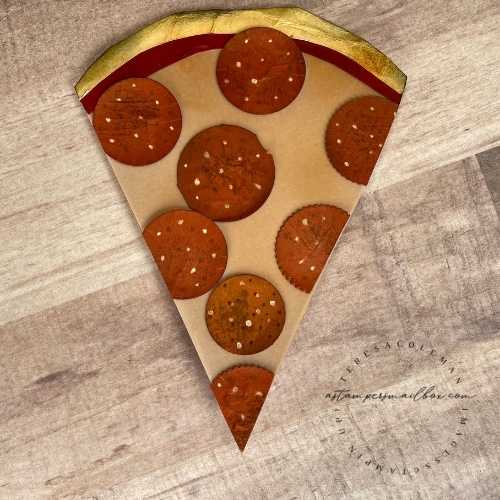
Pizza ready for fun happy mail – no oven or delivery order needed!
Products used in this project:
This list seems long but I bet if you look in your cardstock scrap bins you will have some colors that will work for the pepperoni, you can use a pale yellow if you have it for the cheese if no vellum is in your crafty stash at the moment. Any darker color markers for the spots on the pepperoni would work too!
Note: Any thick foam will help you distress cardstock. I included the caddy just so you wouldn’t have to hunt your catalog to see what I was referring to.


Hop over to Instagram or Facebook to see what I have had going on over there this month.
I hope to see some fun food cards in your crafty mail soon!!
That came out so cute and really does look realistic!!!!