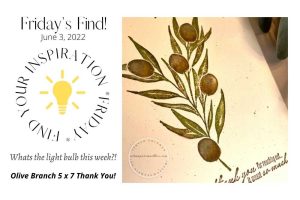
Today’s FYI*F* Find Your Inspiration Friday shows off an easy ink-water coloring technique and Shimmer White Cardstock!
Note: the photos won’t do the Shimmery Cardstock justice.
This paper is just so nice to work with!
It’s a bit on the spendy side but quite versatile- it’s a good one to have in your paper stock!
Measurements:
A2 Card base 4 1/4 ” x 5 1/2 ” Tahitian Tide
Top layer Shimmer White Cardstock 4″ x 5 1/4″
Basic Supplies
Stamparatus
Stamps
Ink Pads
Water Painter ( wide brush ) or flat wide paint brush
Water
Paper Towel
Dry time:) I’m calling that a supply because you need to know ahead!
Clear Envelope
This card is so simple and has minimal stamping.
Once dry- it’s ready to stamp and layers together really fast.
Lets do one together.
Three ink colors for ink wash technique and a darker ink for sentiment stamping.
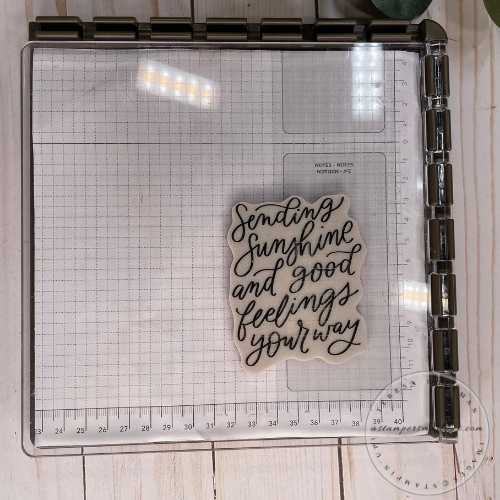
The above photo is a video link. I share the how to of ‘painting’ the layer super quick!
It helps to know how the cardstock behaves before you begin!
Using the Stamparatus to position the stamps on ensures that the cardstock will be anchored down with magnets and the stamp on the hinge plate will have exact re-stamping in case your first image isn’t perfectly stamped. You can re-stamp it as many times as you want to get the depth of color you would like!
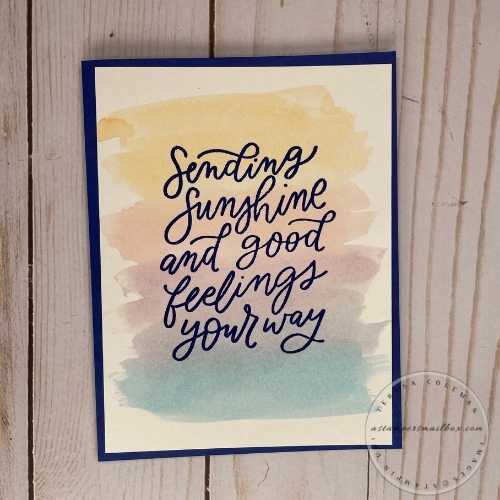
Isn’t this greeting just awesome!
I love how it fills a card panel up.
Now, lets layer it all up.
Let’s talk adhesives – having a selection at your fingertips makes this alot easier.
First Layer – Painted Shimmery White to Base Card: glue instead of a dry adhesive to apply this layer can be used however, I think a dry strong tape like Tear n Tape or Stampin’ Seal is better because it is a flat lay applied layer of adhesive and if there are any remaining damp spots on your layer you won’t have odd wrinkles or bumpy areas on your finished card. It will lay nice and flat.
optional you could use Stampin’ Dimensionals to lift your card up – however, if lift is your goal – with a wet application to this top layer, I would suggest a piece of white fun foam attached to the bottom of your Shimmery Painted Layer because this cardstock has had the wet ink technique and a flat, dry adhesive application is a better choice to keep your cardstocks from appearing buckled.
Stamp the inner greeting and there ya go, finished card!
Shimmery and Simple. We love that!
That would be a great title for a blog post series!
I made an additional card using Starry Sky as the base card and ink for the sentiment.
This Card has way more Wow than the photos can show and is alot of fun to create.
Did you watch the short 2 minute video? It shows off the Shimmery Cardstock alot better:)
The above Project Supplies button will take you right out to Stampin’Up! to see this project and it’s shopping list. To place an order uncheck the items you don’t want then click Add To Cart.
Would you like to see another blog post for an ink technique?
Friday fun and hope a bit of inspiration to get your inks out and have a play with watercolor washes. Grab a paint brush and have some fun.
Tips: you’ll get the best results for this technique using either Shimmery White Cardstock or Watercolor Paper. Regular cardstock won’t hold up to water techniques without pilling or otherwise just not holding up to alot of water being added.


