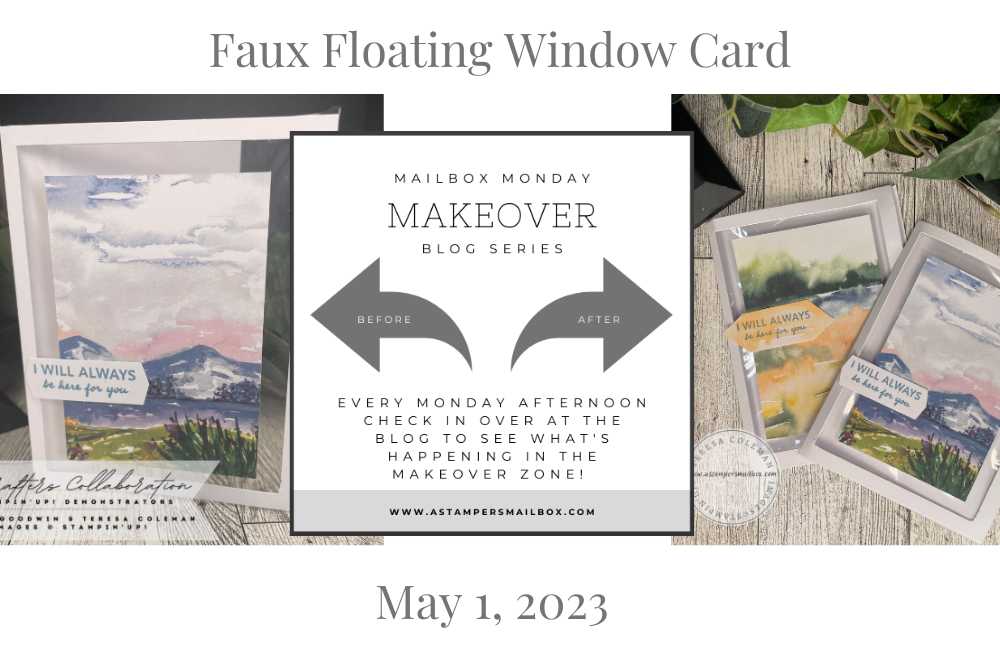
Faux Floating Image Card
It’s time to be back in the craft room after a long break. March and April were rather busy months on the personal side of life. I’m excited to be back on the blog! Today is a quick post sharing what I have going on with A Crafters Collaboration and A Stampers Mailbox.
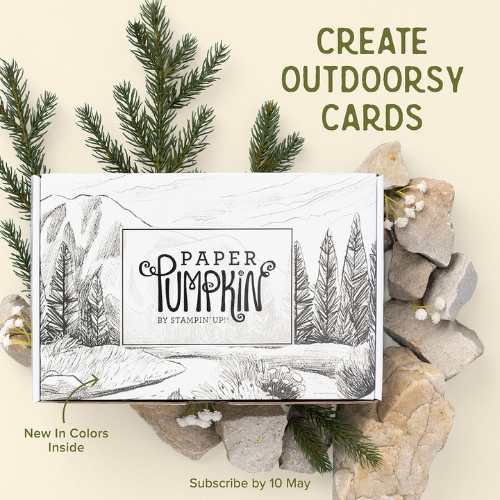
Let’s play with Paper Pumpkin and talk about the May box! I love it when Stampin’Up! includes pre-printed images that can have both a masculine or a feminine feel.
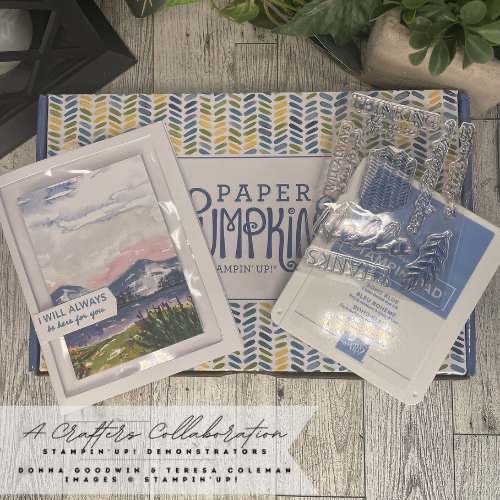
I used contents from the March 2022 box including
the plastic shrink wrap for this faux floating image card!
Click on image below to hop over to Facebook to see the demonstration.
My first day back on live camera was a bit rough- so excuse my stumbles and fight with the plastic- I assure you this card is worth giving it a try with flexy plastic!
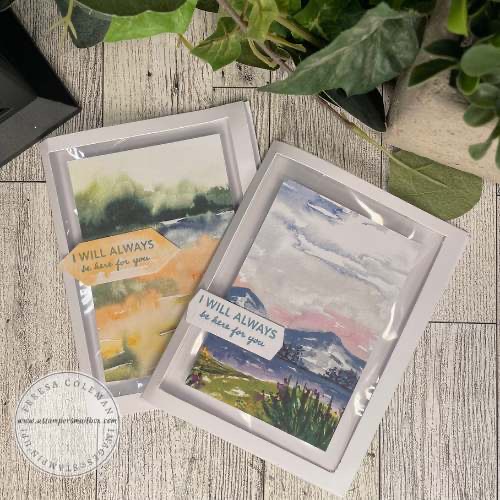
The card on the right was posted last Friday over on A Crafters Collaboration.
You can view all of our posts over on Facebook & Instagram. Today the card on the left was demonstrated on my page on Facebook.
Supplies List:
-
Any Image – pre-printed or set in center of a card.
-
I used March 2022 Paper Pumpkin- this felt like a pull from the archives:) It’s so great to have such wonderful crafty tools right at your fingertips!
-
Boho Blue ink (new- catalog launch tomorrow)
-
Scissors
-
Tear n Tape
-
Dimensionals/Glue Dots ( I used what was in the Paper Pumpkin box)
How to:
The Facebook live is a great way to learn this technique.
In case you aren’t a fan of Facebook here is a short how to:
-
Step 1: Trim out the center of your card front so that there is a narrow 1/4″ frame remaining on card front. Trim an extra 1/4″ to 1/2″ off the piece you cut away. How much you cut off will determine the width of the faux window.
-
Step 2: Place Tear n Tape on the inside of the frame.
-
Step 3: Cut a piece of plastic slightly larger than your card front.
-
Step 4: Remove backers from Tear n Tape
-
Step 5: adhere the plastic to the double sided tape – stretching it gently to remove the ripple or warping. Note: I struggled on camera with this part- when you are at a comfortable sitting position- I don’t think you will struggle with the flexy plastic.
-
Step 6: Trim overhanging plastic away from card.
-
Step 7: Place foam dimensional on the back of the inset layer.
-
Step 8: stamp a sentiment. I used one from the Paper Pumpkin Box. Adhere where you like.
Click on the image below to take you to view an older blog post for another Paper Pumpkin idea!
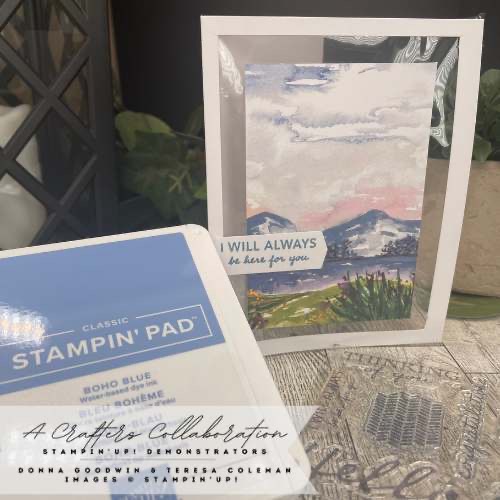
Card Done!
Super simple. Especially when making it from a pre-printed card front like I did.
Click on the banner below to see the short shopping list!
Would you like to shop the new catalog starting tomorrow May 2nd?
Click below to see all the new products right on the webshop. 
Click below on the Create Outdoorsy card to sign up for Paper Pumpkin!
These come right to your door through postal mail. It should arrive around May 20th.
