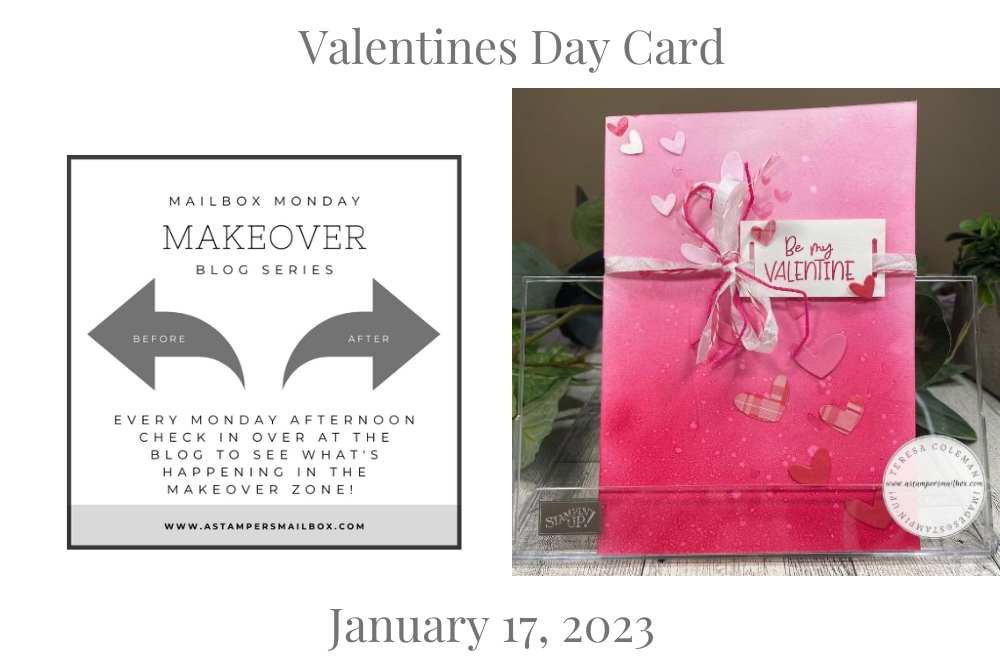
CASE the Catalog
Mailbox Makeover Monday (MMM) Timeout to Tuesday meets CASE the Catalog! What better way to do a fun makeover card by taking someones fun idea and making our own? In this CASE we are taking a design right from Stampin’Up’s designers.
You know how a day can just get away from you and your to – do list? That happened to me yesterday! So, here I am blogging away on Tuesday rather than Monday:) I’m sure you all will forgive me! hahah ( I hope 🙂
The design team at Stampin’Up! makes great card art and this one will be super fun to do.
I’ve chosen page 12 and the Share a Milkshake Bundle to have an inky play. This stamp set caught my eye and I knew it was one to add to my stamp collection.
What are some your favorites in the new Mini Catalog?
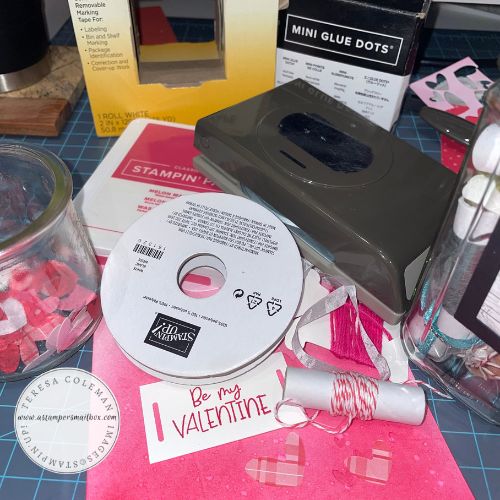
First, let’s gather supplies:
-
Grid Paper and or Silicone Craft Sheet
-
Paper Trimmer & Die Cut Machine
-
Bundle, Inks & Blending Brushes
-
Shimmery White Base Card Stock, coordinating colored Cardstock & Elements
-
Extras:
-
plastic covered surface, water bottle & paper towels
-
________________________________________________
All the products used in today’s post can be found at the end of the post by clicking on the image that says Project Supplies. This will take you over to my Stampin’Up! webshop.
It puts everything you need to make this card right in a shopping cart!
Do you already have most everything and only need a couple of the items? No problem- simply uncheck the items you don’t need leaving what you do want right in the cart!
Don’t forget to use my monthly host code: BAUQK3A2 if your order is under $150.00 (US).
__________________________________________________
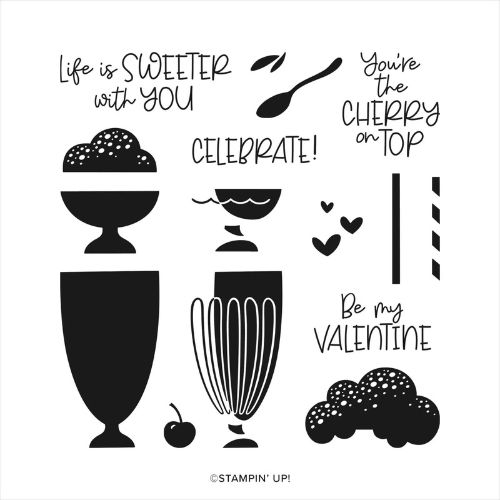
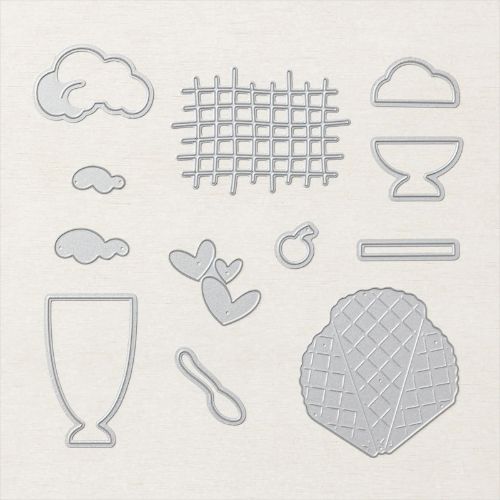
This ia a fun stamp set and has lots of coordinating dies.
Clicking on the above photo will take you right over to Stampin’Up! to see this product bundle.
Including that fun one in the right bottom corner!
Alrighty! Now that you know how to get your own fun Share a Milkshake card supplies- lets make some more happy mail. This one right in time for Valentines!
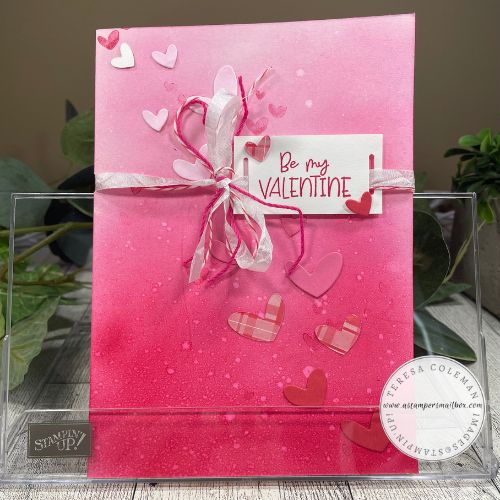
5″ x 7″ Cards are alot of fun to make.
That extra size gives you alot of space to really spread out your design.
I began by cutting Shimmery White cardstock to 7″ x 10″ Scoring at 5″ mark.

Grab your favorite bold pink color – today I’m using Melon Mambo along with a Blending Brush, Silicone Craft Mat and some Post-It tape to prevent my fingerprints from transferring on while the ink is damp.

I began applying the ink heavy & dark at the bottom then as I worked my way up the folded card, I offloaded more of the ink onto the silicone craft sheet before bringing the brush up the card.
TIP: Use circular motions of the blending brush to prevent streaks. As well, when you load the brush with ink- offload – rub the brush against either scratch paper or silicone craft sheet to prevent round blobs of ink. These are very hard to blend in.

Now that your blending is to your liking it’s time for some ink splotching! Grab a water spritzer or water bottle and a plastic covered surface. I used 12 x 12 chipboard from Stampin’Up! and the plastic sleeve it comes in when you purchase Specialty Designer Series Paper.
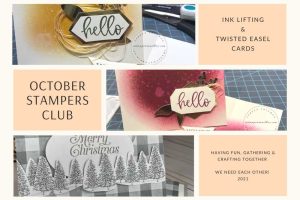
You can see another project with Ink Splotching Technique when you click on the above image – it will take you out to a box created October 18, 2021.
It’s a fun project that takes a card base and turns it into a small treat box. Today’s card project would make a great Valentine Treat box!

Keep a paper towel or Kleenex handy to daub up the water as you go – spray the water very lightly to get small dots along with some larger ones. As you can see here- the Shimmery White Cardstock takes water very well. While you are die cutting the hearts the card base has time to dry.
NOTE: See that pink line on the inside back? I trimmed it off with my paper trimmer! (oops)

For the light to white colored hearts – use the remaining ink on the
brush to just get a “barely there” pink hue!
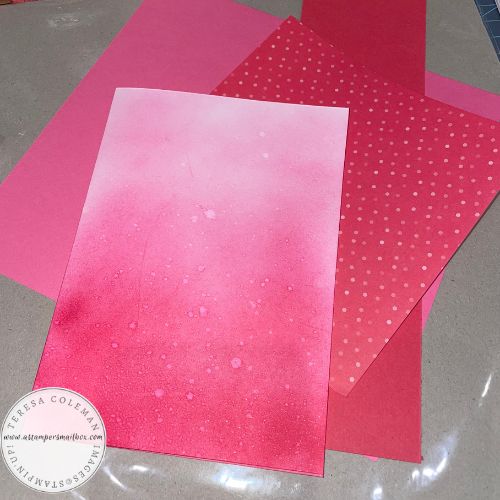
Now to choose the range of pinks for the remainder of the hearts. I grabbed a scrap of Polished Pink, Sweet Sorbet along with a 6″ x 6″ 2022-2024 Designer Series Paper in the Sweet Sorbet colorway.
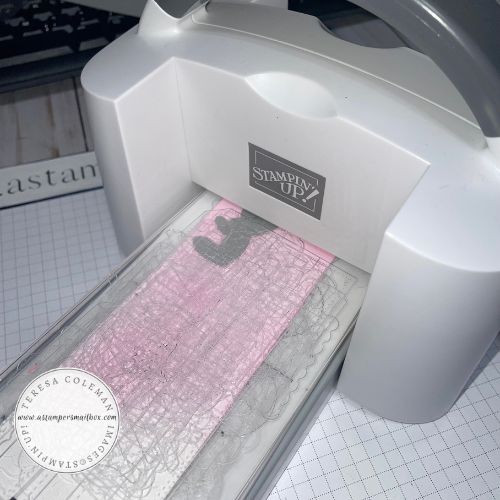
Time to Die Cut!
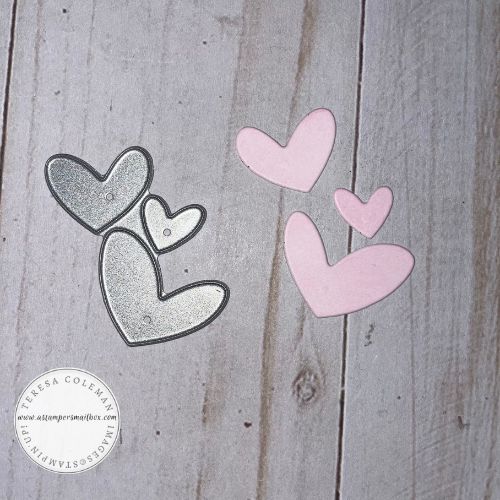
Aren’t these adorable!!
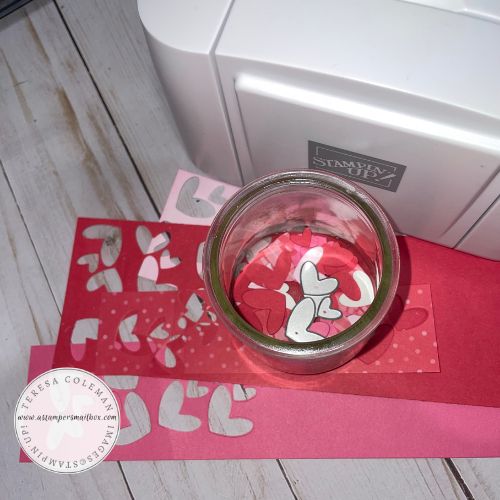
While you have everything out, it’s always smart to Die Cut much more than you need for the current project- then you have more on hand for extra Valentine projects!
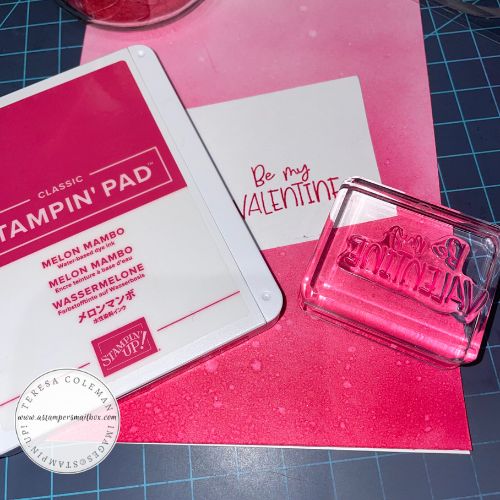
These colors are perfect for a bold, pink Be My Valentine card.
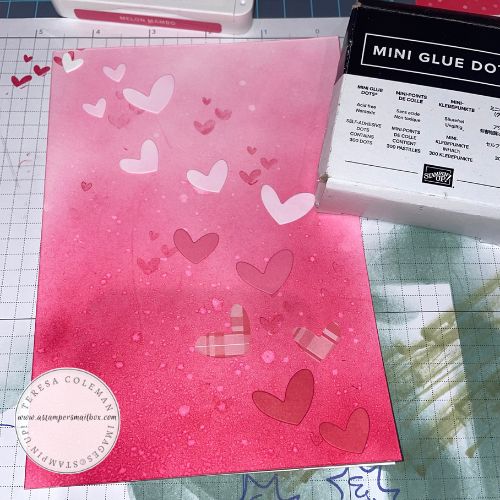
These hearts are tiny- using glue dots is low mess alternative to liquid glue.
Perfect for these kinds of projects!
Bring its all together with White Seam Binding Ribbon, some striped twine left over from a Paper Pumpkin box, and some embroidery floss that color coordinates beautifully. I used the Label Me Fancy punch for the ribbon slides on the greeting. Along the fold of card – take a standard office supply hole punch and just ‘nip’ a bit of the fold out to allow the ribbon to slide through.
Working ahead as I am on Valentine projects,I left the inside blank for now.
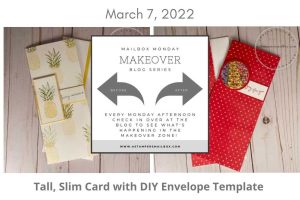
For another 5″ x 7″ card inspiration right from the from of the current Annual Catalog
click the above card.
When you click on the project supplies button above, it will take you over to my Stampin’Up! webshop, there you will see a fully loaded card with all of today’s items. To take things out of the cart you may not want or need- UnCheck to remove.
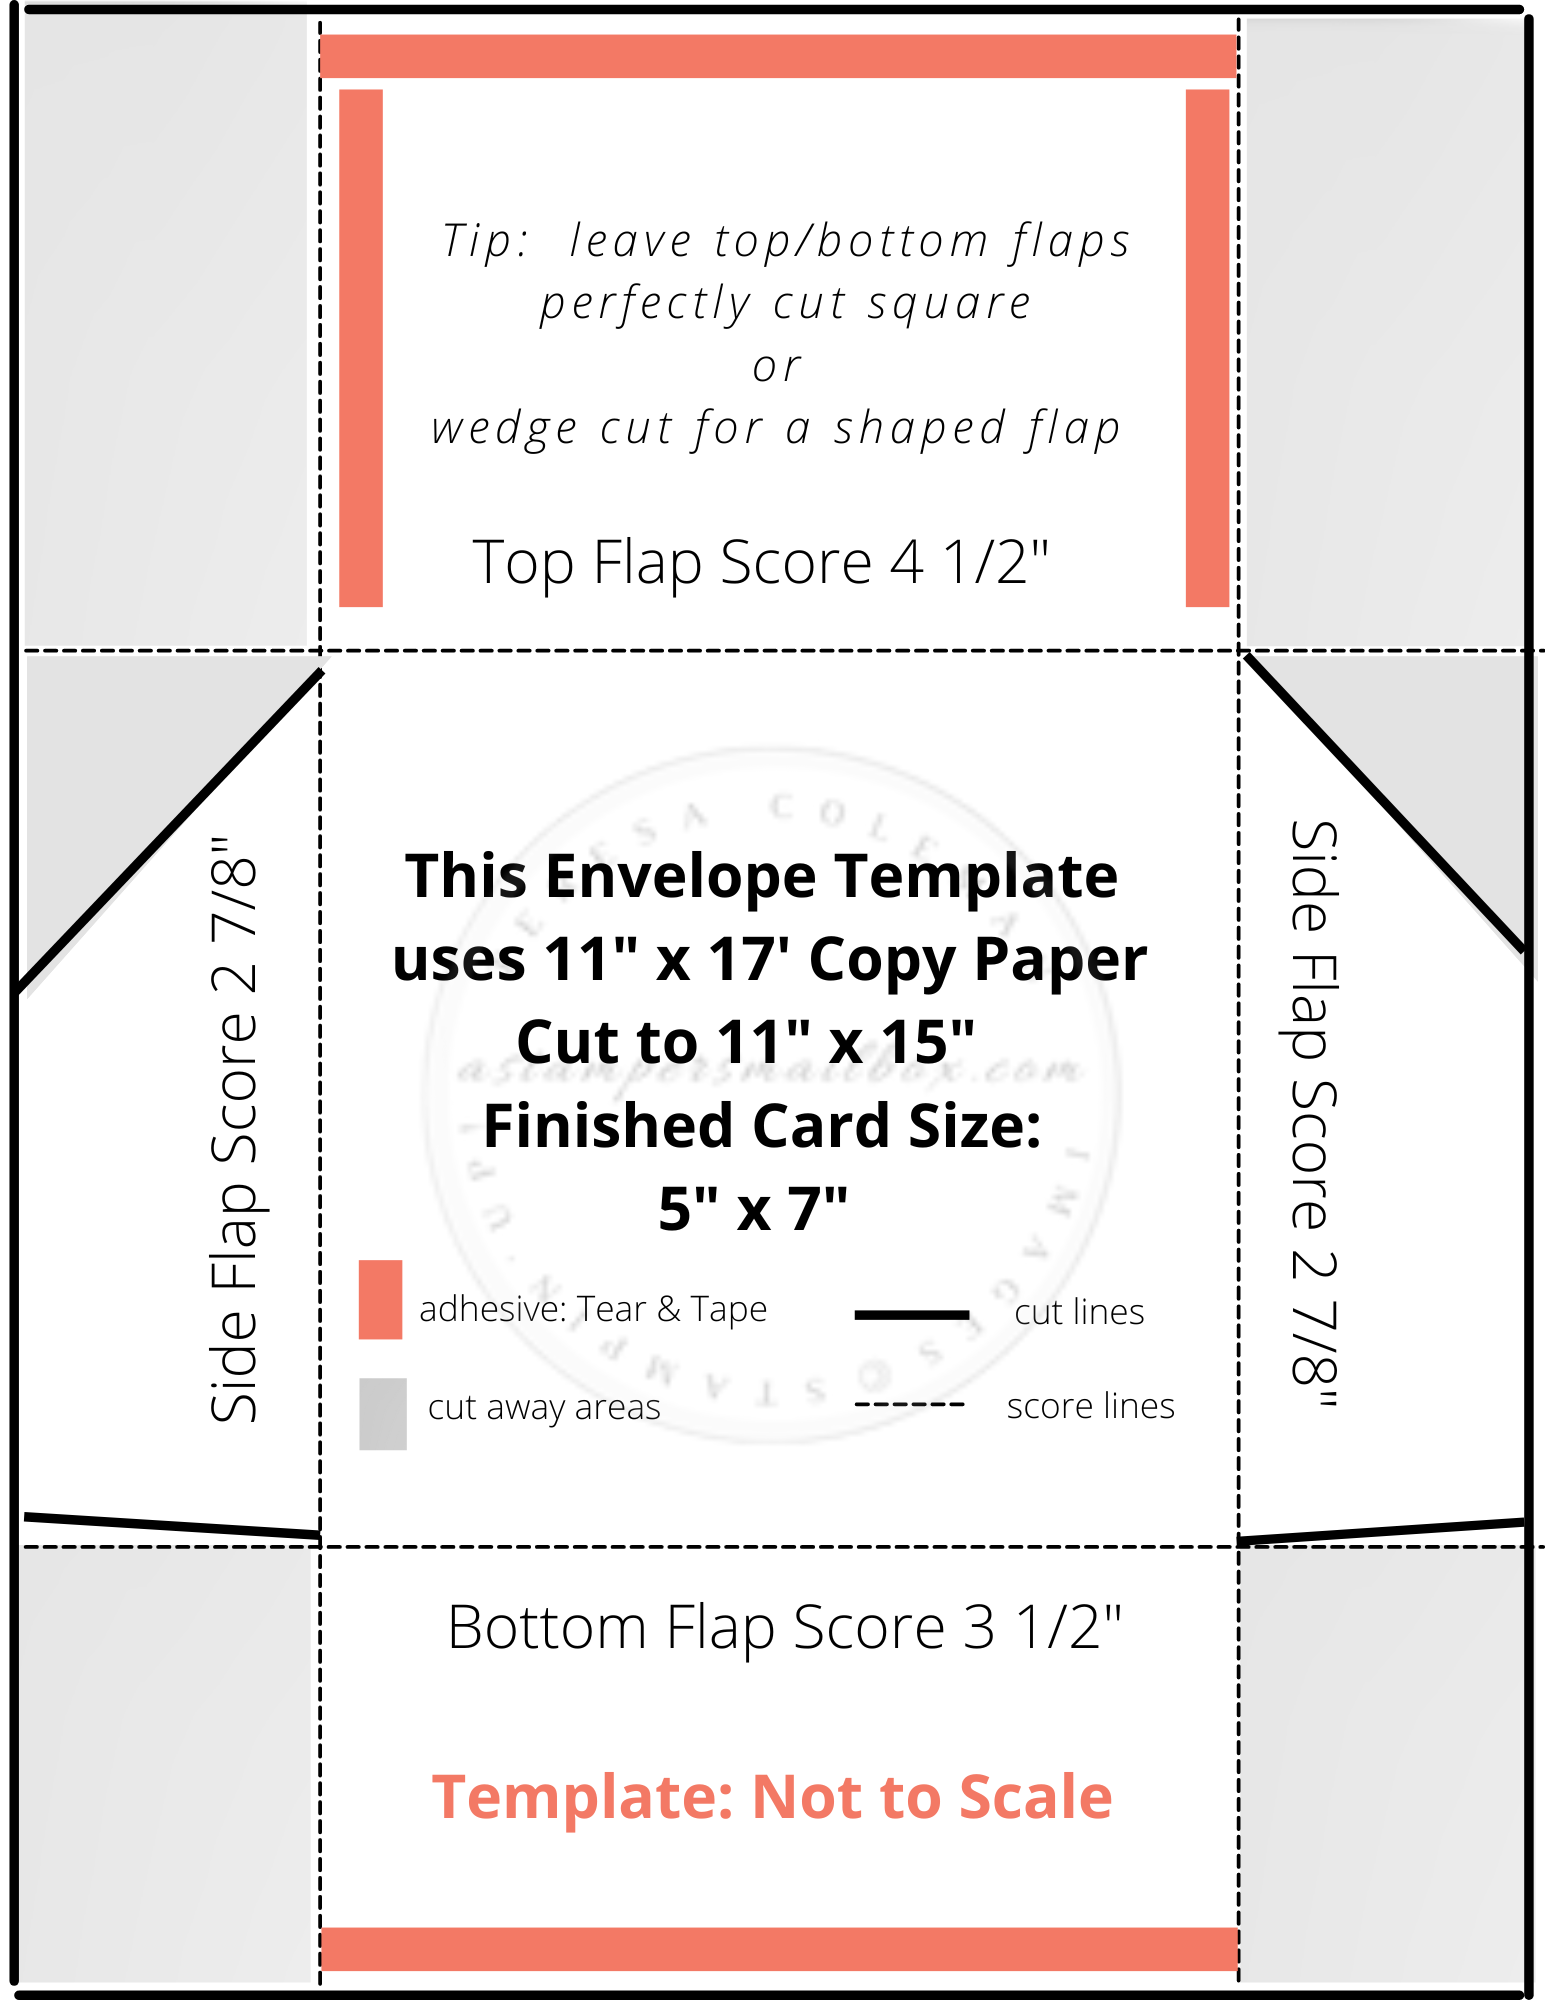
Thanks so much for joining me on a Tuesday for an inky fun card! OH – I almost forgot to include a template for a DIY Envelope! Large cards need large envelopes! Here ya go- note on the template- the paper size you will need for this! DIY envelopes are super easy once you get a feel for how to make them.
Have a wonderful week stampers!
Teresa
