Monday’s are usually Mailbox Makeover day – this is kinda a makeover… but really not.
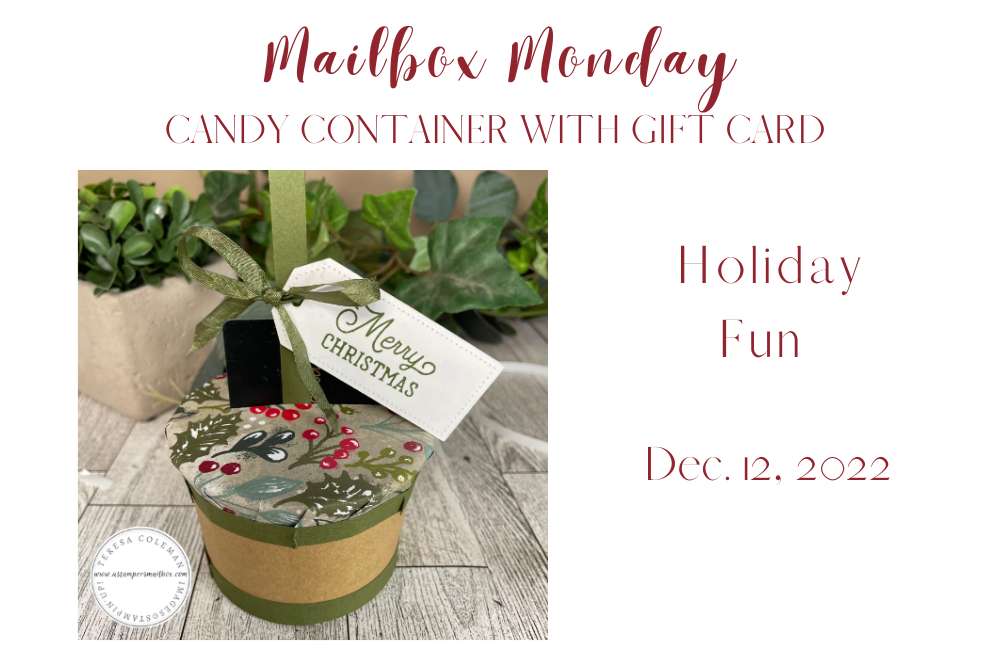
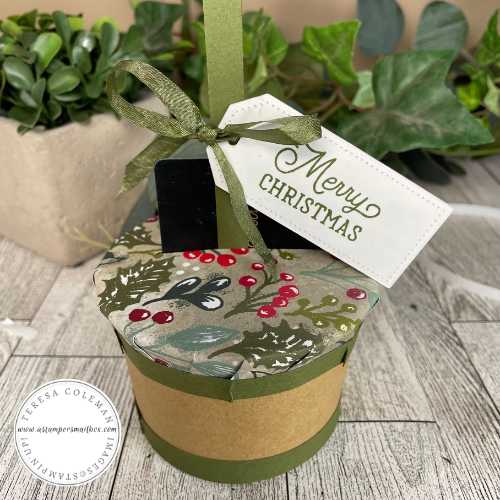
It’s a fun project with a Kraft food container and a bit of Designer Series Paper to become a fun candy container gift card holder! Today was another lesson in technology and the woes that happen when all doesn’t come together as you want.
I will link the Facebook Live in the first photo (14 minutes of not a demonstration) if you want to hop over and check in on my chatter:) I promised a full detailed blog post on today’s project.
It’s so simple! But very fun and unique when paired with your favorite patterned paper or wrapping paper to match your other gifts.
I’m always looking for ways to perk up gift card giving.
Here’s one for ya!
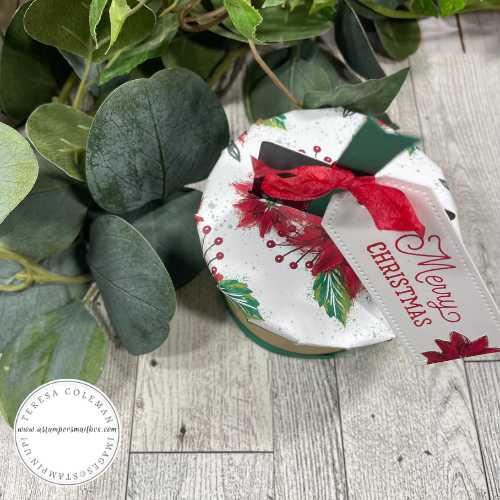
Top over view – isn’t the best photo layout but I wanted to show the top with the card in it:)
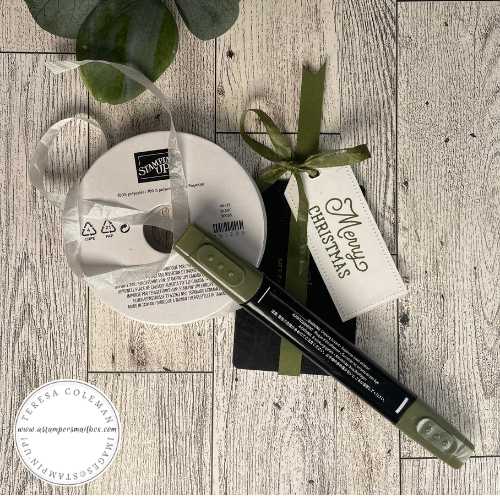
Supplies:
Paper Trimmer & Die Cut Machine
Boughs of Holly DSP page 25 (no longer available)
or use gift wrap that matches your holiday theme!
Mossy Meadow/ Shaded Spruce Cardstock 3/8″ x 11″ (3 count)
Place Tear n Tape all the way down 2 of these
Mossy Meadow Ink/ Real Red Ink
Use ink that matches your wrapping paper!
Basic White CS (Scraps) – for die cut tag
Tear n Tape Adhesive
Basic White Seam Binding Ribbon
Mossy Meadow Stampin’Blends
Stamps: Paper Pumpkin
Other:
Kraft Food Container (Hobby Lobby)
Hand Held Paper Punch ( 1/16″)
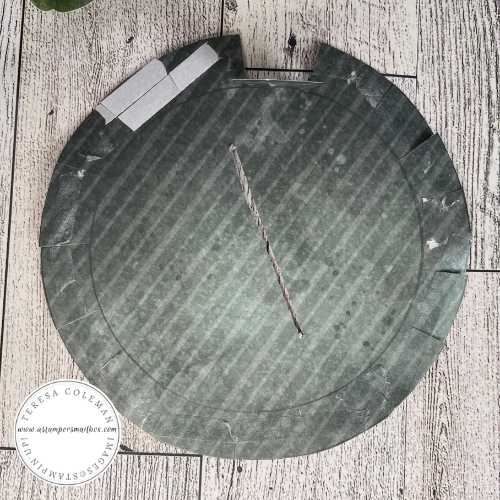
This simple template shows how I traced & cut the slot for the gift card as well as the relief cuts for the circular patterned paper cover. The template is not needed for your project – it’s just a visual as the DSP is hard to see the traced lines. Whatever size of open container you have – choose a slightly larger one from your kitchen. Like a food container, small glass bowl or dessert plate.
Step by Step Instructions
It’s 15 steps but don’t be daunted- this really is an easy project!
Step 1: Trace the outline of your giftng container on patterned paper.
Step 2) Trace the larger container centered over the previous tracing. This may be a little daunting at first but it helps to have a see through vessel for tracing. I used a plastic to-go bowl from a local Acai bowl shop.
Step 3) Draw a cut line for gift card slot.
Step 4) Use 1/16″ paper punch on outer edge to begin cut- then use Paper Snips or other small blade scissors to cut on both sides of the traced line
Step 5) Place Tear n Tape all around the edge of outer circle. I had to use small pieces.
Step 6) Snip the relief cuts- from outside edge to traced inner line.
Step 7) Remove all tape backers and adhere to your container. This is a bit fussy – I gave some tips in the Facebook Live video.
Step 8) 3/8″ x 11″ taped cardstock strip – begin removal of tape backer- about 3 inches of backer rolled back- begin adhering the strip on the cut edge of DSP (patterned paper)
Step 9) You will need to make relief cuts on the top piece of cardstock- to do so- trim up from bottom edge of cardstock almost -but not- cutting all the way through.
Step 10) Continue along to cover the cut edge of DSP.
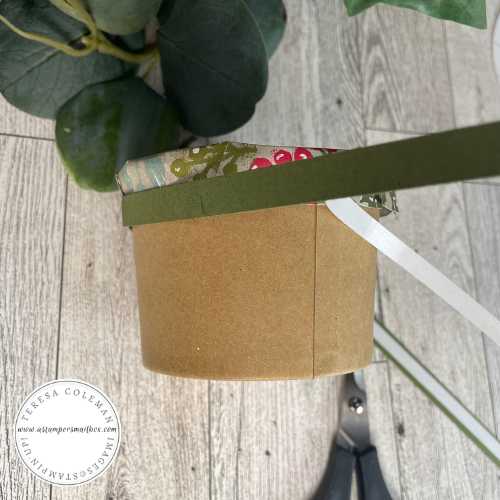
Step 11) Apply 2nd piece of cardstock to bottom edge. This one is easy – begin removing backer – apply and peel as you go around the base. No need for relief cuts here.
Step 12) Take last piece of 3/8″ x 11″ strip of cardstock- line up ends-as if you are going to fold in half- place gift card in curved loop end to ‘seat’ the card in the now folded pc of cardstock.
Step 13) Bend the top of cardstock so you know where to place a strip of Tear n Tape to adhere just the top end of cardstock together. You now have a snug loop for gift card to set in- it also doubles as a pull tab.
Step 14)Decorate a quick tag Step 15) Custom color ribbon with Stampin’Blend Alcohol Marker or use twine to adhere ribbon to pull tab.
Step 15) banner cut or angle cut the pull tab end
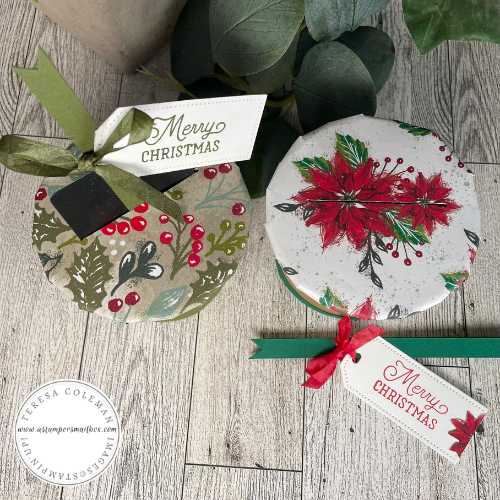
Wouldn’t this be cuter with a white base container?
I should have looked for another color!
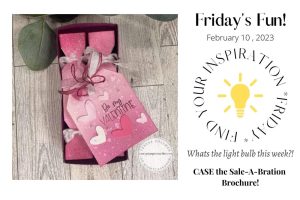
I hope you’ve enjoyed this blog/tutorial on a fun last minute way to jazz up one of the many gift cards you will be gifting this holiday season! Want more candy fun & inspiration- click on the above image to take you out to a winter 2021 blog post project- candy kisses & a grinch!
Click on the button above to hop over to Stampin’Up! to view all the items used in today’s project. Stampin’Up! makes it easy- it all goes into one shopping card- to drop things out of card- click to unselect items you don’t want.
I hope when you shop with me over at Stampin’Up! you will use my monthly host code!
Thanks for joining me today at A Stampers Mailbox to make another fun gift card giving idea!


