Welcome New Demonstrators!
Our team has expanded during the recent Sale-A-Bration promotion! I’m so excited to welcome Marissa & Ashley!
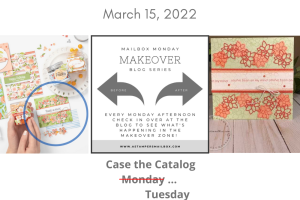
I’ve given the mail a few days to make sure these handmade happy mail cards have time to land in everyone’s boxes before posting.
Crafty Mail really is the Best Kind!
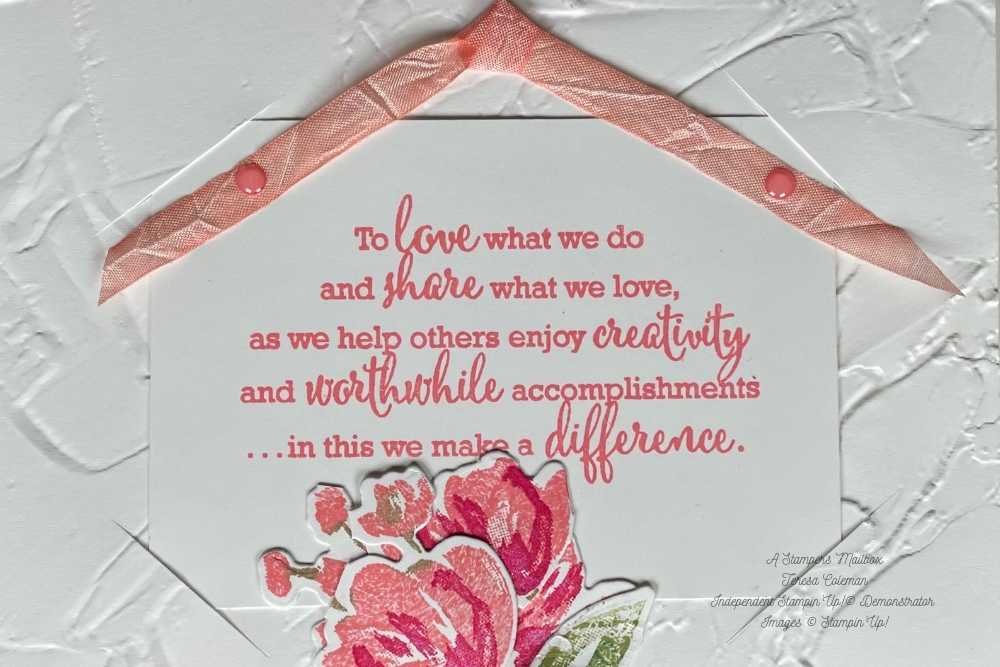
This lovely piece of creativity has a simple beautiful spring floral image and the company mission statement front and center.

I used the Fine Art Floral Suite for this spring inspired card. Gotta say it – I love our cardstock! It’s top level- the texture is smooth to the touch yet is sturdy and crisp. I was chatting with one of my new team members the other day and she mentioned ordering cardstock. My reply was an immediate ” I Love Paper!” I really do…
OK- onto this card One of my favorite card making trends is Clean and Simple, made by using the beauty of white space. This card has more going on than a true CAS but the basics of this design allow the sentiment to be front and center, a pop of color with the de-constructed floral image, texture from an embossing folder, and a ribbon accent with bling to anchor it all. I used white seam binding ribbon – with Light Calypso Coral Stampin’Blend to color coordinate the ribbon. I like this card alot!
By changing out the sentiment, stamped element and colors of inks- this card sketch can fit any occasion we need cards for!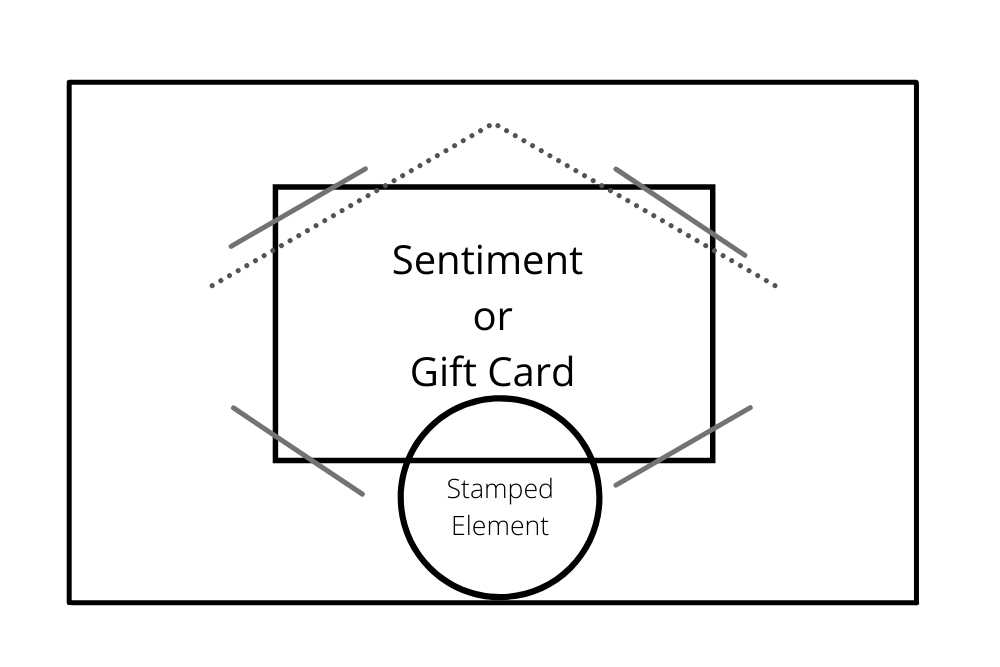
You know, gift cards have really become very pretty in and of themselves- have you come across one the you thought was too pretty or too cute to tuck away into an envelope all by itself? I sure have! Starbucks is classic for having really fun gift cards. Follow this sketch by making the gift card the focal point and the sentiment stamped on the inside of the card. Easy Peasy!
Tip: When using a gift card- if the weight of the gift card causes it to pop out- take one glue dot to the middle / back of the gift card – this will allow you enough flex to tuck the corners of the card in and give you wiggle room to get it nice and straight. For this sentiment inset- I used scotch tape on the back of the corners to keep the layer in place.
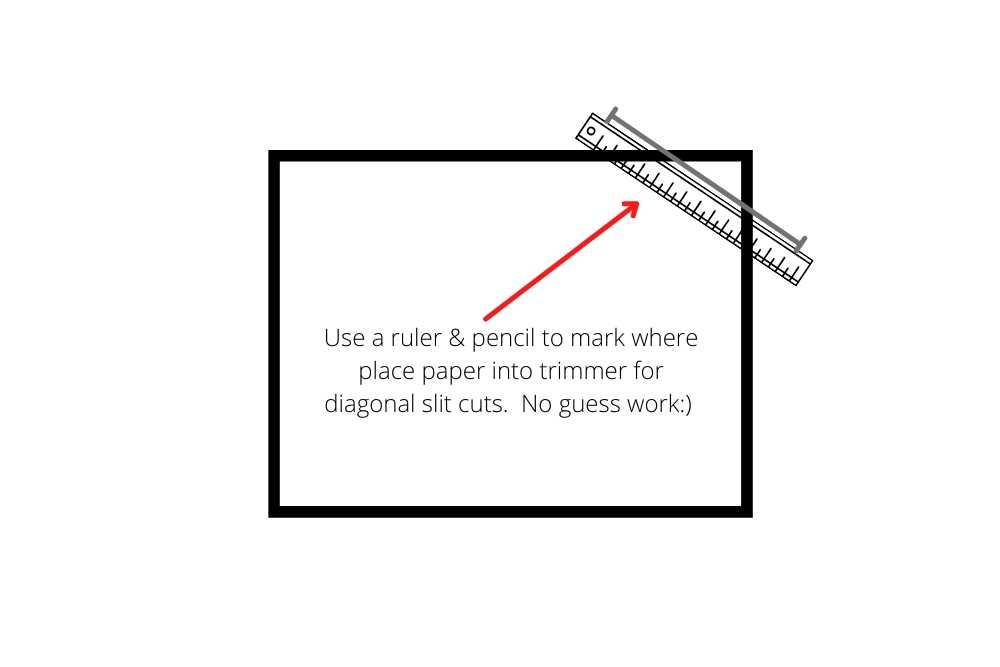
To create the ‘inset’ area – I used a ruler, pencil & my trusty Paper Trimmer to cut perfect and accurate diagonal slits for the sentiment layer to tuck into. Gift cards can be done the exact same way.
 The recent Sale-A-Bration period was a wonderful time to join the Stampin’Up!© family, really – anytime is a great time to join us! We are a large, global team of demonstrators creating crafty works of art with a wonderful company! I’ve been with StampinUp! since 1996. I’m still just as excited with stamps, ink & paper as I was as a new demonstrator… aka giddy girlie , new color, new cardstock, new Designer Series Paper… so much creativity in one place!

Project Measurements:
- Basie White Thick Base Card – 4 1/4″ x 5 1/2″
- Basic White Regular Cardstock Embossed layer – 4″ x 5 1/4″
- Sentiment Insert BW – 2 1/2″ x 3 1/2″
- White Seam Binding ( Ribbon) Length – 6″
Have any questions about this ‘for my team’ card or about joining Stampin’Up? I would love to hear from you!
On the home page – click that tab!

Project Supply List:


