Finding Your Inspiration sometimes comes along in the little things that make your crafting easier! Have you just started Embossing? Here are some Embossing Tips inspired by laundry!
This is how the story went.. an became a blog post…
Happy accident: bath towel lint from laundry day happens to wipe down your chalkboard so much better than the chalkboard eraser. One day a while ago, I was walking out towards the trash can which is set under our kitchen ‘grocery list chalkboard’ with laundry lint in my hand. I stopped to look at the list and realized I had just ordered an item on the list from Amazon.
The lint was in my hand still so I reached up and swiped the item off. Lazy? Yes.. but I was amazed at how well it worked. Now there is a wad of laundry lint stuck by the chalkboard.
(Use #2 for laundry lint)
So… fast forward to this blog post- I’ve been pondering if towel lint would work for embossing. Experiment with me. This isn’t the most exciting blog post but if you are like me and get frustrated when your white embossing on dark cardstock doesn’t emboss cleanly – this post is for you!
Today’s Quick List Supplies:
Stamparatus
Your Favorite Sentiments
Versamark Ink
Cardstock ( 1/4 sheets )
White Embossing Powder
Heat Tool
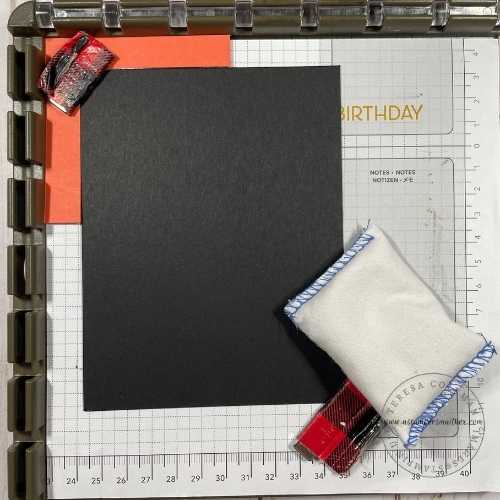
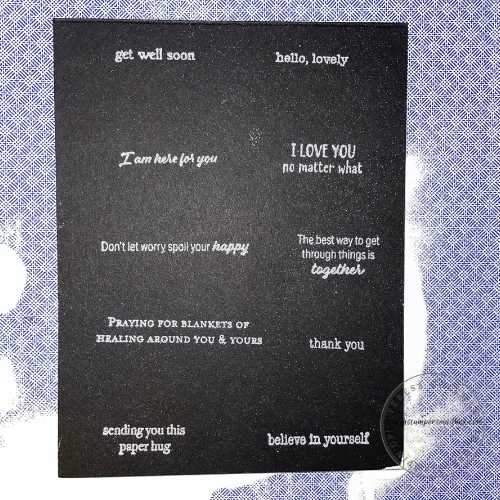
I’m starting this rather photo heavy post with the control sheet.
This cardstock has no treatment at all.
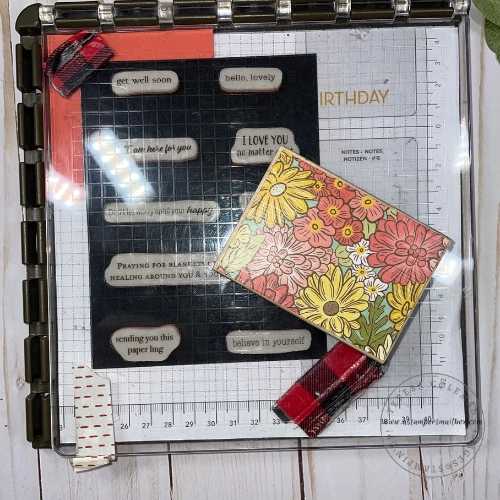
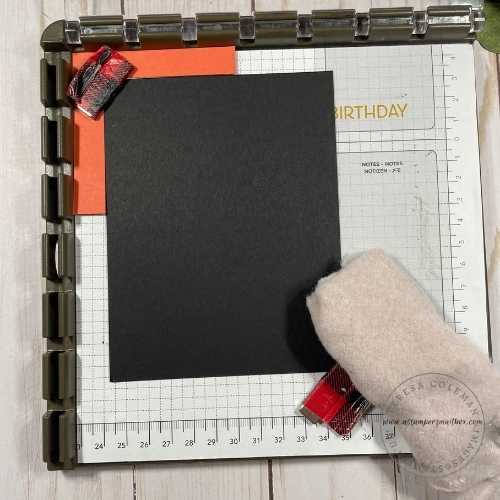
As you can see, I’ve loaded the Stamparatus up so that I have cutting space, a cardstock spacer top left ( to pull cardstock from corner), and a fun DIY Stamparatus ( Stamp Positioner) Tool made by my good pal Sheri W.! This is such a fun and useful tool. Me and my wrists say Thanks Again! Sheri!!!
I stamped with Versamark ink twice- that is my control quantity of ink on each experiment going forward. As well, I used the same quantity of White Embossing Powder.
Be generous- these letters are small and the ink hard to see on the black cardstock.
Experimentation:to keep the tool use minimal and consistent – I decided to skip using a brush to clean the cardstock. Low effort & quick embossing is needed today.
Just shake off the excess onto a piece of paper- I used a ripped open envelope lying on my desk- crease makes an easy way to funnel powder back into jar for next card. I flicked my finger on the back -once- before using the heat tool.
As you can see, I lucked out today. The humidity in the house is relatively low today. Other days- if I don’t treat dark cardstock- there is powder clinging everywhere that I don’t want it!
Doesn’t this just irk us?
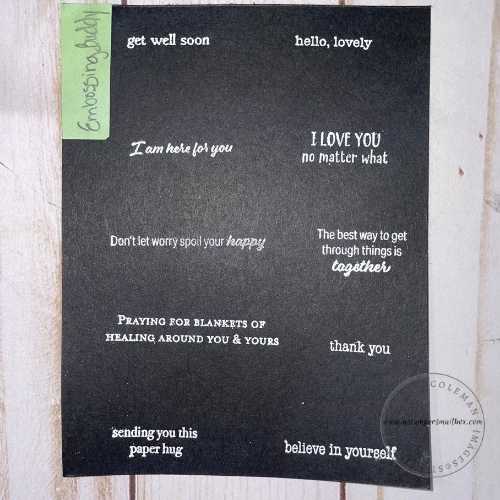
This embossing buddy was purchased online right before Stampin’Up! came out with the Embossing Tool Kit. I had one years ago and lost it… (shrug)
So, you can find a Heat Embossing tool set right in the Mini Catalog page 49.
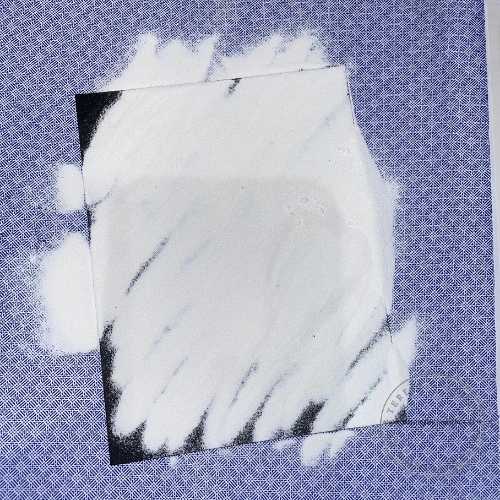
Again, be generous with your powder! Cover all those letters!
This looks finished – but look closely- the letters look grainy. This is what your images will look like before heat embossing. Make sure your heat tool is good and hot before bringing it to the paper. Hold the end about 3-4″ away from paper.
You can even get the process going from the back if you think your powder wants to fleck off. Melt the embossing powder fully- double check by holding your paper near a light source and turning to look it over well.
IF you see any grainy looking letters- use the heat tool again.
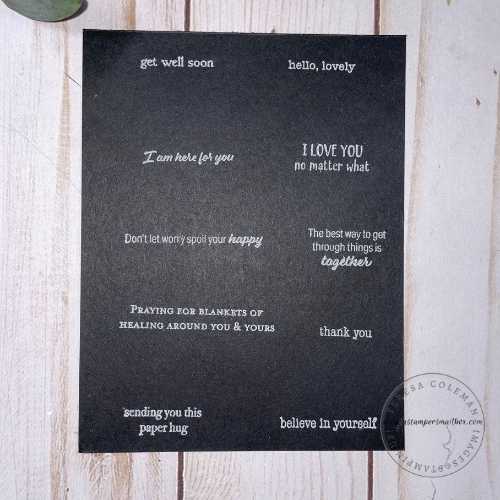
Your heat embossed sentiment should look nice and smooth.
The Embossing Buddy: Pro:it does a bang up job of preventing powder from sticking where you don’t want it. Con: on dark cardstock it leaves a powder residue behind.
Tip: make sure the newly melted embossing powder has time to set up and cool. Once completely set and cool gently wipe a dry rag over it.
Time to experiment.What you are seeing in this photo is my laundry day bath towel lint. I simply rolled it up into a nice looking cylinder:) I applied the lint roll exactly as the embossing buddy – simply rub it all over.
Tip: This of course leaves behind loose lint 🙁 no good- gently blow this excess lint off.
The experimental hope is that it will leave a non powder residue on the surface of the cardstock.
Let’s see…
Another boring photo of the generous use of embossing powder.
Remember, we aren’t wasting it- I pour it right back into jar off camera!
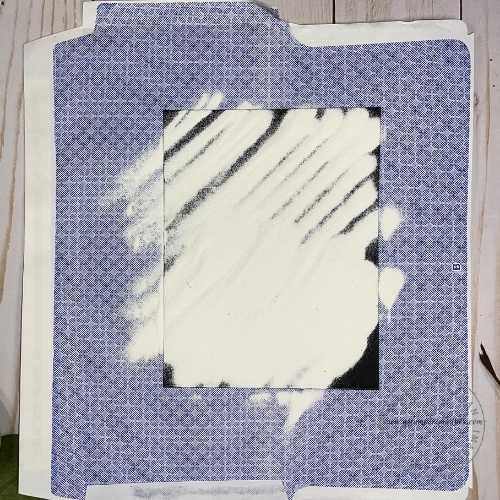
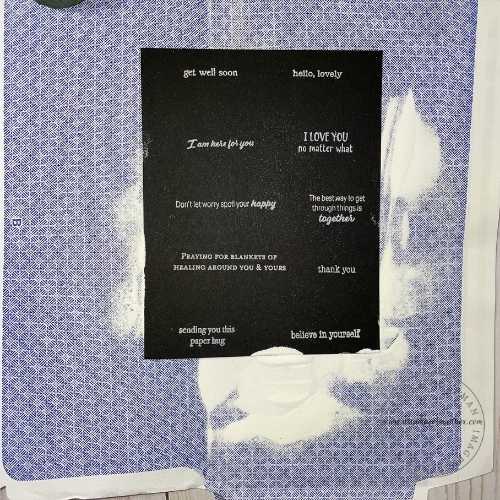
Laundry lint sheet before embossing. This photo shows how well the laundry lint did at repelling the clingy powder – not too bad. Let’s see what the post heat images look like.
It’s not too bad, not as good as the embossing buddy. The bottom left and mid right images have alot of clingy powder between the letters. This is not what I want.
Back to the laundry experiments I go.
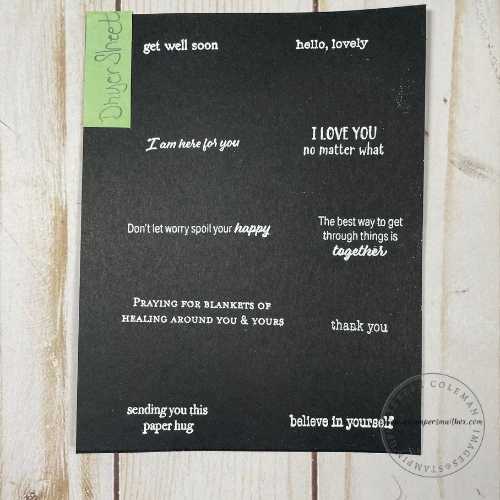
Dryer sheet. This is a fresh sheet right out of the box. I figure it will come in handy for clean up after the embossing experiments and leave a fresh scent behind in the craft room:) Dual purpose here!
Staying with the 2 applications of Versamark in and applying a generous layer of powder for experimentation consistency ( Boring – stay with me:)
Same process: allow the powder to slide onto paper – one flick of finger on the back of cardstock. Pour powder back into jar and time to heat emboss.
Note: if you forget to put powder into jar or leave lid off then turn on heat tool – caution – powder will fly all over your crafting space!! ( ask me how I know snicker snicker)
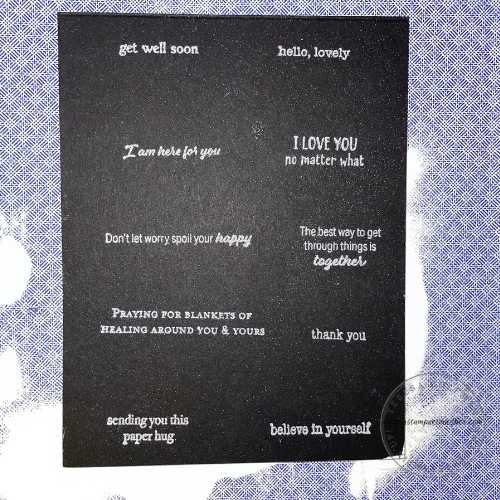
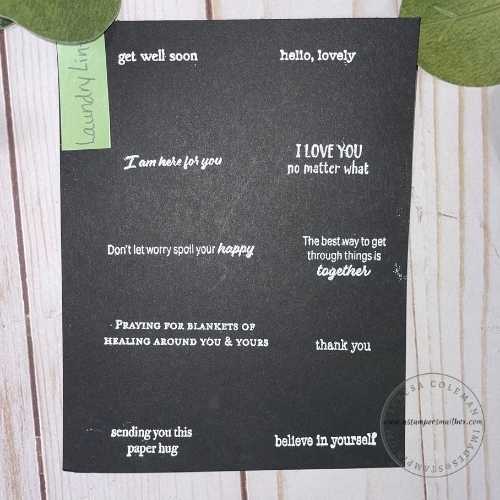
This looks really great!
Much better than lint trial with the exception of sentiments ‘thank you’ and ‘blankets’.
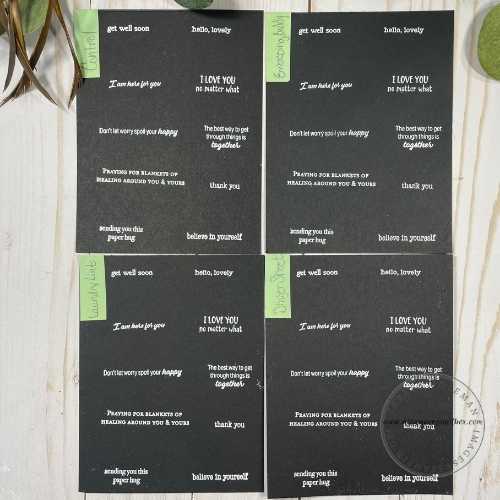
Top Left: Control
Top Right: Embossing Buddy
Bottom Left: Laundry Lint
Bottom Right: Dryer Sheet
Looking at them all side by side clearly the winners are Embossing Buddy and Dryer Sheet. So If you are looking to get into embossing and want to save a bit of money – grab a dryer sheet and keep it with your embossing powders!
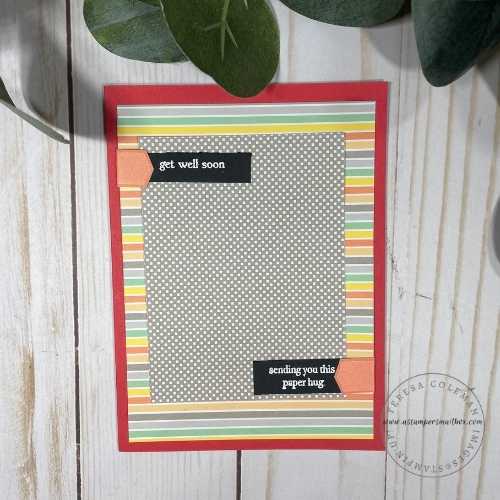
Now what to do with all these pre-stamped & embossed sentiments
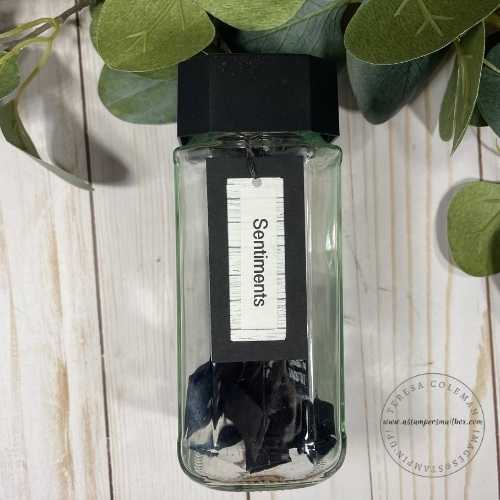
I grabbed my sentiment jar for a refill. It’s always great to have a nice jar with pre stamped and cut sentiments ready for any quick card need.
Click on the above photo to see a previous blog post on these cute jars!


Ingenious!
Did you like that Title? hahaha