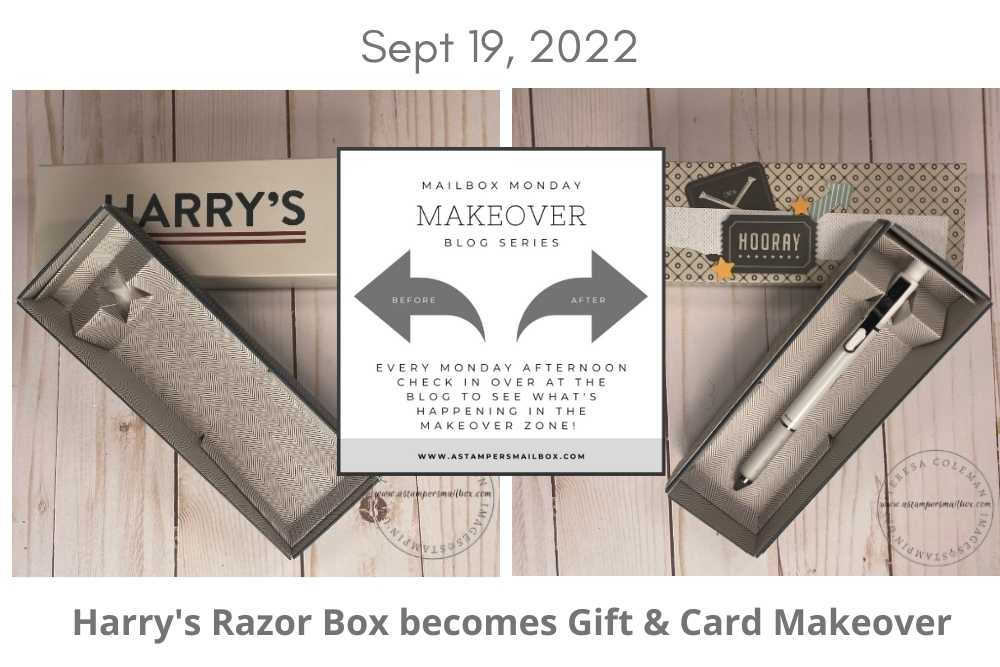
Most Mondays here on the blog something gets a makeover. Today it’s this Harry’s Razor Box. My husband recently changed from Dollar Shave Club to Harry’s. Easier to source and no shipping. The razors come in this fabulous box. If you visit much here on the blog you know how much I like boxes that are unique and fodder for the makeover series!
This box begged to become a pen gift!
Let’s do it!
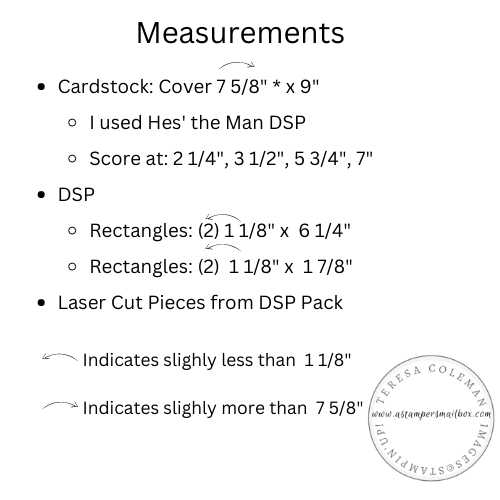
Supplies You’ll Need: Razor Box, Cardstock, Designer Series Paper, Pen to gift, Premium Copy Paper for DIY Envelope Template, adhesive, paper trimmer. Simple supplies!
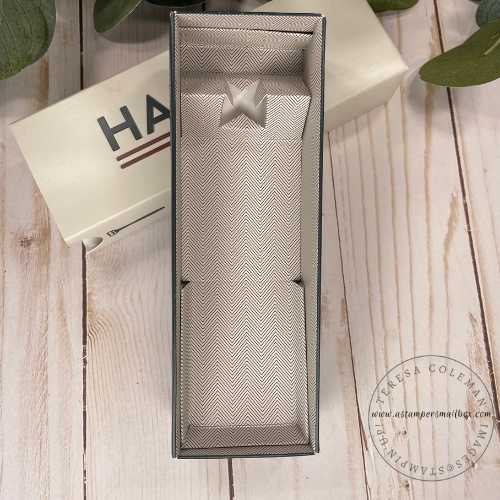
These boxes don’t look like much but wait until you see the inside!!
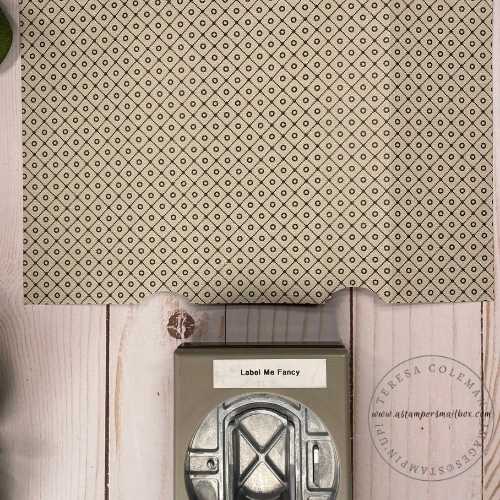
This photo doesn’t do the pattern printed on this cool product insert
but I’m thinking it is perfect for a pen gift.
This box will be the simplest Makeover done here on the A Stampers Mailbox blog!
If not- here is a link to hop out to Facebook to view it – I show this project
and demonstrate how to make the coordinating square card.
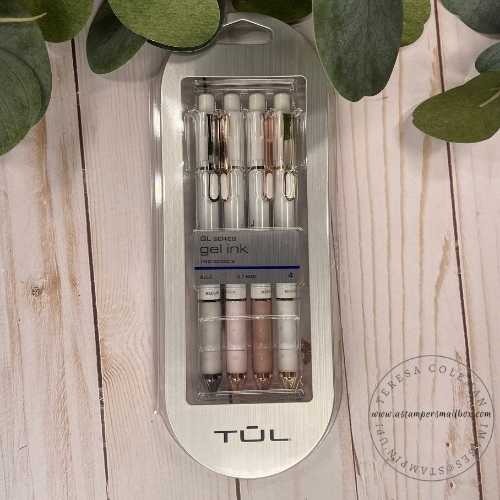
I came across these lovely gel pens at Office Depot. I dropped them in my cart knowing I would end up with some amazing use for them. My original thought was ” oooh these will coordinate so perfectly with the Abigail Rose DSP ” .
They also coordinate with today’s paper.
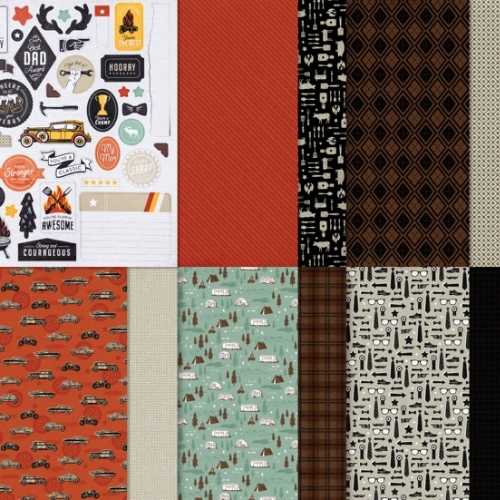
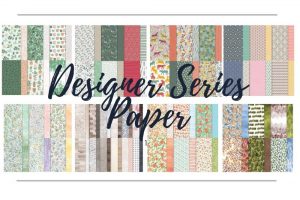
He’s the Man Designer Series Paper Pack has gotten alot of mileage here on the blog.
So versatile!
Below are a couple of clickable links to pop you over to see some previous projects with this paper pack!
This title doesn’t help you understand the project at all! I had been on an extended summer break from the blog and this post was my first back in the craft room project. It’s a travel size pouch first aid kit using the sheet of DSP with the travel trailers on it. This is a fun project:)
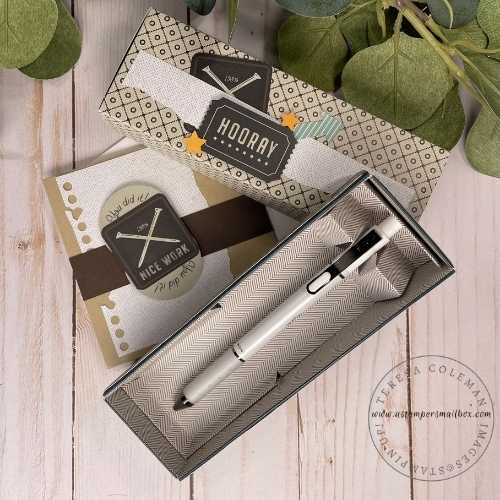
Let’s put this gift set together!
Let’s start with the Pen Box, it is super easy to put together.
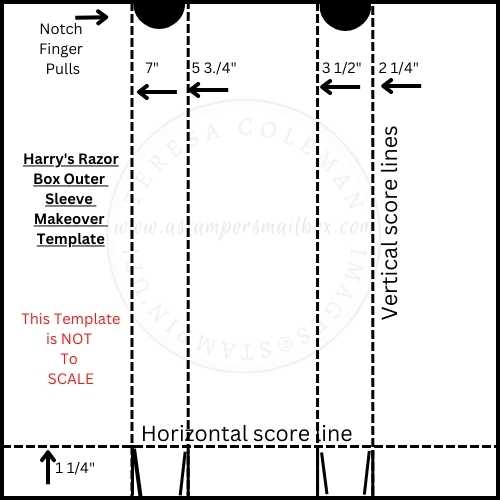
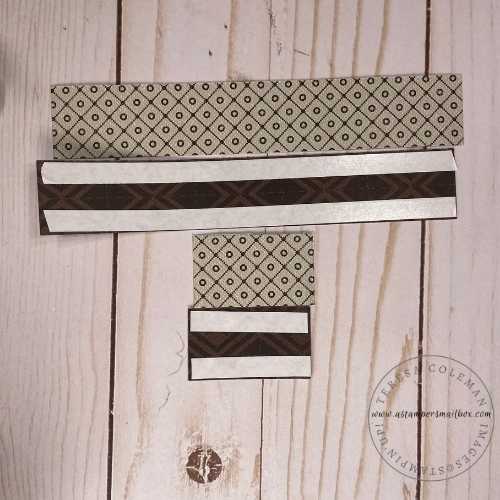
I started with the outer sleeve.
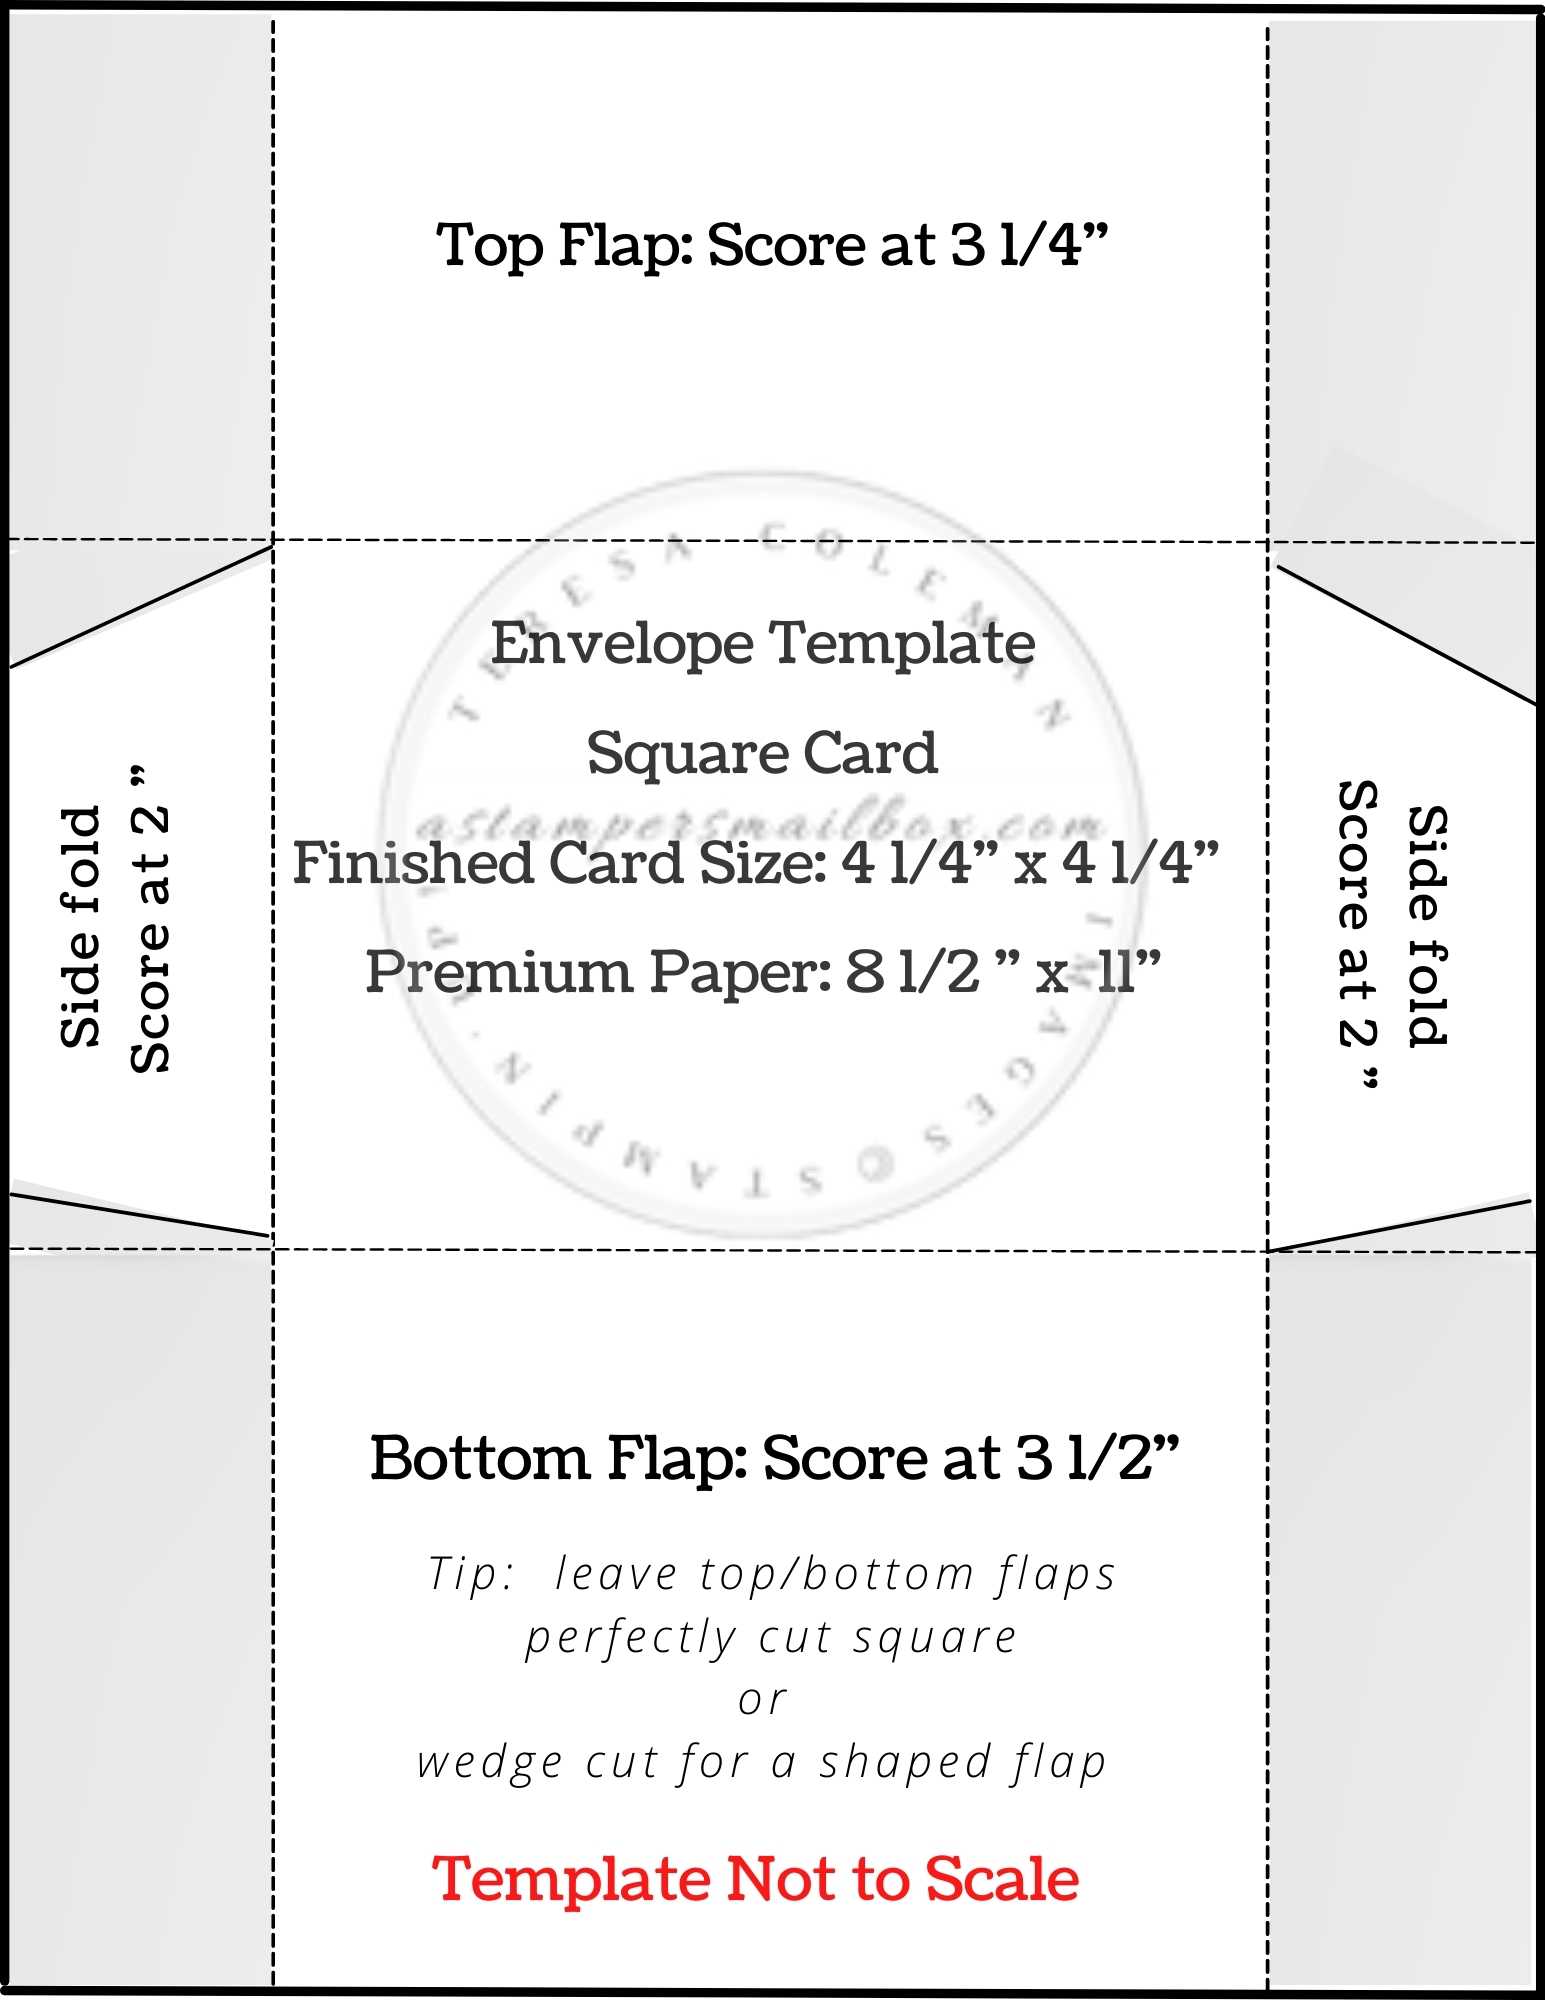
Here is the template (not to scale)
I chose to use Designer Series Paper for the sleeve because the paper in the He’s the Man DSP is quite thick. With a nice structure to hold up to the sleeve shape.
If your patterned paper is a thinner variety – make the sleeve using the template above with regular cardstock then wrap a 6 x 9 sheet of your thin patterned paper pinching at the corners to shape. No need to score.
Turn it over and follow this guide to place Tear & Tape or other dry adhesive. You can use liquid glue for this project if you like, it will give you a bit more ‘wiggle room’ – I wanted the immediate stick of a tape.
It’s always wise to dry fit – meaning put it together before removing backing from Tear & Tape. If you are using another type of double stick tape/adhesive, test fit before applying glue:)
You will thank yourself later!
(ask me how I know… right?!)
Here is the finished sleeve and insert!
Let’s move on to the insert box now.
The pen box is so simple!
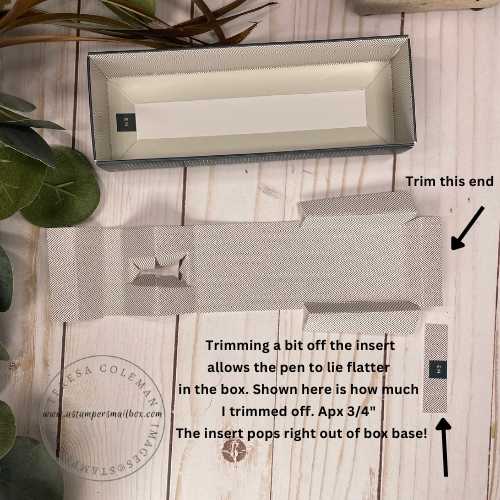
I didn’t change a thing with the exception of one simple cut on the box insert.
If you don’t cut this bit off the pen will be too high in the box and not lay nicely.
I also added a removable glue dot anther the tip end of the pen to help hold the pen in place.
This is why I say the box is so easy. This makeover is not a re-invent the box and insert project. It all coordinates so well with the He’s the man paper that I thought why not be easy!
Cut some simple strips, lay some tape down- adhere to box . Easy Peasy!
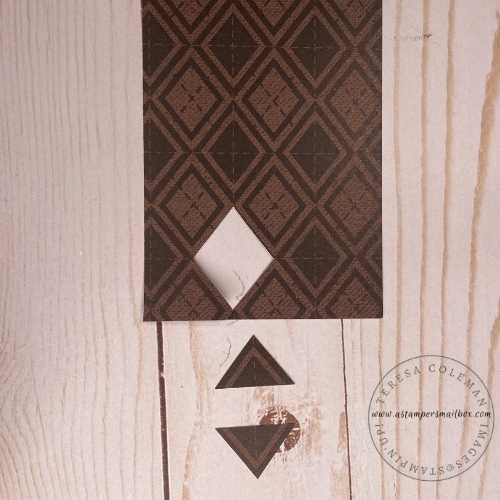
As I was placing the tape on the outer sleeve- I noticed that this argyle pattern would make a great ‘ pointer arrow’ The photos don’t show it but on the box – there is a wee arrow the manufacturer put on the box to indicate to pull outward.
I added these cut pieces to do that same thing:) Not a necessary touch but a fun one.
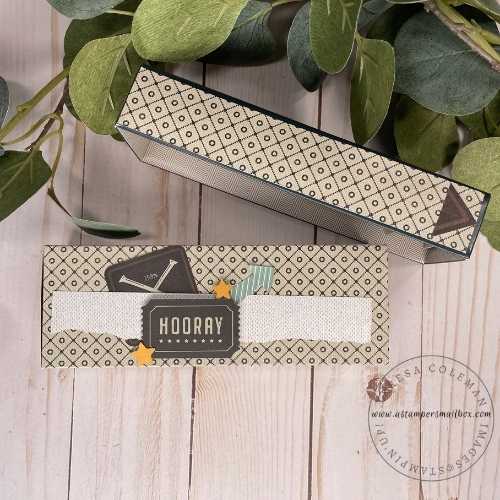
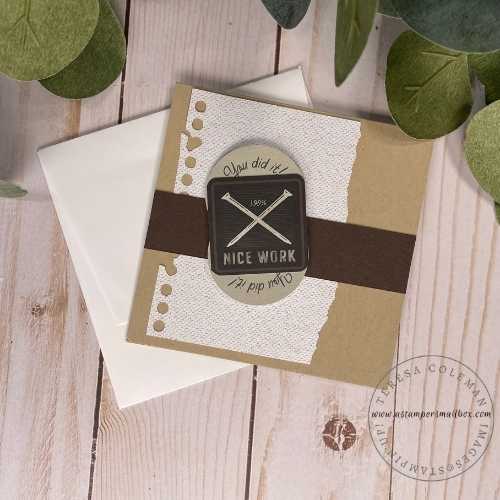
The box came together quick now lets make a fast and easy card to finish this gift set. Today is Facebook Live Mailbox Monday – if you missed it live – go catch the replay. I made this card to go with the Makeover Project. I think it comes together for a great gift set.
Perfect for a special someone with a new job or did a fab job on a recent high school or college test.
______________________
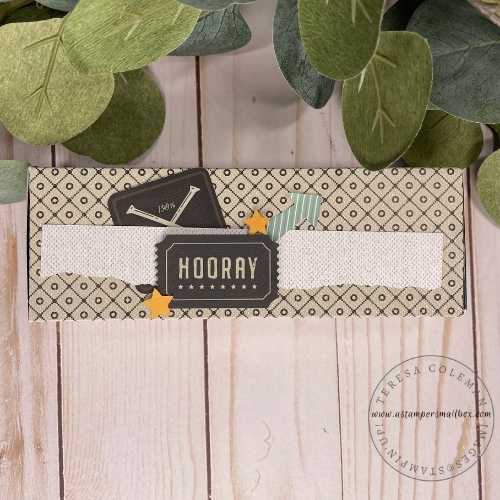
Let’s make a coordinating card to go with this fun pen to make it a full gift!
This card was demonstrated at 3pm CST today on Facebook Live. Click on the above photo to take you over to view it. Beware- the first few minutes I had some (self imposed) audio/technology glitches:) Hang in there- it doesn’t last long.
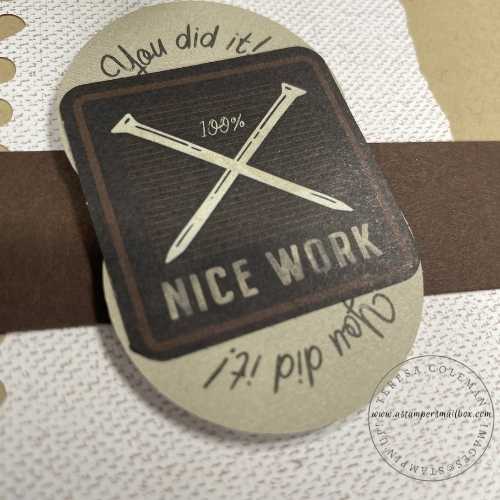
I love how nicely these elements from the DSP pair together to make one element!
I buy either from Amazon, Staples or Office Depot. This is an Amazon link.
Click below to view the entire list of products used on today’s pen & card gift set.
This places everything in a cart for you – uncheck the items you don’t need 🙂
Thank you for joining my for today’s installation of Mailbox Makeover Monday and Facebook Live! I hope your week is fabulous! Check back in on Thursday – It’s Mini Blog Hop Sketch Challenge day.


