
Sending Smiles Inspired
Today’s FYI*F* is inspired by the Sending Smiles bundle and stamp club. The dies and stamps combination are so great combined with any colors and stamps! I’m pairing them with In Colors Designer Series Paper and Inks for a ‘Sending Sunshine’ with some blast from the past Paper Pumpkin stamps! I love taking out my previous Paper Pumpkin kit stamps.
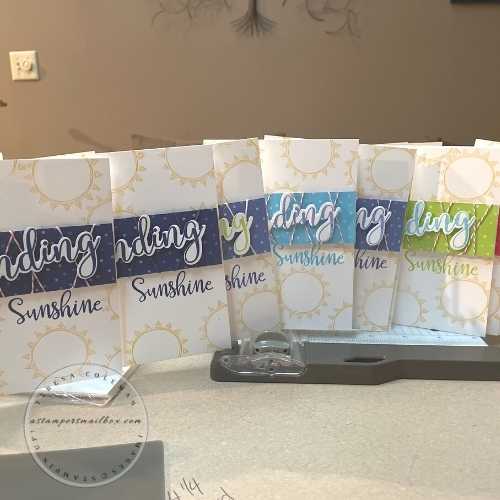
This card was make for a card swap back in June with my stamp club ladies and it’s just now making an appearance here on the blog:) Whew, the summer really was jam packed!
Quick Stamping Steps for a Swap:
-
Cut & Score the number of cards needed.
-
These are 5 1/2″ x 11″ score at 4 1/4″ ( Standard A2 )
-
-
Do all the basic stamping ( My cards include Paper Pumpkin 2019, Sending Smiles & Limited Edition Stamp Sets)
-
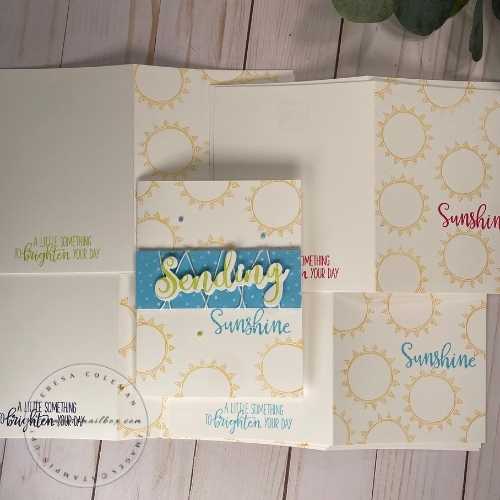
These have Daffodil Delight Sun images
-
All the In Color words ‘Sending’ & ‘ Sunshine’
-
Stamp the inner greeting ‘ A Paper Hug From Me’
-
(Limited Edition Stamp Set Current Annual Catalog)
-
-
Back of card ” A Little Something to Brighten Your Day’ (Paper Pumpkin)
-
-
-
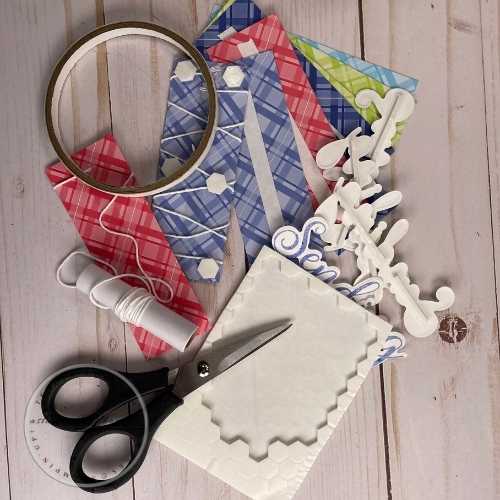
Die Cute all the pre-stamped words ‘ Sending’ using the shadow die.
-
Cut In Color Designer Series Paper. 2″ x 4 1/4″
-
Wrap this in twine. Mine are assorted white, colorful and some leftovers from Paper Pumpkin
-
-
Add in additional details with In Color Matte Dots

New Ink Pads are loaded and super inky. Which means they last a long time before needing an ink refill. This also means they have the tendency for the ink to pool on the surface of the foam pad. Which means the ink doesn’t perform as well as you want it to depending on the color of the ink.
If you find your stamped images aren’t as crisp as you want- use this trick!

Take a plastic spoon or your bone folder and rub the curved side of the spoon gently against the ink pad. Push gently to disperse the ink into the foam pad. Then stamp away!
Click Here to check out this 4 minute quick tip video!
One More Tip: When stamping with Photopolymer (clear) stamps always have foam or a silicone mat under you to provide crisp stamping. It seems counter-productive but it helps.

I love how the new In Colors play so well together!
Click here to see a post that chat’s up the new In Colors in detail! It’s a good one!
Now that all the pieces are cut & stamped it’s time to assemble. I used Tear & Tape on the back of the Designer Series Paper- one long strip along the middle to anchor the twine down. This bit of sticky helped me to get a fun criss cross pattern that didn’t go wonky on me. Then I added Stampin’ Dimensionals to the backs as well.
For the die cut words I took my paper snips and cut slivers off the edge of the sheet of dimensionals to have a line of adhesive foam. This made adhering the words down really easy.

I pulled this fun stamp set from my stash of previous Paper Pumpkin- it’s from June 2019!
It matched the summer theme for the Stampers Club Card Swap so great!
The Sending Smiles Bundle stamp and die fonts coordinate great with a variety of image styles!
It’s a fab bundle to add into your collection!
Cardmakers Swap Supply List
(except Paper Pumpkin)
Thanks for joining me for a fun card swap inspired Find Your Inspiration Friday installment! Have a fabulous and very inky weekend!
Crafty Hugs,
Teresa
PS: Click here to pop over to Paper Pumpkin to subscribe and begin your Paper Pumpkin crafting journey! It’s so great that it comes right to your mailbox:).

