FYI*F* Tutorial Inspiration
Find Your Inspiration Friday comes from the Subscriber Newsletter this month! The tutorial was entitled ‘Three Ways to use Masking Paper‘. I’m sharing one of those with you today.
I can’t claim design origin on this one- it was shared at a Demonstrator Conference a couple of months ago and I think it’s a super way to use masking paper.

It’s a simple start.
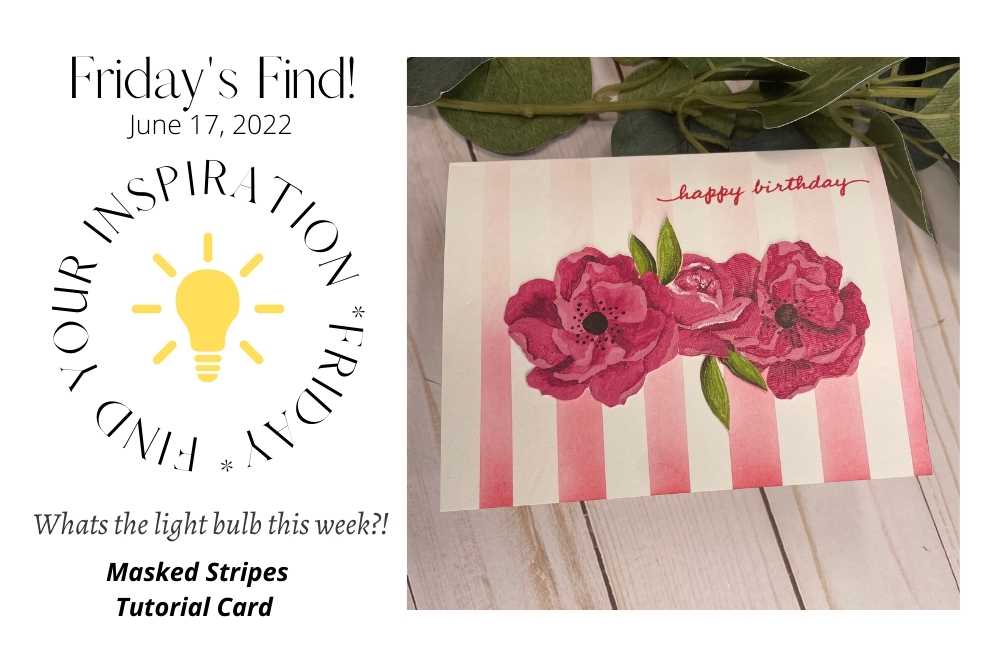
Masking paper strips laid out across your card base, I chose white to show off those stripes for the photos.
Image how cool this would look on a colored cardstock with darker stripes. Bold and beautiful I think!
Card Measurements & Quick Supply List:
-
Standard A2 card size 4 1/4″ x 11″ Top Fold
-
Score at 5 1/2″
-
-
Masking Paper Strips Cut down with Paper Trimmer to 1/2″ strips
-
Placed 1/2″ apart. Grid paper is fabulous for this.
-
Blending Brushes
-
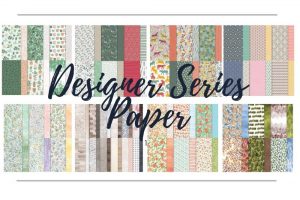
Fussy Cut Flowers: use any patterned paper you like – I’m using Hues of Happiness Designer Series Paper
-
Ribbon
-
Sentiment Tag
-
Glue

Now you are ready to ink. Apply ink to blender brush offloading some of the ink onto scrap paper before applying to card base. This allows you to build the ink color slowly starting lightly.

Time to remove the masking strips.
Aren’t those stripes lovely- bold and bright at the bottom and lighter at the top.
Creating a subtle single color ombre look.
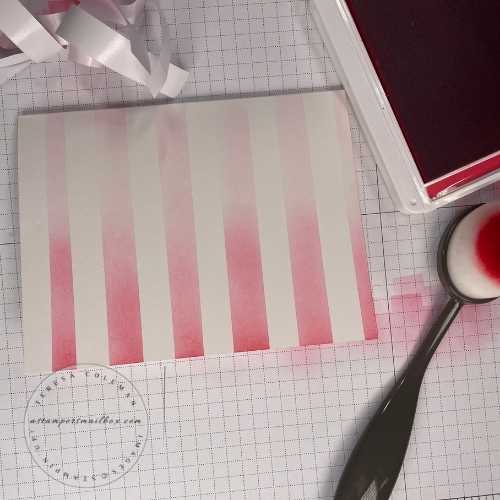
Remove the mask paper strips carefully you can reuse them for sure one more time.

Add a sentiment and fussy cut flowers to complete this quick and simple card.
This card should take you about 15 min. start to finish. I love that! You can easily step this up by using a Wink of Stella Marker applied to the flowers and some shiny embellishments.
I chose to keep this simple and flat for ease of mailing.
________________
Would you like to see more stripes & blending brush cardmaking?
Click on the above photo to take you to a blog post from last November.
Click the Pink Box below to view all the items used in today’s card.
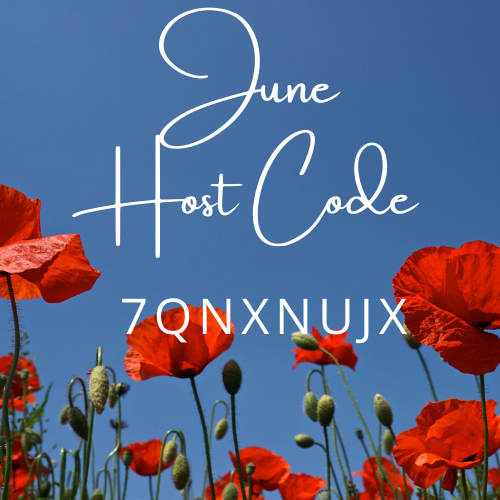
When you shop via this link- simply ‘uncheck’ what you don’t want then click add to cart! When you shop with me using this months Host Code shown below- your June M3 will include a sample of this Masking Paper along with lots of fun card making tidbits!
If you aren’t a subscriber to my newsletters you are invited!! I send 3 a month. 1st of the month is a big one chock full of news, 2nd one mid-month tutorial only( I aim for the 15th) and an end of the month events only newsletter. I don’t believe in flooding subscribers inboxes. Rarely will there be any more than those 3. I hope you’ll fill that short subscriber form!
I truly appreciate all my viewers and subscribers! I hope you enjoyed the tutorial! For non-subscribers- I hope you enjoyed this sneak peek into June’s subscriber tutorial newsletter! I would be happy to send you a ‘by request only’ copy of the digital newsletter if you would like to see Junes Tutorial without becoming a subscriber- send me a comment or an email requesting June Tutorial! I’m happy to share:)
Happy Friday and hope your weekend is full of love, laughter and of course- Ink!
Crafty Hugs,
Teresa