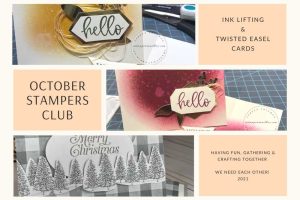
Inspiration… lets make two lovely projects with a new embossing folder.
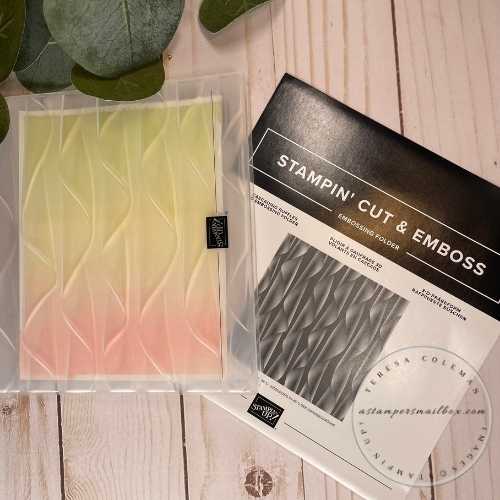
FYI*F* features the Cascading Ruffles embossing folder as the lightbulb for this weeks post!
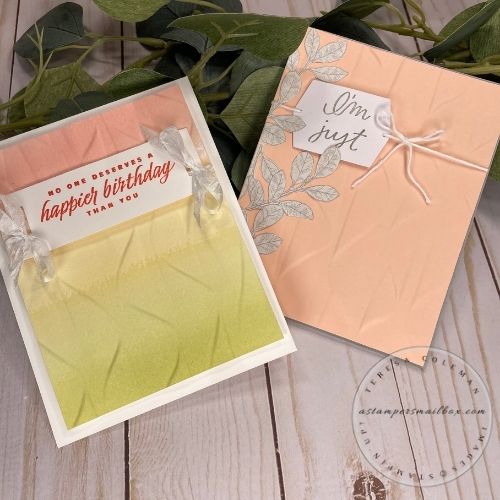
These cards come together really quick!
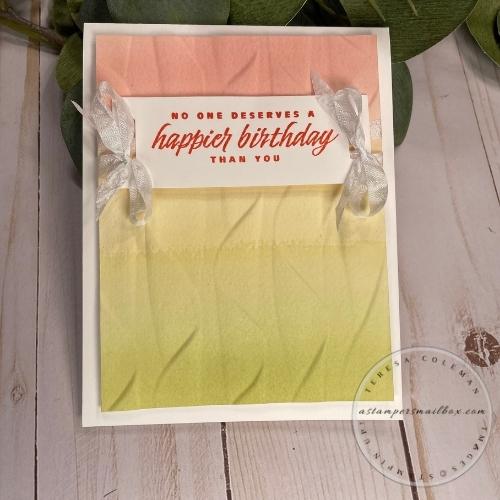
The watercolor ombre background shown here is the more time consuming of the two designs I have for you today. Dry time for the watercolor delays the finish but once dry, a quick run through the Stampin’ Cut & Emboss machine in this lovely new Cascading Ruffles Embossing Folder and a sentiment quickly stamped in the Stamparatus and you are nearly done.
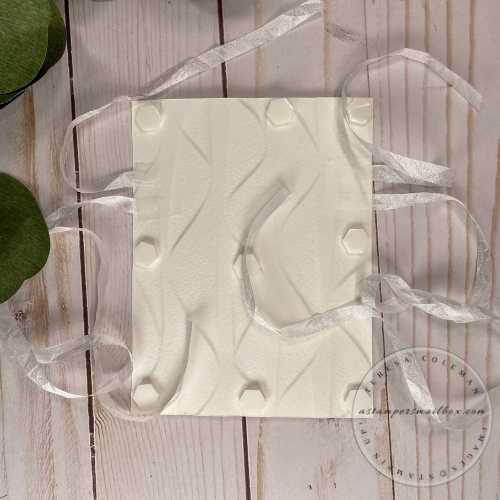
This looks messy but it’s not- I cut my ribbon way too long for my design thought:).
I wanted a long and short ribbon on each side so that I could run the ribbon under the sentiment layer for bows on each side. In the end, I only needed 6″ & 10″ lengths of ribbon on each side.
I love making watercolor washes. It’s alot of fun! Maybe I should do a post on just that
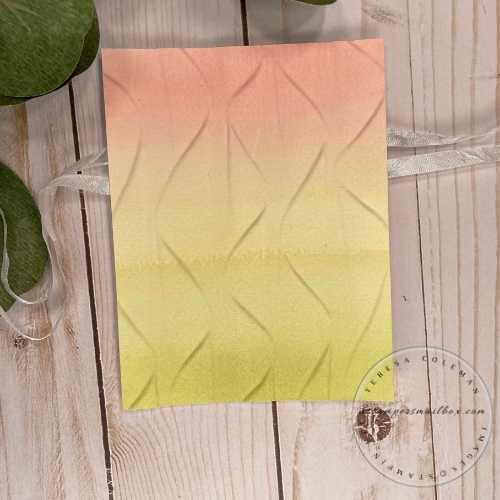
All the colors for the ombre background from top to bottom are: Calypso Coral, So Saffron, and Old Olive. Diluting these inks allows one to achieve a lovely soft wash of color.
This sentiment layer was leftover from this weeks Stampers Club gathering.
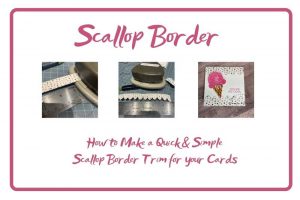
I used the Label Me Fancy Punch to make the ribbon slides which are perfect for this card.
My photos aren’t coming out as crisp as I would like… hmmm need to work on that!
The actual card has clean, crisp stamping on the sentiment because I used the Stamparatus. I wanted to ink this greeting several times and the stamp positioning tool allows me to do that and have the cardstock & stamp aligned perfectly every time. Repeating the inking this way ensures that the image is a deep, rich color. In this card I used Calypso Coral on the sentiment as well as for the top color of the (ink) watercolor wash.
Have you used these techniques for cardmaking? They are wonderful rainy day activities!
Make several background layers to have on hand to use when creating time is limited!
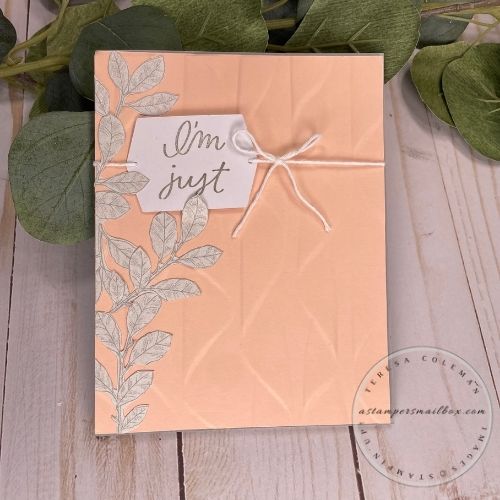
Let’s move on to card 2 with the Cascading Ruffle Embossing Folder.
This card is very easy to put together!
Minimal stamping, some fussy cutting and a pass through an embossing folder – easy peasy!
This cardstock doesn’t look it but it is the soft Petal Pink Color. It’s one of the colors used in the lovely new Abigail Rose Designer Series Paper.
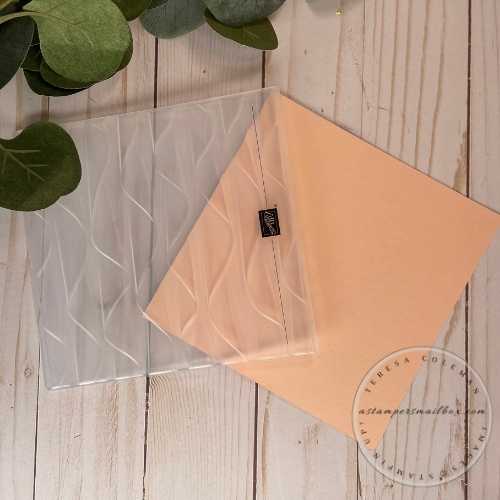
When using a 3D Embossing Folder follow the plate layering instruction on your Stampin’Cut Machine- or whichever die cut machine you are using . I mention this because it took me several tries to get it right – clearly, I haven’t used a 3D folder in a while:)
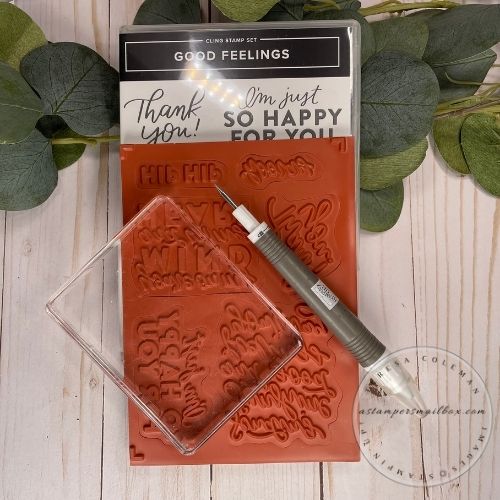
Grab all your supplies:
A2 Base Card Smoky Slate Cardstock
5 1/2″ x 11″ scored at 4 1/4″
Petal Pink & Basic White cut down to 4″ x 5 1/4″
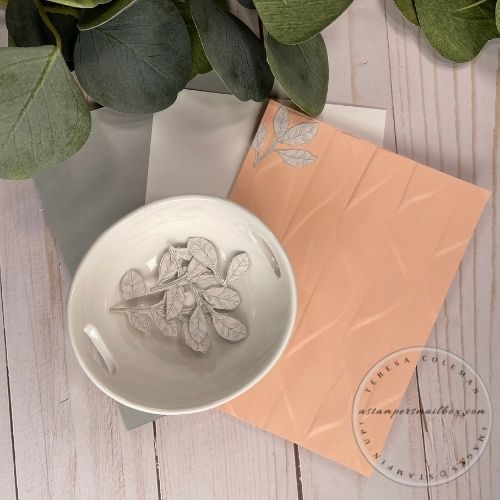
Any fussy cut patterned paper that complements your cardstocks.
I’m using a few leaves cut from the new Abigail Rose Designer Series Paper
I love new stamp sets!
I have an oldie but goodie short video on how to assemble if you are new to unmounted cling stamps.
Click the image below to see that how to video -note- this video features retired stamps but the easy trick of putting together red rubber cling mount stamps is super great!
It’s a quick 2 min video.
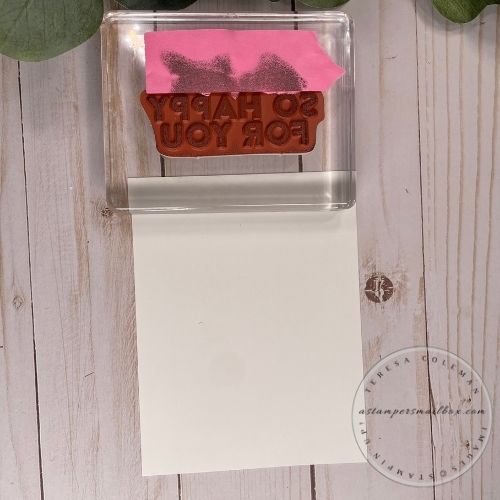
I want to change the word layout for my card,
doing so is very easy with post-it tape or Stampin’Up!’s new masking paper.
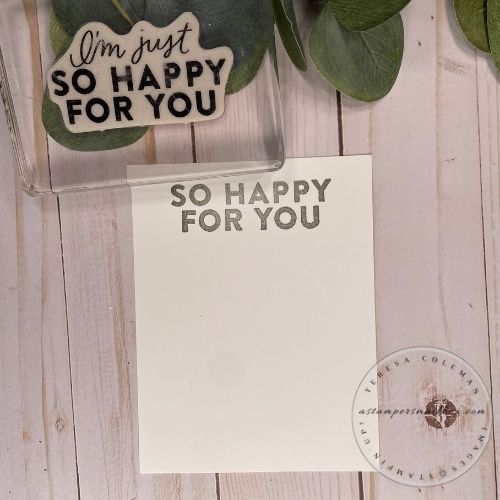
Cover up what you don’t want to show- ink your stamp up ( I used Smoky Slate ink) then remember to remove the post-it or masking paper.
Now stamp onto your card or layers.
This photo shows the stamp with ink on the post-it tape!
Remember to remove it!
Now I have taken one greeting stamp and created an outer image and an inner image.
This is a great way to stretch your stamps!
These cards are now done, let’s see them together one more time.
To see a complete project supply list
– click the Project Supplies button below –
To order simply uncheck the items you don’t want then add to cart!
Use this host code to get a M3 Monthly Mail Out for all orders over $35 US. Want to see what’s up with M3? Click Here
Did you know you can choose products featured on today’s blog post and add them to your Starter Kit? Yes, You can!
The image below will take you over to my Demonstrator Web Site
to learn more about Joining Stampin’Up!
Happy Friday and Thank You for joining me for another installment


