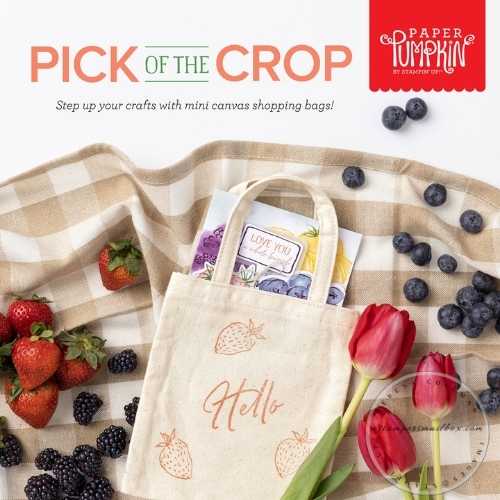
Monday Mailbox Makeover also known as MMM meets Paper Pumpkin this week for a fun kit alternative idea! Did you get your box last week? If not, let me know and I will track it for you!
Did you forget to sign up?
Check in over at www.paperpumpkin.com to see what’s happening this month!
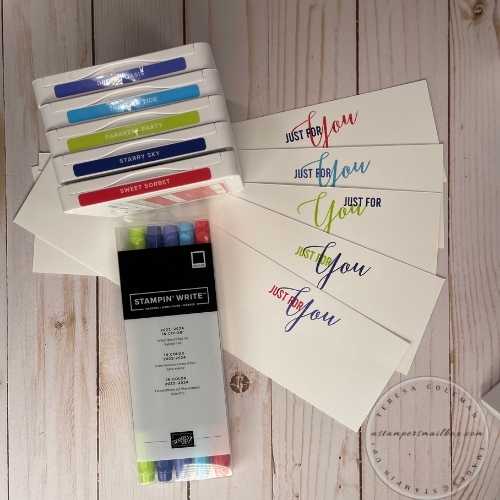
Wow, this In Color box is chock full of so much good stuff! I had to spread it all out on the desk before I could even think about a design that wasn’t closely related to what Stampin’Up! already designed.
So much variety packed into one kit and that box is small enough to fit right into your mailbox!!
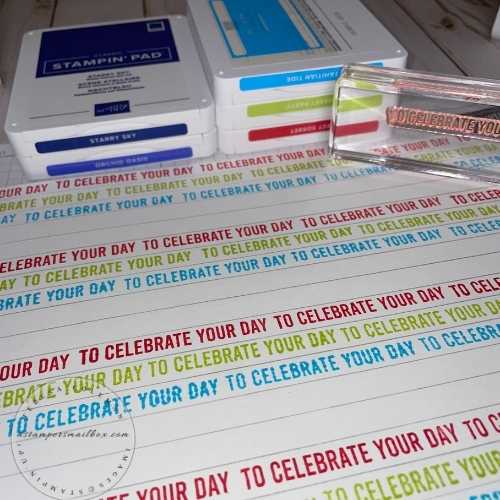
This card use only the stamp set from the Paper Pumpkin Kit along with all the In Color Ink Pads and Stampin’Write Markers. I liked all the items in the box so much that I decided to create an alternative SIPcard.
Only…
Stamps, Ink & Paper!
Measurements:
Base Cards: Basic White Thick: 1 Sheet = 3 cards
Score whole sheet at 5 1/2″
Cut strips 2 3/4″ x 11″
Front Panels: Basic White: Full Sheet
How to below ( Photo & Detailed Instructions ) Pencil & Rolling Ruler>link below:)
In Color Cardstock Mats: 2 9/16″ x 5 3/8″
(Note on the pesky 16th of an inch measure… this is a very tight mat size so I use the generic thought “1 mark over 2 1/2” when I cut)
Happy Sentiment Size:
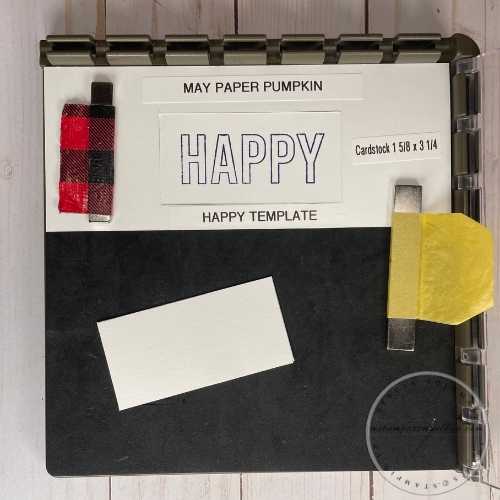
Create a Template – See photo for quick stamping with the Stamparatus!
Cut Rectangles 1 5/8″ x 3 1/4″
Birthday Strips
Basic White strips 1/2″ x ? I used 8 1/2″ long because that was what was handy.
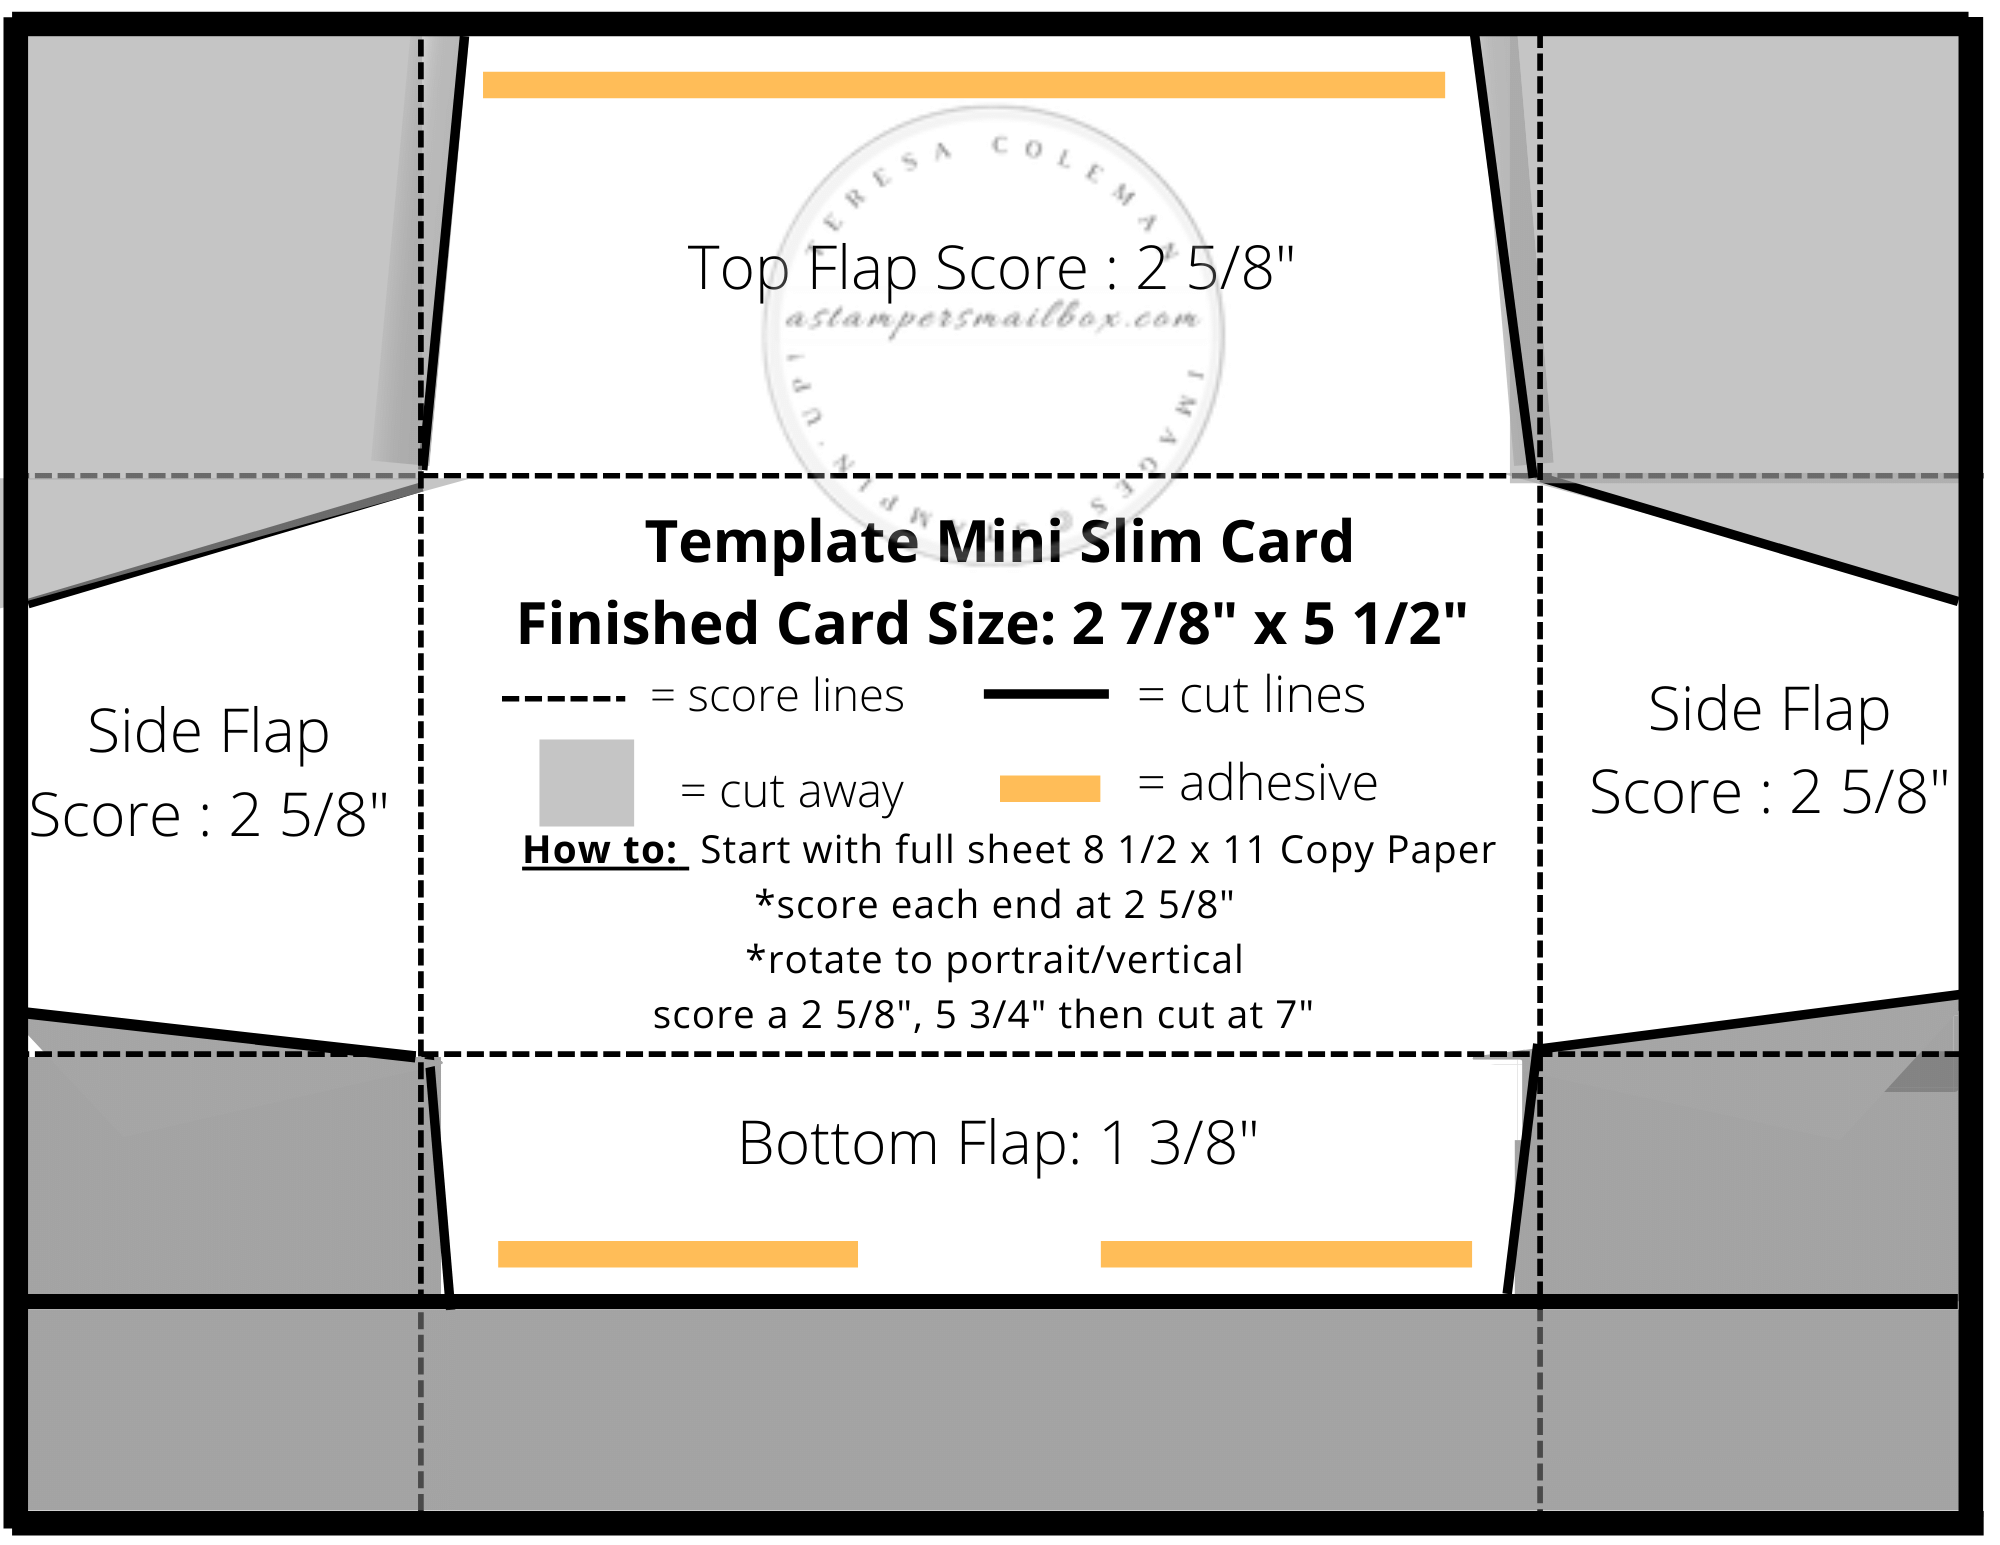
DIY Slim Line Envelope: Simple Directions & Template
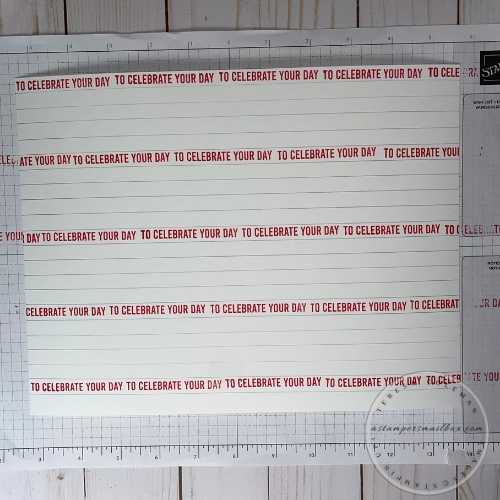
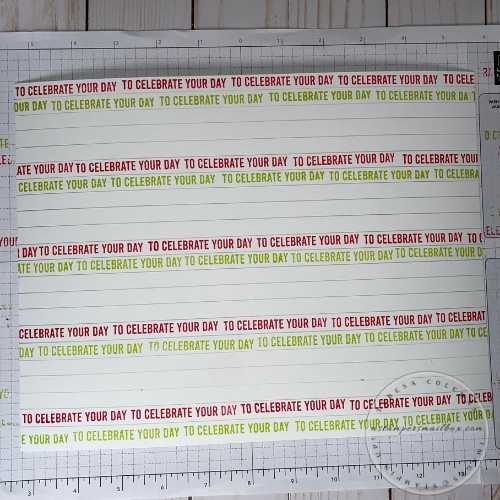
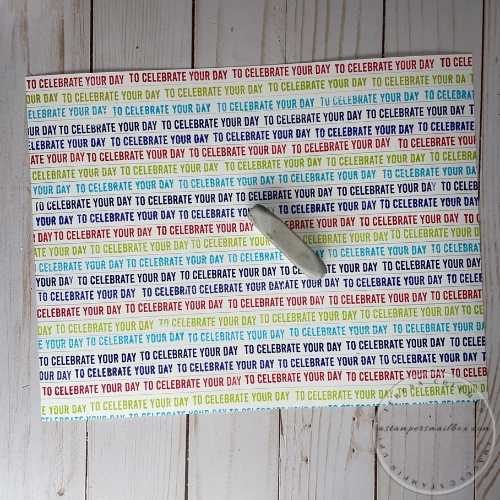
Once you’ve cut all your bases it’s time to move on to the How To of the Full Sheet of Celebrate Your Day for the front panels. Filling a full Basic White Sheet with stamping is a great way to get 6 card fronts with one effort! This takes a bit of time to set up but it sure it worth it to get straight stamping!
Using this style of ruler allows you to get incremental lines.
This size will yield 6 mini slim card front panels from one full sheet.
The stamped panels for this size card are 2 7/16″ x 5 1/4″
Now time to stamp the inside!
From this point- I adhered the In Color Cardstock Mats to the bases then the front panels.
Using Multipurpose Liquid Glue allows you to have a bit of ‘wiggle’ adjustment room.
As you can see in the photo- the sizes are quite close to each other:)
Using the Stamparatus Stamp Positioning tool and a homemade template makes stamping so easy!
When you have smaller layers that you want to pre-cut to save time you need to be able to ‘hold’ the cardstock in place.
The magnets are great when you can move them out of the way- in this case the stamped image is almost as large as rectangle.
Making a template is easy.
Cut the cardstock to the size/shape you want creating a stack of precut layers.
Then trace that shape onto a larger piece of scrap cardstock.
I used an offcut that was lying around on the desk.
Use your paper trimmer to carefully cut out the traced shape.
Now you have an inset to drop your precut layers.
Place the precut ‘blanks’ into the template, ink, stamp and repeat…
This is a great time saver!
To keep this saved for future use – I used a Brother Label Maker to Label it as above:)
Keeps me organized. ( note, organized- not neat:)
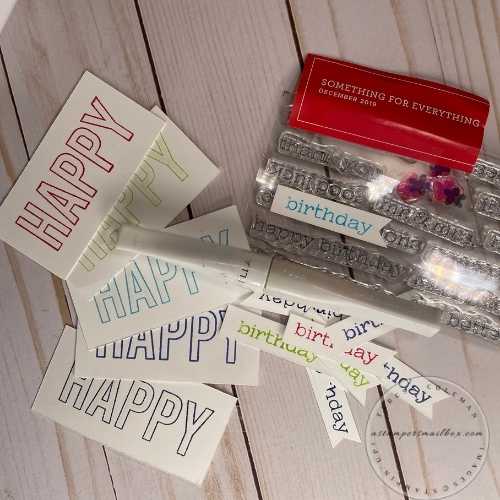
The May Paper Pumpkin kit has a really great stamp set- however, there is no birthday sentiment.
I went back through my previous months Paper Pumpkin stamp box.
I have a box dedicated to these stamps- as the photo shows, after I’m done with the instructions sheet, I cut off the box title/year and simply tape it to the stamp set. It’s not necessary but it helps a bit in searching for theme stamps later.
I used the In Color Stampin’Write marker to ink on just the word ‘birthday’ on thin strips of Basic White Cardstock.
Now that I have all the focal image layers and the birthday banners, I’m ready to add another touch.
I wanted to add some sparkle- using a Wink Of Stella brush marker I added a bit of glimmer to the Happy image.
This takes some time to dry- do this and go get a beverage- so far you’ve worked hard!
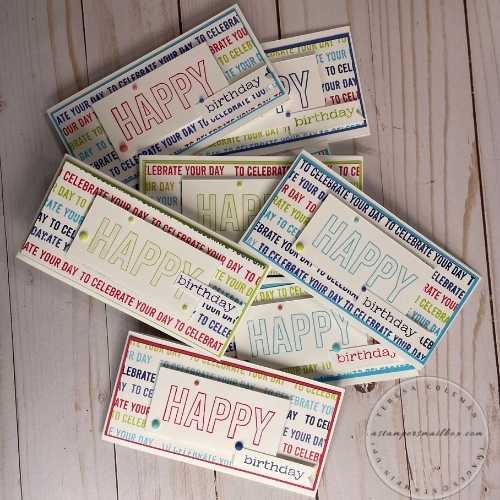
Bring it all together with Stampin’ Dimensional foam dots on the back of the Happy layers.
Mini Dimensionals were used for the birthday banners.
I used a dot of glue on the ‘b’ end and under ‘day’ I added a mini foam dimensional for lift on that end.
This is a HAPPY pile of cards!
I added a bit more color with the In Color Matte Decorative Dots. Just right!
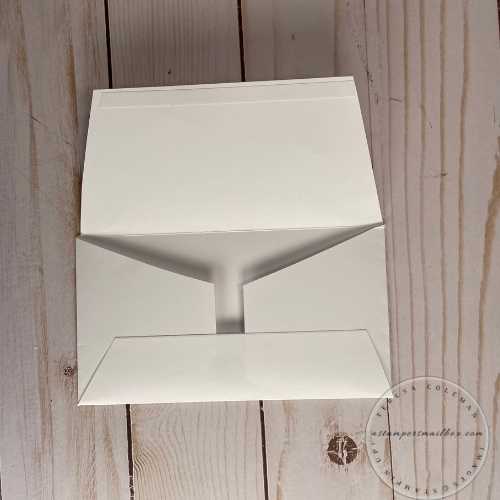
Now, DIY Envelopes.
This custom size card needs a custom size envelope!
It’s super easy, here is how:
Step by Step
Using really nice premium copy paper is key to an envelope that you can’t see through when you put a brightly colored card in it like todays Paper Pumpkin alternative is!


