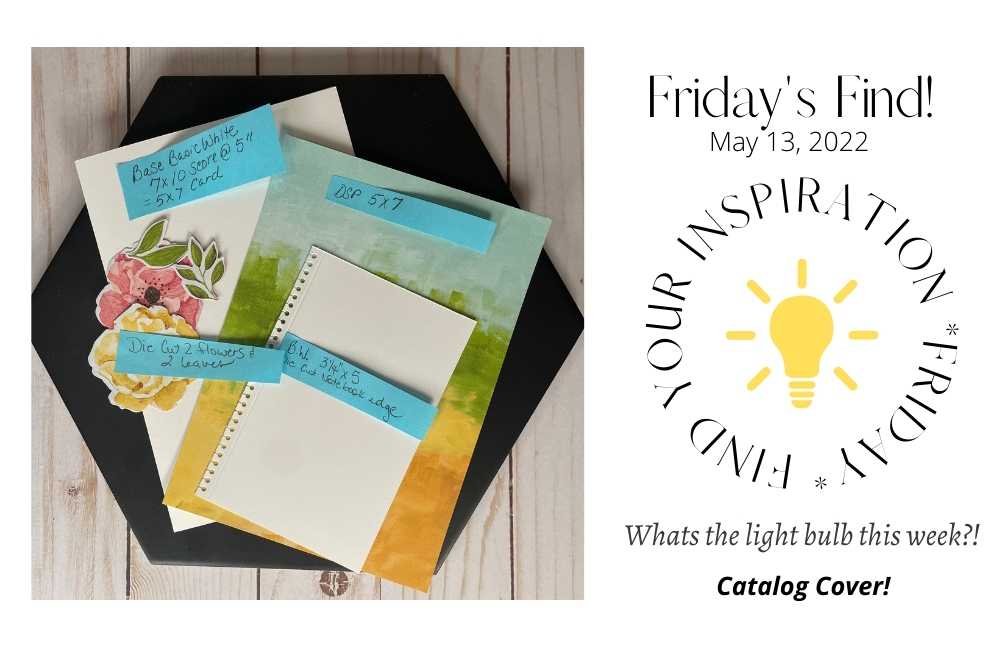
FYI*F* Let’s CASE the Cover!
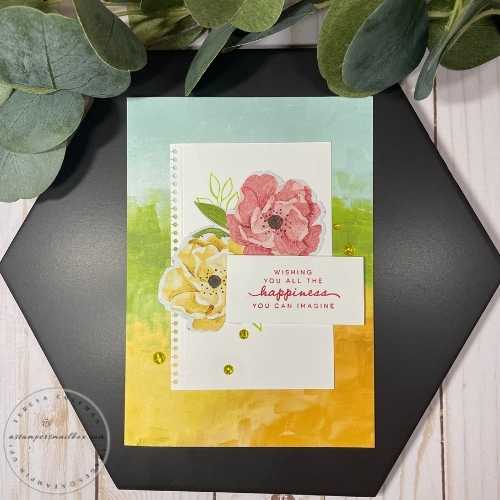
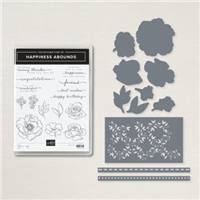
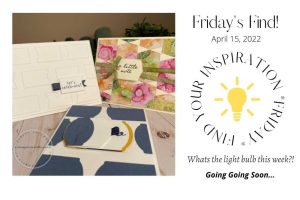
Friday Inspiration is easy to find today with the new catalog release! Are you loving it? I think it’s wonderful! Today I’m sharing this fun bundle! First up, let’s recreate that fun card on the front cover and make a few more fun things to go along with it.
This week is all about CASE’ing this amazing catalog and it continues today! Sorry, delayed in publishing this post a day:). I was running late last night from errand and fun day.
Friday becomes Saturday but the inspiration is still wonderful I think!

Lot’s of demonstrators have replicated this card – how could we not- it’s stunning!
The cover card is also found on page 1 of the catalog.

Stampin’Up! artists have really shown this suite of products *page 108* with beautifully stamped projects! No shortage of inspiration to be found all over the catalog!
Click that link to see the full suite!
Sadly, this suite is temporarily unavailable at the time of writing this post…
It’s got so much inspiration, it draws you right into the catalog and says ” Put me on your wishlist!”.
Keep watching the website for availability:)
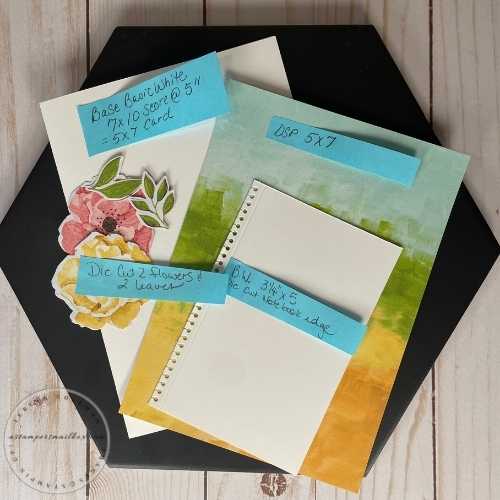
Everything needed for a quick and easy card make! One simple stamping and the rest is cutting and assembly! The paper does it all!
This photo is missing 3 things: scrap Basic White Cardstock for the sentiment, the lovely gem embellishments and the inks! Gotta love those new In Colors!
___________________________________
Measurements & Supplies
-
Basic White Cardstock: Base: 7″ x 10″ Score at 5″ for a 5 x 7 card, 3 1/4″ x 5″ for ‘notebook paper die layer”, sentiment scrap
-
Designer Series Paper: 5″ x 7″ Hues of Happiness background layer , 2 die cut flowers & 2 die cut leaves
-
Glossy Dots Embellishments
-
Sweet Sorbet Ink Pad
-
Parakeet Party Ink Pad
-
Multipurpose Glue
-
Stampin’ Dimensionals
Once you have all the layers and cardstock base cut & scored, you are ready for assembly. If you look closely at the cover art you will see the original designer (shout out & creative credit to the Stampin’Up! artist!) they lifted more of the card elements.
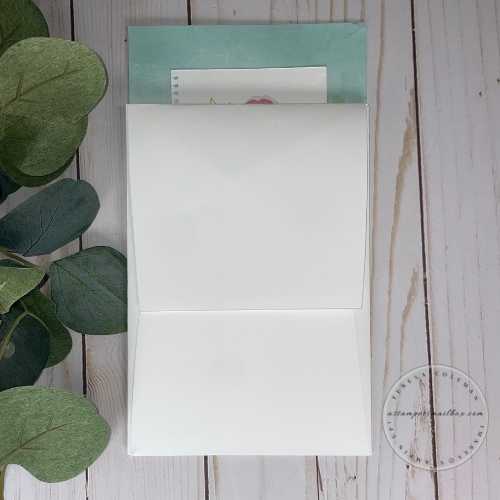
I left all but the sentiment layer flat-lay, lifting only the greeting with Stampin’ Dimensional foam.
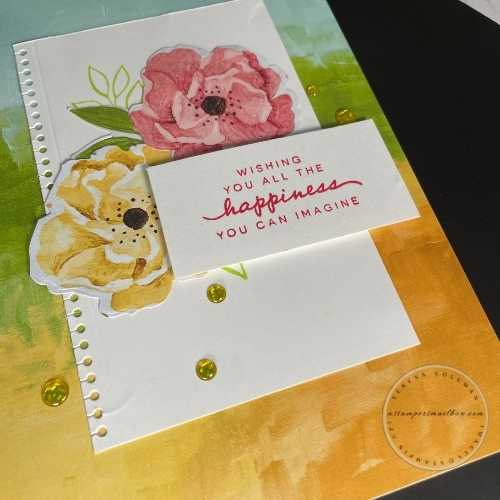
One more photo angle, let those Glossy Dot Embelishments shine! I have to admit, when I first pulled them from the box, I thought… hmmm not sure I’m liking these. Now, love them!
For the ink colors in this , I used Sweet Sorbet for the greeting and Parakeet Party for the leaves. I followed up all this with the simple Happy Birthday from the set inside the card along with some lightly stamped flowers.
Make a DIY envelop and this is ready for sending out as happy mail!
______________
Let’s make an envelope.
Run an errand first! We have to equip ourselves with the right size copy paper. I went to Office Depot Copy Center and asked for by the sheet 11″ x 17″ paper. Turns out they have a contract that doesn’t allow them to sell in the copy center by the sheet… hmm I don’t know if that is all stores so ask if you don’t want alot of big sized paper.
Ok, so we went over to the copy paper aisle – hubs has an eagle eye! He spotted this!
It was $13.99 a package which equals .28c per sheet.
Worth it for a beautiful card like this!
I should go hunting on the web for ready made envelopes to price compare DIY vs Buying:)
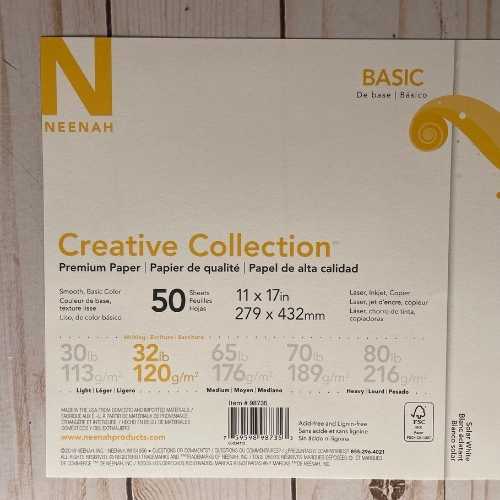
This is really nice paper and made the perfect envelope easily!
The photo above is linked to Office Depot for you to see the paper I’m using today.
<Template: to be done soon- I’m on a time crunch this week!>
Here’s how I did it…
Envelope steps:
-
11″ x 17″ copy paper – lay paper in trimmer horizontally: cut 2″ off
-
Bottom Flap score one end at 3 1/2″
-
rotate paper 180 degrees
-
Top Flap score at 4 1/2″
-
Side Flaps score at
3″ each side.Update 6/2/22 If you provide a bit more room here- the card slides in better. Side Flaps Score at 2 7/8″ on each side. -
Note: I folded Bottom flap up and scored through both layers as the total height of the envelope is ‘taller’ than the paper trimmer. This works just fine on envelope paper:)

-
adhesive:
-
I like dry adhesive over liquid glue for envelopes. Stampin’ Seal adhesive would work well too.
-
Tear & Tape side flap together
-
2 strips bottom flap
-
one strip on top flap (backer to be removed when ready to mail)
-

Easy Envelope Making
Want more free envelope templates?
Click Here!
IDEA: I wanted to make a fun card with just that notebook cover piece or create a fun spiral effect mini flip book project. But time isn’t on my side this week so- I’m writing about it! What else would you do with this die cut layer? My project piece has a sticky note to self: ” hold for another project” Check back here to watch for it!
Floral cards fill this catalog beautifully
!Click here to see a 5 project article I wrote last February!

Leave a comment on this blog post!
I would love to hear from you!

Supplies List


Price: $12.00


