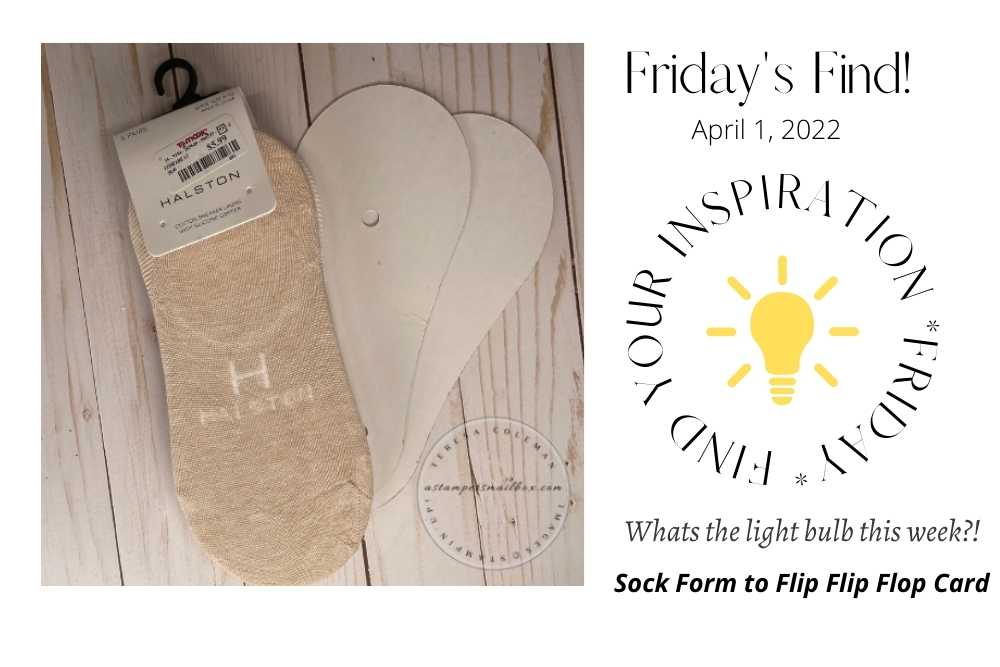
Inspired by socks? YES! FYI*F* It’s Flip Flop Friday is inspired by beautiful ‘bare-the-winter-white-toes’ weather and a sock insert. Crafters can be inspired by just about anything – the ultimate recyclers! I purchased a new set of no-show socks for my favorite New Balance Tennis shoes and while breaking them down to wash the socks- the insert that holds them in shape for retail sale- flipped the light bulb on!
Years ago there was a trend in making flip flop cards. These cards were much smaller than this cardboard insert. I will have to dig around and see if I can find the template I made so long ago!
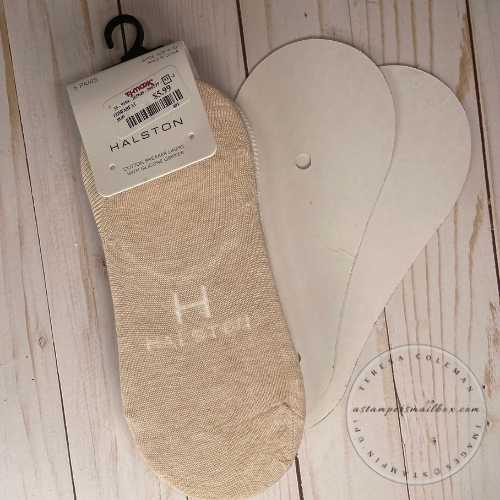
Here are my new socks:) with these fun insert forms.
They actually stay in place – don’t you hate it when No-Show socks state they are ‘no-slip’ and part way through the morning you are walking on the heel of the sock. No fun! These are good socks:)
Happy Find!
This immediately made me think of a flip flop – light bulb- card making made easy!
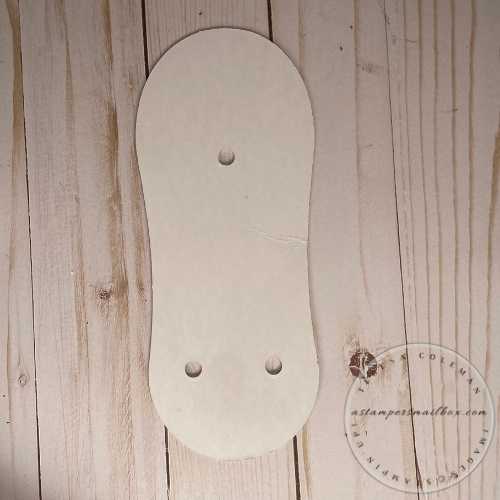
The holes are already there!
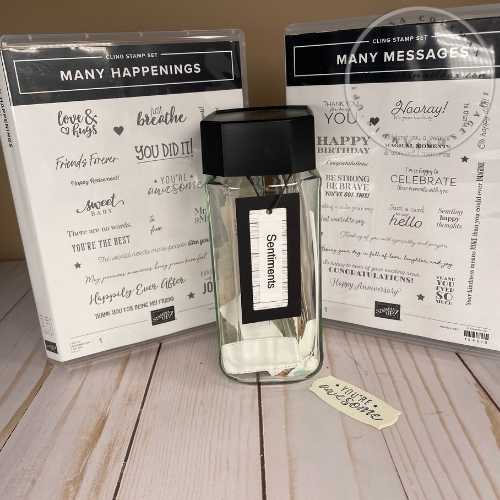
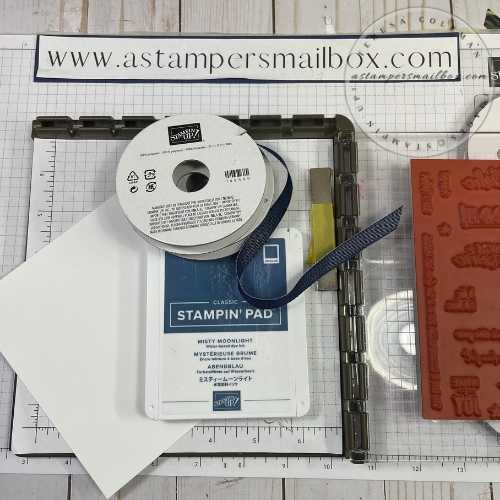
I chose these sets as the inspiration for the flip flop card.
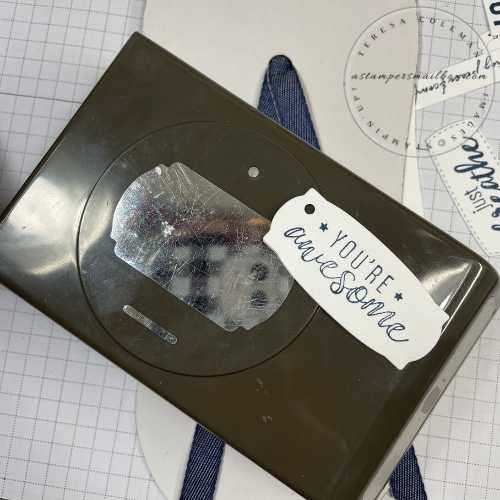
I think we are going to go with “You’re Awesome”.
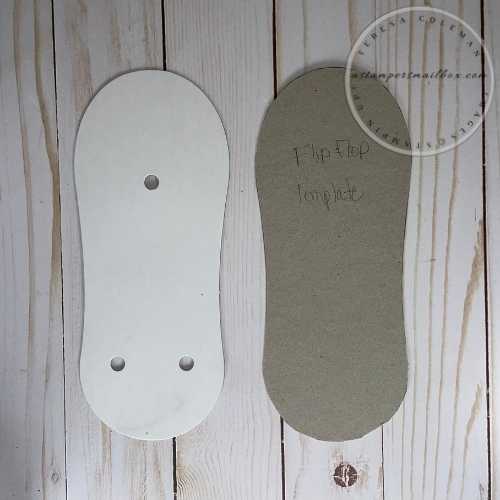
Trace a template on scrap chipboard or cardboard then to
Basic White Thick Cardstock for the base card.
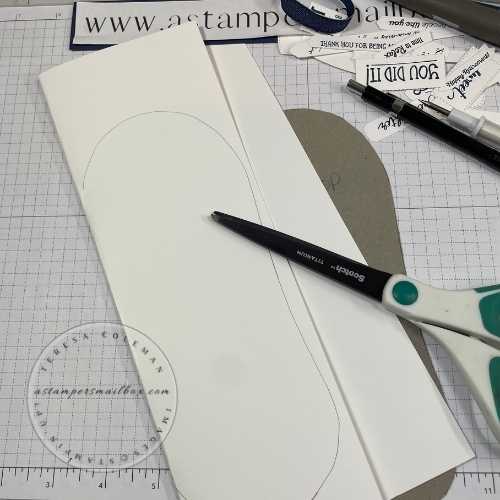
I placed the template on the right side of a full sheet of Basic White Thick Cardstock then using the embossing tool end of the Take Your Pick Tool to trace the left side of the template. By doing this it creates a ‘score’ line that will serve as the fold for the base card. Use a pencil to trace around the remainder of the template. This card ends up being quite tall, I love that!
Oversized cards are my favorite to make.
I have a smaller flip flop template somewhere!
I need to hunt for it.
A quick cut with some bigger scissors and you have a base card ready for your flip flop front.
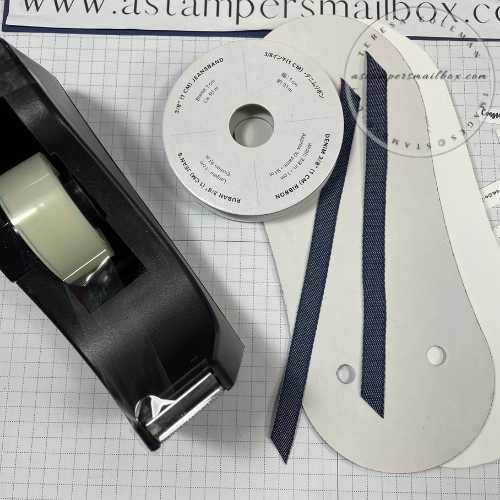
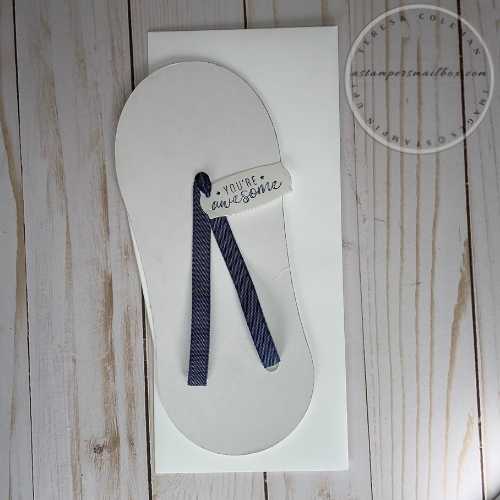
For the strings of the flip flop, I used Jeansband Denim Ribbon.
This is found in the current Mini Catalog.
It’s a lovely denim ribbon that is very soft and perfect for this quick
and very simple Flip Flop card that can be for guys or gals.
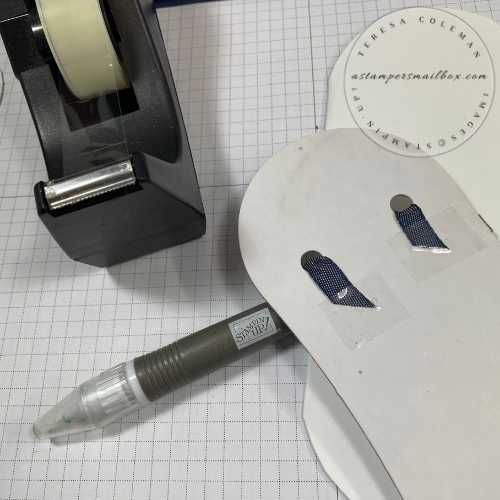
I grabbed the Take Your Pick Tool to use as a spacer as I tacked down the ribbon.
Once the ribbon is in place and the inside of the card is stamped- I used Multipurpose liquid glue to
attach the flip flop front (aka sock form) to the card base.
I love the way this ribbon coordinates the the Misty Moonlight ink color.
Both this stamp set and the ink are on the Retiring Soon list.
One more month to go and we say goodbye to these awesome stamps and In Color inks.
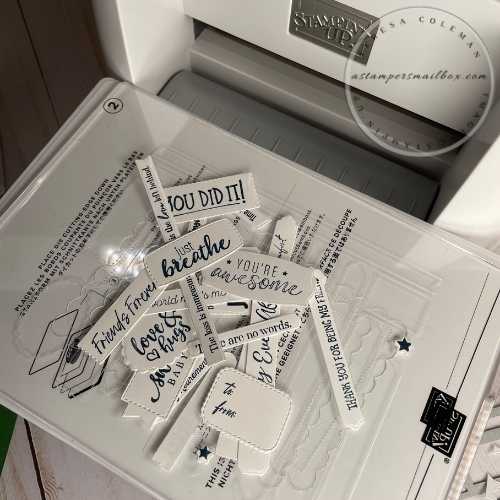
Many Happenings Stamp Set & Messages Die make for quick sentiment stamping and cutting!
I’m ready for many more cards! I’m very sad this stamp set and die (on sale!) are retiring.
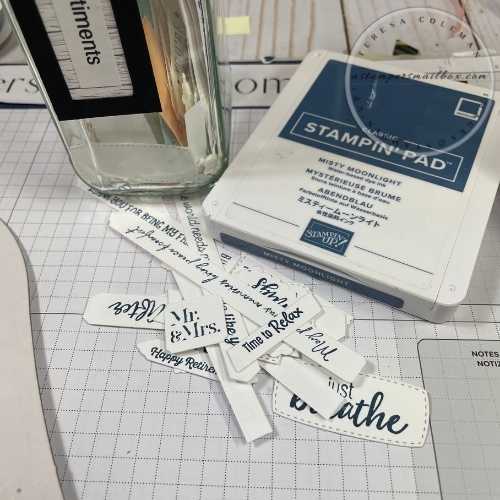
I’m going to have to start a new sentiment jar next month!
Having a lot of varied colors of sentiments and styles pre-stamped
and at the ready for quick card making is a great time saver.
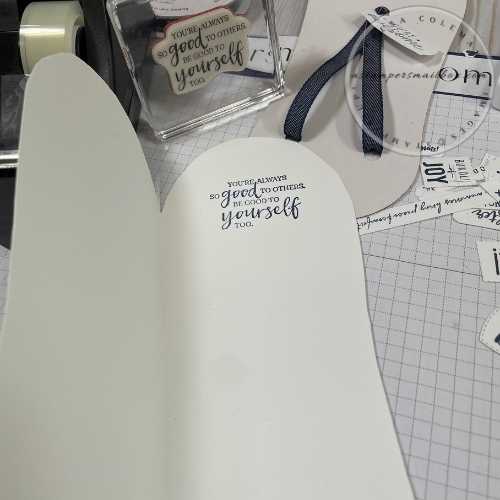
Look around in your crafty stash and choose what fits your recipient for the inside of the card!
Choosing a sentiment from the In the Moment stamp set made this so easy.
I think it really fits well and coordinates the outer tag greeting.
Flip Flops, especially this one are so low-key – some gentle, casual encouragement is what I wanted!
I grabbed the Label Me Fancy punch to change this sentiment to a tag in a quick punch.
I love the versatility of this punch and am thrilled it will be in the next catalog!
Whew, aren’t we happy it’s not retiring!!
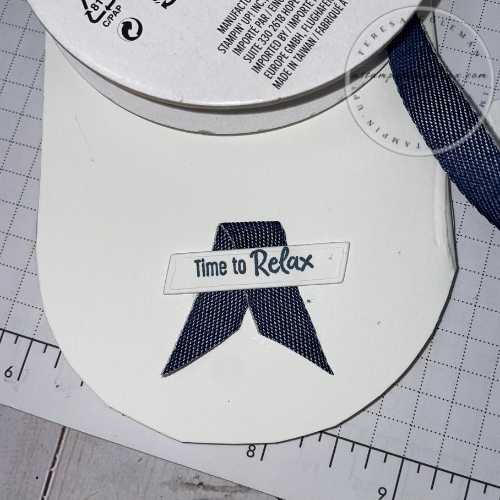
Time to Relax!
Tacking a mini-sentiment on the back of your cards is always fun!
All done!
Today’s card seems bit yawn and really is a simple version of a card that can go in so many directions! I have more sock inserts and I have a plan for using a new Designer Series Paper coming next month in the new catalog!!
Stay tuned during the summer for another Flip Flop Card Post!
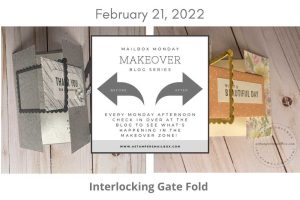
This card is a tad small for my Tall & Slim DIY template but I’m going with it. Some days you need quick and simple and today is that day! When you click on the above photo it will take you to last Friday’s post all about envelopes and you can snag a copy of the DIY Envelope template I used for this card & envelope! Now I need a postage stamp!
Thank you for joining me for another Find Your Inspiration Friday Blog Post! This Flip Flop card is a fabulous jumping into the stamping pool card! You can take a simple stamped sentiment (No Die Cutting Required) and make a tag, pair it with some ribbon, a sock form (recycle inspiration) and make your own fun in the sun kind of cards!
I would love for you to share what you love over at my Facebook or Instagram page! Like & Subscribe, Follow and Share your #astampersmailbox # flipflopcardsASM with me! I will be sure to check them out!
Happy Friday and Creative Hugs,
Teresa
PS: Check out the sneak peek of the upcoming cover of May release New Annual Stampin’Up! Catalog! Click the Contact button to send me a message to request a copy if you are not on my mailing list! Unsure? Did you place an order with me in the last year of $50 or more? Are you in my Stampers Club? If you can answer no- to these questions- please request a copy! I would love to get one to you.


