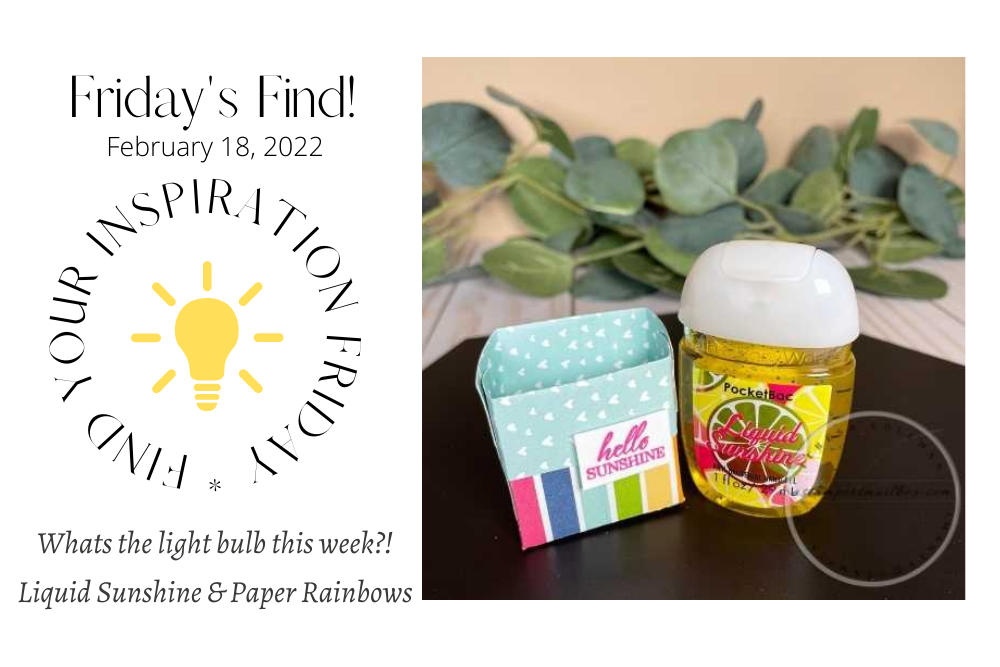
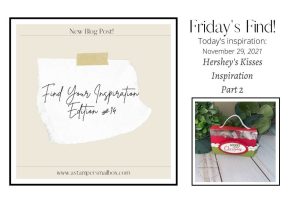
I’m back with FYI*F*! Today’s project is a quick and easy to dress up the ever practical hand sanitizer. We grab it often these days why not have it sitting in a cute paper project.
Something to make you smile on a dreary winter day!
That’s where today’s inspiration comes from. I was hunting about in my ‘future’ project stash and came across this bottle of Bath & Body Works Hand Sanitizer labeled ‘Liquid Sunshine’ – oh boy – after the last few weeks winter stormy weather – we need that sunshine!!
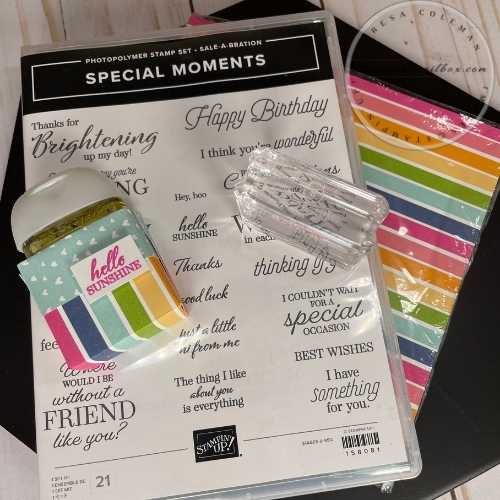
This project uses Sale-A-Bration free products along with a few Stampers Basics tools! Check out the supply list at the end of this post to see these basics. If you are new to stamping, this is a great project to build a crafters tool kit and get free stamps or patterned paper to make your first projects with!
I don’t know which is cuter- the Hand Sanitizer or the Mini Box.
You need smell-a-vision too! This one is a winner from Bath & Body Works. The above photo is also a link to a cute box project for a big candle from Bath & Body – I bet they have a fun one that would match this paper now!
I should run out there this weekend!
I wanted to show how-to make a quick, beginner stamper easy project. I didn’t measure or use a paper trimmer for scoring. Simple tools – simple approach – simple project.
Here is what I did!
Supplies:
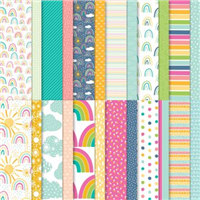
6 x 6 Sunshine & Rainbows Designer Series Paper
Pencil
Scissors
Liquid Glue
Basic White Cardstock (Scrap piece)
Mini Dimensionals (optional)
Classic Ink (Magenta Madness)
You will note in the supplies below- I included a Paper Trimmer- if you are new to stamping and don’t have one- this paper trimmer is awesome! Lightweight, makes sharp cuts and very easy to use!
How I did it:
Place gift on paper to determine width- in my case it’s the PocketBac Hand Sanitizer
Use pencil to tic-mark cut line
Use scissors to cut striped paper on drawn tic-mark. Having stripes to follow makes this easy without need of paper trimmer.
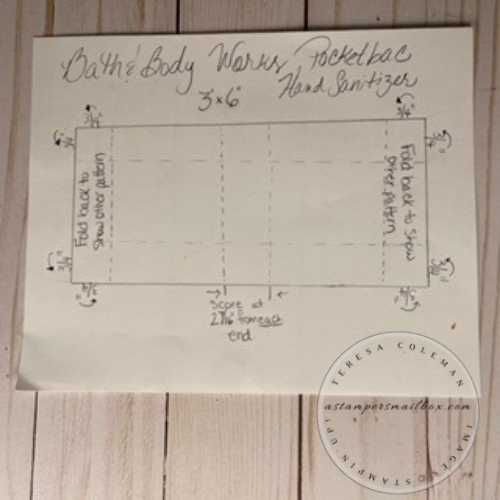
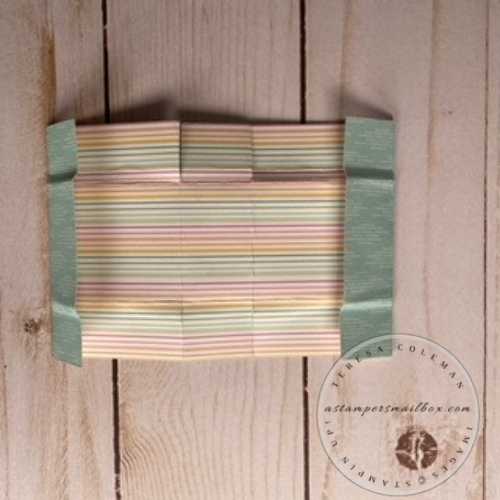
Place hand sanitizer back on paper to see where folds need to go. (Below is an image of this on plain white paper)
This size bottle and paper – I used apx 3/4″ folds & 2 folds in mid for the bottle to rest in. ( See image below for completed fold/cut lines)
Use scissors to cut up to fold lines – wedge cut to allow for ease of fit to glue together.
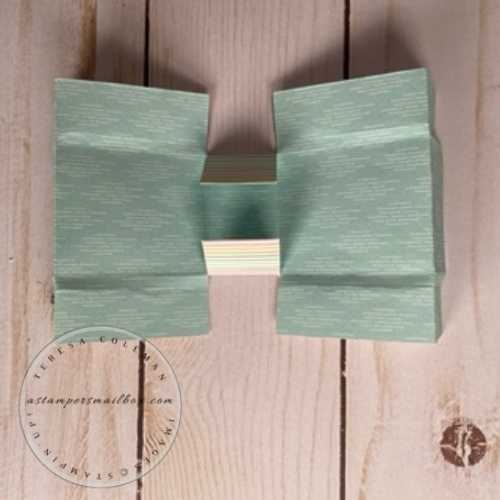
Liquid glue fold down first to reveal the fun opposite colorful pattern
Liquid glue sides together
Stamp Sentiment – I used ‘hello sunshine’ from the free Sale-A-Bration stamp set!
Adhere greeting with either glue or mini-dimensionals
This box is so easy that I didn’t use a template- but for you all that love having a visual- I quickly did a hand-drawn sketch. Pardon the photos- my lighting was terrible the day I took these. I simply cut a 6 x 6 sheet in half, folded apx 3/4″ on each end to showoff the opposite cute pattern.
Then placed the hand sanitizer on the paper and pinched where I needed the folds to be.
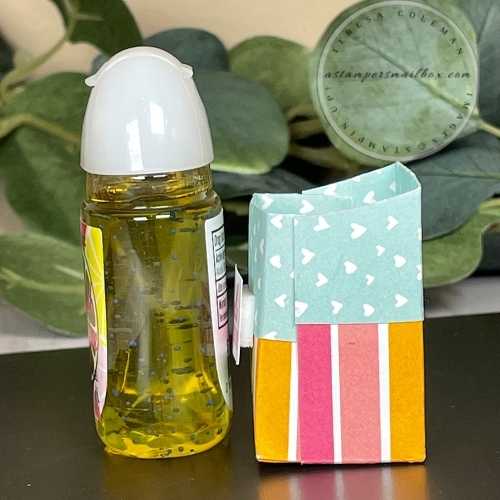
Here are some photos following the above template.
This is another paper pattern from this really cute
Sunshine & Rainbows paper pack from the Sale-A-Bration brochure.
Continue to follow the listed steps to put this quick & simple project together. It makes a great beginner project or one that your wee ones can help with to give to their teachers!
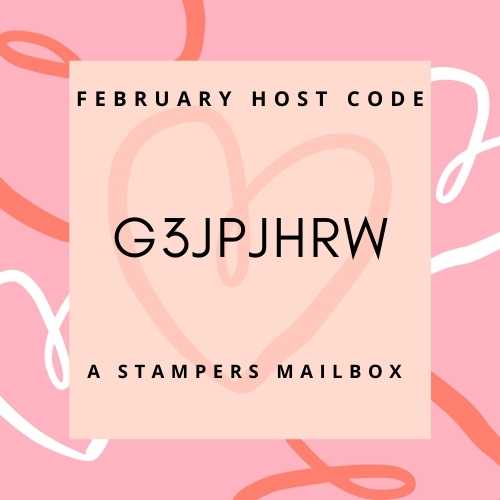
When you shop with me this month, your M3 and Hand Stamped Card will go out the beginning of March! See all the details on the A Stampers Mailbox M3 program on the home page under Shop Now> 2022 Mailbox Mystery Mailouts! Please remember to use that Host Code!
Thank you for joining me on this fun Friday project!


