These cards are a hit for me, it’s my favorite! After all it is PSL season! ok, lets be real – for Teresa, a latte could be everyday but add in the pumpkin spice for the fall … mm so good!
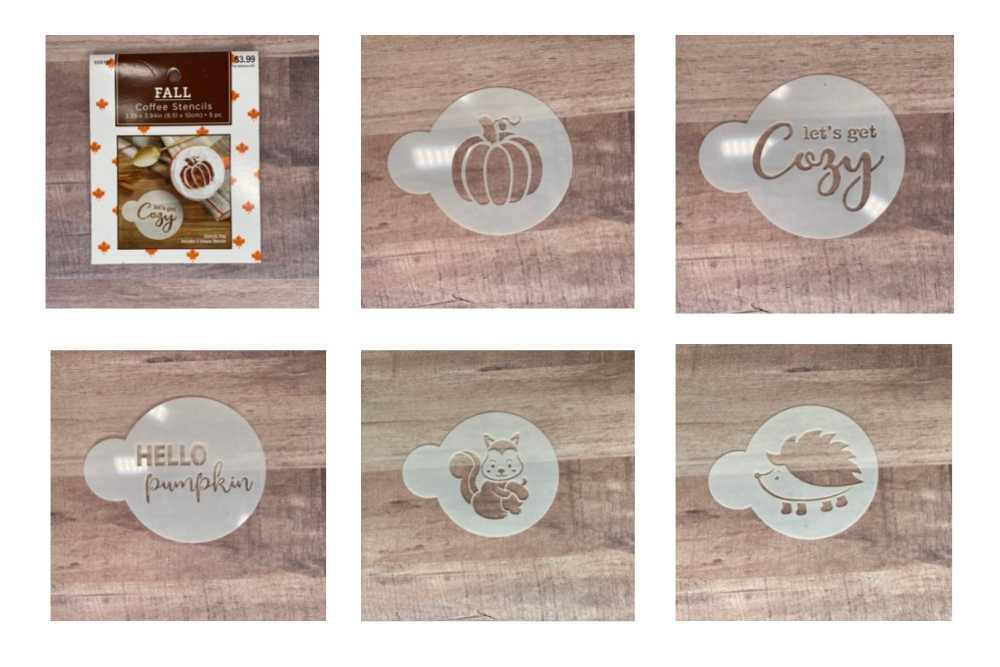
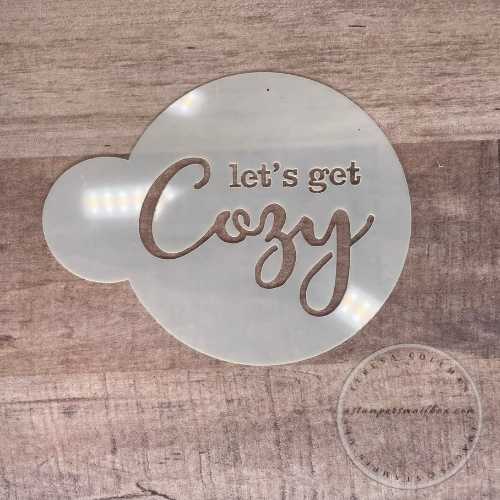
The font on this ” Let’s get cozy” stencil is super cute, yes!, it’s the one for the coffee sleeve. Kinda silly when the Pumpkin would have trended into the Pumpkin Spice Latte thought huh?
Large Coffee To Go Please!
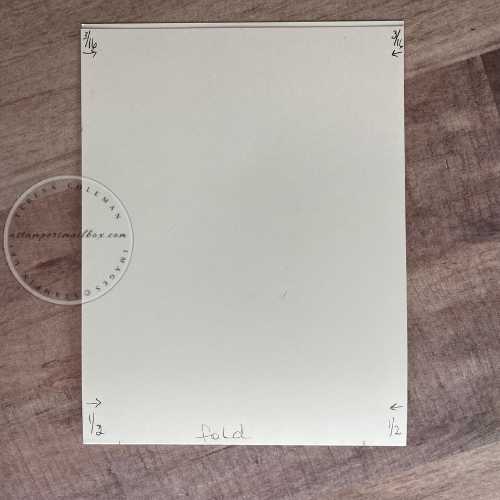
Start with a standard base card 4 1/4″ x 11″ Score at 5 1/2″
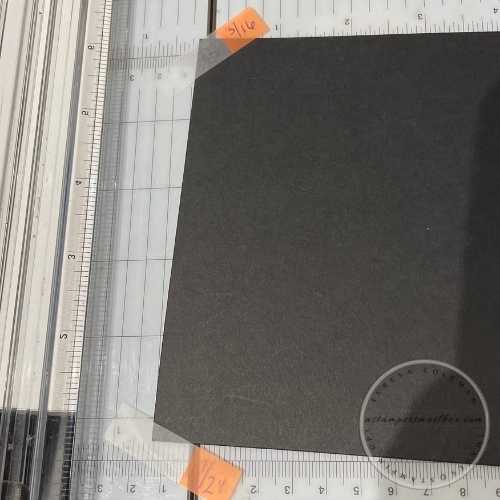
Keep the fold at the bottom – measure in 1/2″ on each side. The top measure in 3/16″ on each side. Making a tic mark on each measure.
Using the paper trimmer makes quick work of cutting down your folded card base into an angled cup shape. Line up the tic marks to the cutting guide.
TiP: A nice sharp blade will cut through both layers of cardstock easily.
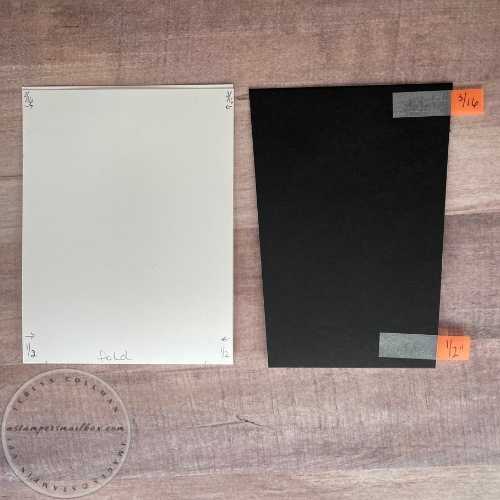
In the above photo I show the white as full card with the measurements and the black card as my new card base. It’s hard to tell in next photos that the card is actually angle cut:)
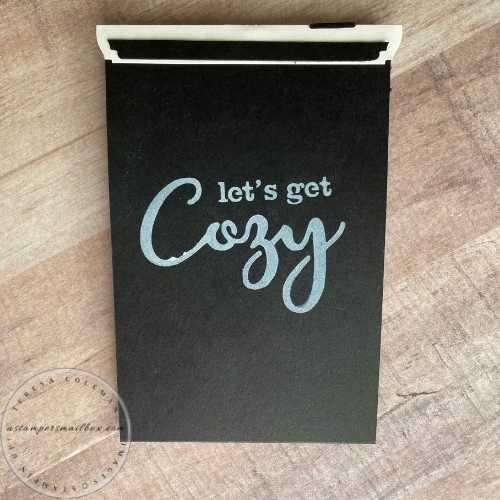
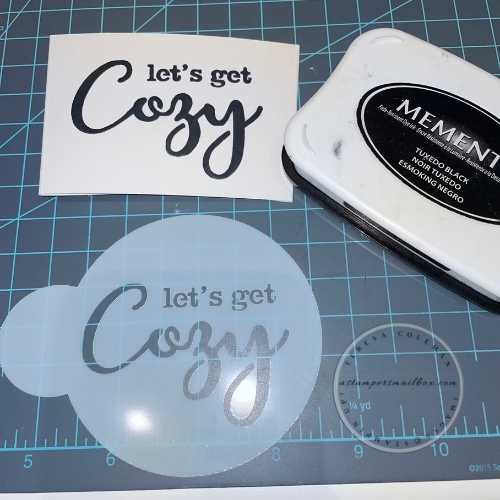
Let’s stencil! I’m using Whisper White ink and a Blending Brush on the Coffee Stencil “Lets get Cozy”. I think this is a super cute idea for a coffee card.
TIP: it would make a great tag this holiday season for gifting of sweaters, jammies or blankets! OOHH or even a date night invite for a winters evening at home by the fireplace!
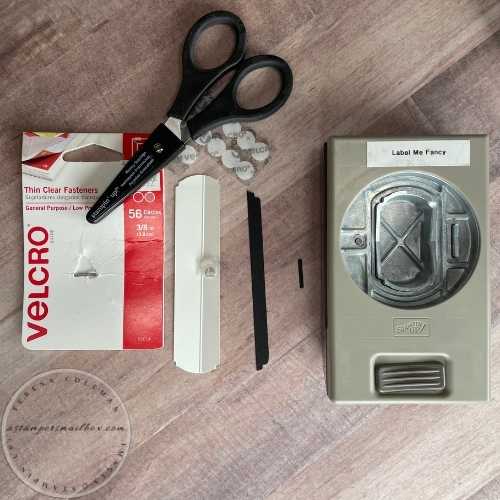
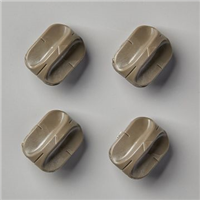
Time for the lid now. Using the Label me Fancy punch turned upside down to make a long punch strip of white by feeding the cardstock strip up through the punch opening. Then score this strip slightly off center. I did the same on a thin strip of Basic Black to get that curved shape. The long strip of white has a line of Tear & Tape adhesive on one side of the scored line and a velcro dot in middle.
{ post photo edit: I ended up needing 3 velcro dots on this to hold the card closed}
Now to bring all the pieces together. Isn’t it fun that the tiny punch out for a ribbon slot from same ‘Label Me Fancy’ punch makes it look like the drink spout on a lid?
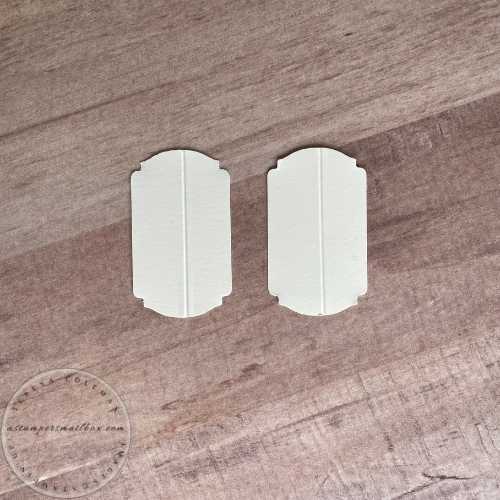
Punch two more shapes with that punch- score down the middle. These are for the inner gift card.
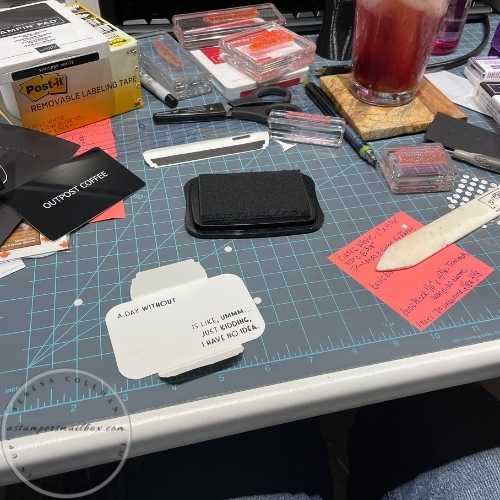
Does your stamp space look like this? I thought I would include a fun messy photo:). The above punch outs look much different when combined with a pc of cardstock with rounded corners.
How to: measure the size of your gift card, cut a scrap of cardstock the same size & round the corners. I used the Detailed Trio Punch.
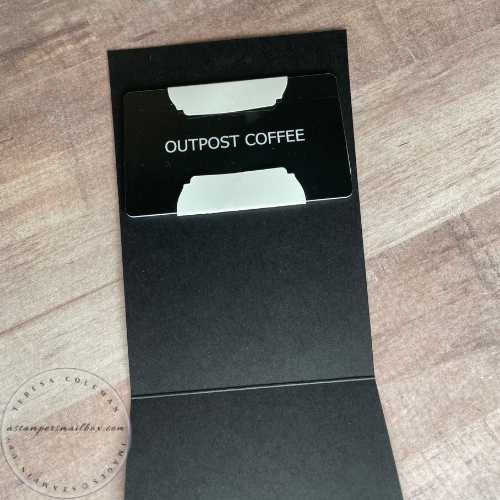
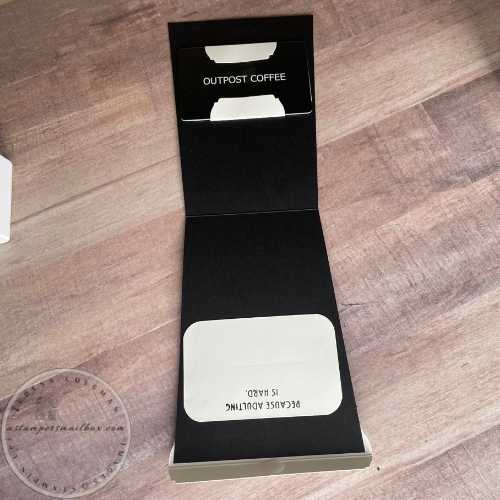
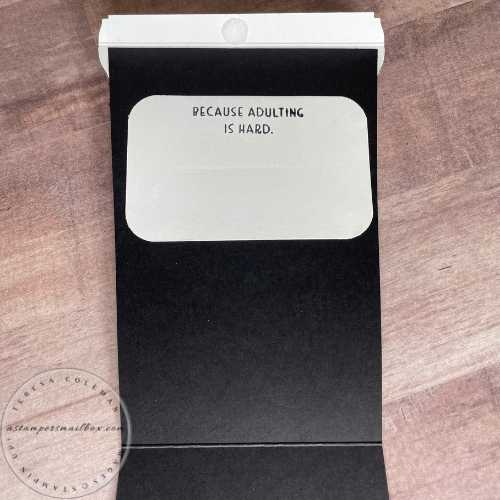
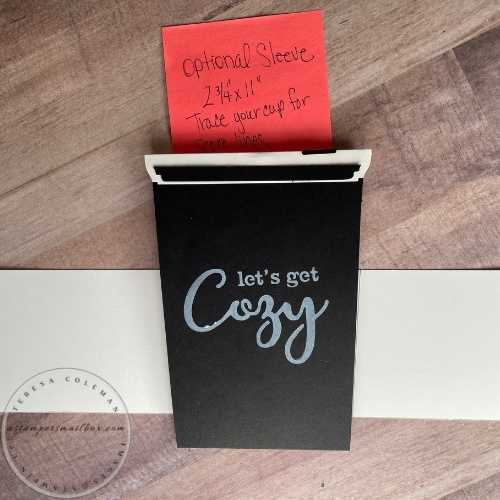
Inside the card! Now it holds a Java Gift that will be just right!
Looks really long in this photo:)
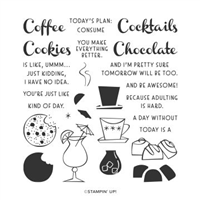
Yes, without coffee… some days… Adulting is Hard!
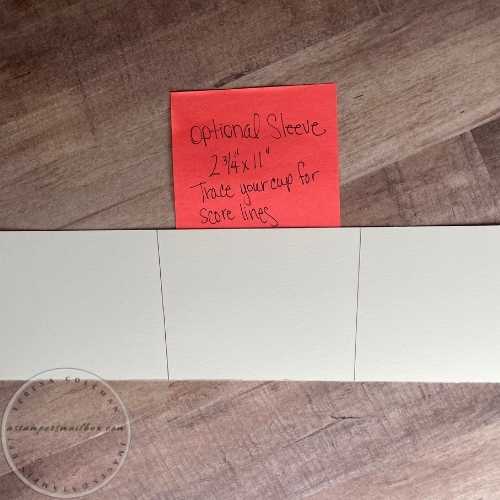
Coffee Sleeves are fun too!
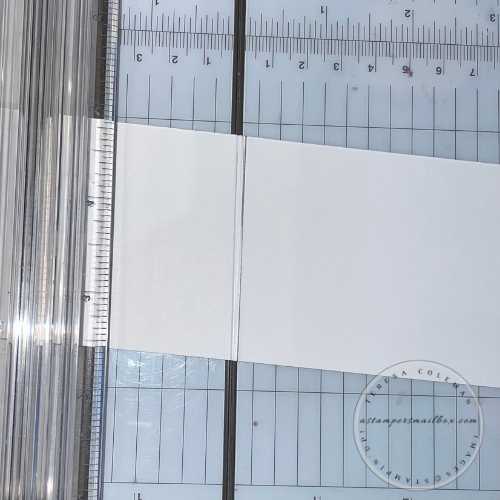
Angle the cardstock strip in the paper trimmer using the pencil mark to line up with the cutting guide. I scored on each side of the marked line to make a wider score area.
The card is a bit bulky with the gift card inside.
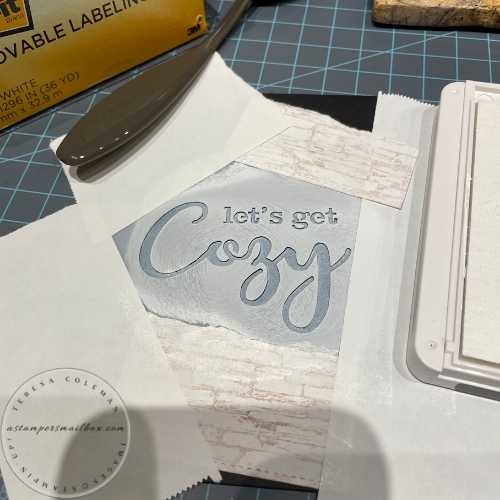
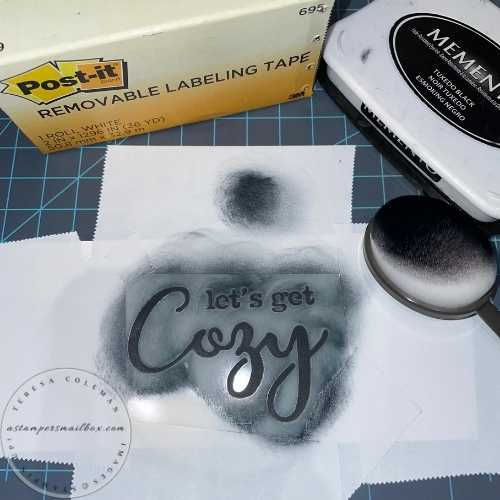
Now apply black ink to the white cardstock to the coffee stencil. Careful to mask off around the stencil. This works to hold the stencil in place too!
I used this Post-it roll product – It’s a favorite tool for the craft room!
After the new stenciled greeting is dry- bring it around the card base- the pieces will be long and won’t overlap nicely- mark where you want to cut with a pencil then cut down to have them overlap then glue together. ( I had to trim my sleeve a bit to get a nice shape)
Wash stencil with soap and warm water. Easy Clean up:).
How to Clean: Blending Brush- give it a good soapy scrub with cool water.
TIP: after rinsing the blending brush really well to remove soap- lie it bristle side down on several layers of paper towel. As the bristles drip downward- you will be able to see if you’ve really cleaned it well. Often times I’ve found that some ink colors take repeated cleanings before I don’t have ink residue drips showing on the paper towel.
I really like how this cup sleeve turned out. The stencil works really well with the blending brushes.
Fun closure features: The faux lid opens from back – with the bottom fold it’s fun to mix things up a bit in your happy mail! Some days… keeping it simple is good!
The java lovers in your life will get a kick out of their mail!
Finished Card Size: Lid Portion Width 4 1/8″ x Card Length 5 1/2 ” Cup Sleeve: 1 1/2 ” x 3 1/2 W “
Thanks so much for checking in for another Coffee Stencil Series Article! I will be bringing back the coffee cup idea with a different take on it in the coming weeks! #HolidaySeason2021 is upon us! Time to get those inky fingers busy! My baking and papercrafting lists are coming together – how are yours looking!?
I baked today check out my other Instagram account to see what’s up in my kitchen today @tacmail1


