
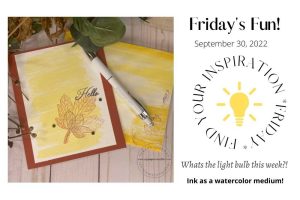
Find Your Inspiration * Friday* #7
FYI*F*
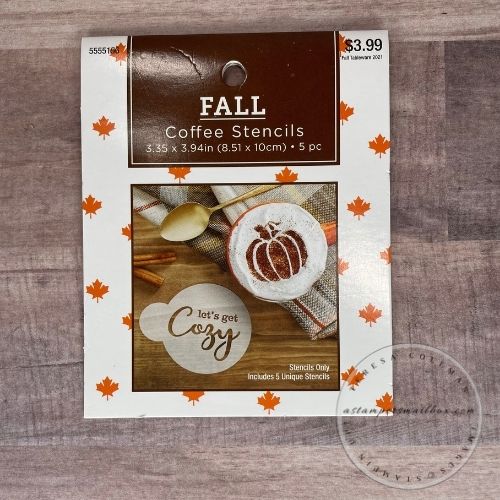
Recently, I was in Hobby Lobby looking for fall colors of gift tissue paper and just meandering the store to see what’s new. In the fall / autumn section I came across these coffee stencils at 40% off.
There went the lightbulb: FYI*F!
Today’s #7 FYI*F* is kick off to a coffee stencil post series. Each week I will be back for another idea using these stencils!
What would you do with them?
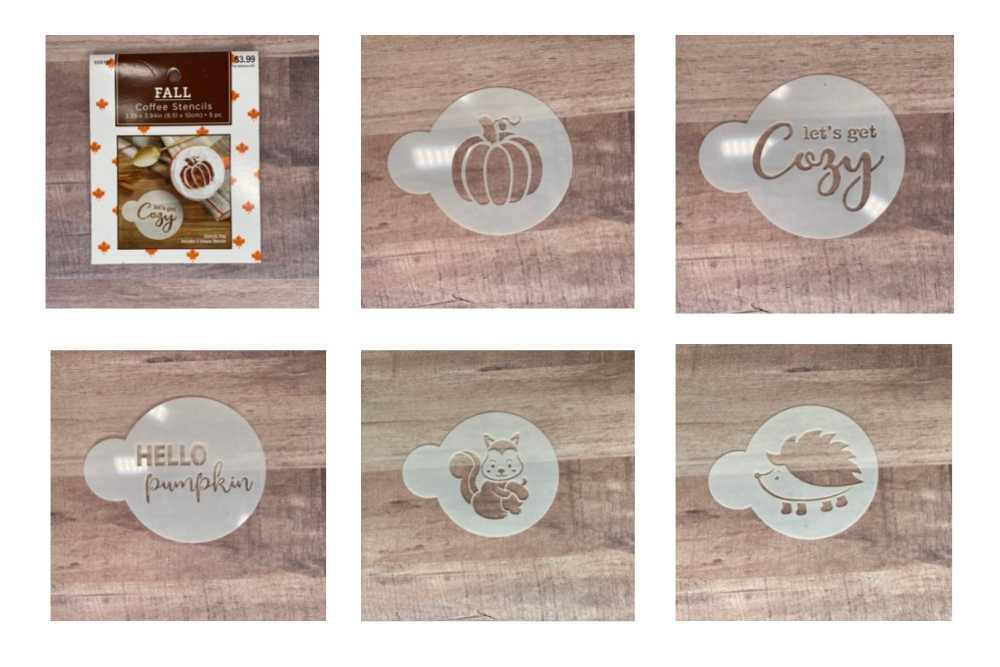
These sparked so many great ideas that I nearly put all four of them into this one blog post. In the end, I decided it would be better to stretch the ideas out over a 4 or 5 post series rather than one long article.
__________________________________
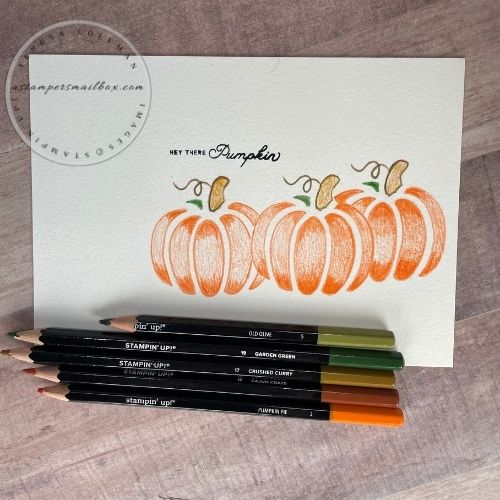
Let’s start the series with a Pumpkin Watercolored Card
I have been wanting to go buy pumpkins but my summer plants are still doing so well, I can’t bring myself to decorate for fall around them yet or worse, cut them back. (EEeeek – so not ready for that yet)
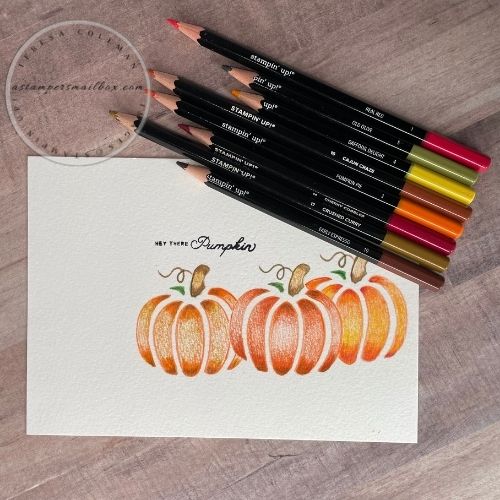
Off to the craft room and grab supplies!
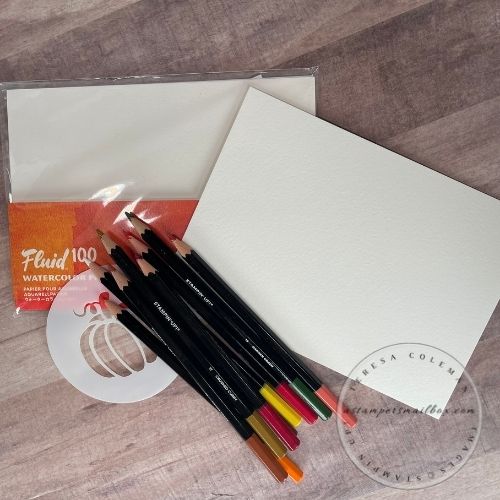
What I did for this card was quickly trace the stencil with a watercolor pencil, then colored the entire image using layers of watercolor pencils all applied dry. To complete the pumpkins I used a water brush to blended the colors. Once the pumpkins were fully dry, I deepened the tones with one more dry application of watercolor pencils.
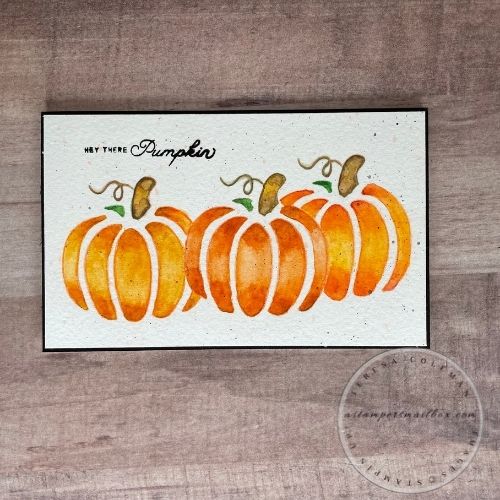
It needs a sentiment , I added the ‘Hey There Pumpkin’ stamp from the September Paper Pumpkin kit.
Step by Step:

Trace the stencil shape then place entire piece of watercolor paper into the Stamparatus. Using a stamp positioner is key because the rough texture of the watercolor paper doesn’t allow for “once & done” inking. You will need to stamp this sentiment several times to get the dark crisp look you want.
TIP: watercolor paper & photopolymer stamps – don’t press down hard on the plate of the stamp positioner – allow the ink to transfer then reink and re-stamp gently as often as needed to your stamp preference. Having the stamp and paper perfectly aligned in a stamp positioner like the Stamparatus will ensure you get exact re-stamping each time! Brilliant – I had to re-ink this stamp 3 times to get the right ink transfer. Watercolor paper takes ink much differently than other cardstocks.
The first layer of color: get the Pumpkin Pie pencil base layer down with darker applications at the top and bottom of each traced section. Keep the mid-sections light by using a lighter touch with the pencil. The stems got the blended treatment – I used all those other colors of pencils in the stem area.
Now, go back in with the full range of Autumn colors to blend and make the pumpkins vibrant.
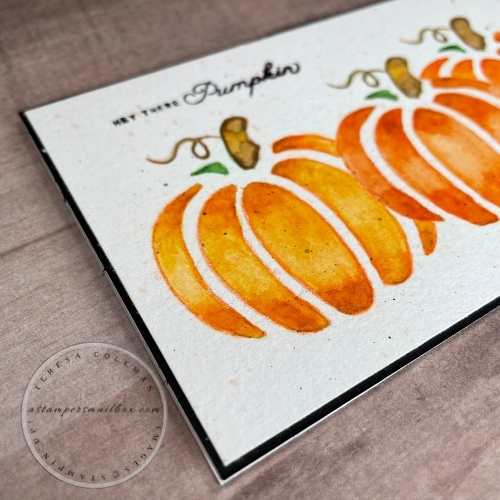
Here’s a close-up of the coloring

Up to now – I’ve applied the pencils direct to paper dry. I kept the mid sections to a lighter touch and application of color. I blended and deepened the tones at the top & base of each section – going over those areas again using a variety of colors with heavier pencil application.
Over the top of the Pumpkin Pie base layer I’ve added in heavier layers to the far right pumpkin: Daffodil Delight & Cherry Cobbler, to the middle pumpkin: Cajun Craze & Old Olive and the far left pumpkin additional colored is: Crushed Curry & Early Espresso. These colors all have a coordinating palette and when used like this the variation in color is subtle but really pretty. Autumn… These colors are so beautiful and they blend so easily.
Now, it’s time to add water.

I’m using an old water brush from my stash. Stampin’Up! redesigned their product and I haven’t ordered them yet. Now, when you order Water Painters you get a 3 pack. Each has a different brush end with the same plastic water receptacle handle, slim design and a great value. $12.00 US. I need to remember to tack these on an upcoming order!

TIP : keep a dry paper towel in your other hand to swipe your watercolor brush. This helps you to prevent color from getting where you don’t want it- a quick swipe of your brush tip against a dry paper towel and you are ready to go to the next section. This also helps you to control how much water you are laying down. It’s easy to over squeeze and get too much water into the brush end.
You don’t have to use water with watercolor pencils – did you know that? I chose to on today’s project but you can use these as is – dry, keep applying the color to build the layers.
Other options would be to use Blender Pens, these will activate the pencil color as well- it’s a more ‘controlled’ blend out of the color. Which is really great on fine, tiny detailed images. In addition, you can use a compressed paper blending stump – an art supply item also called a Tortillion. Used as a dry blending tool. This is great when you want these colors, a dry application or you are just out of watercolor paper. #stretchthosesupplies
Once done with the watercolor stenciled images, I then decided which shape / size to complete my card.
I chose a small slim line shape because the size of pumpkin stencil and placement of sentiment this size/ card shape made the most sense in the moment. This was a fun card with minimal stamping and using it as a trace tool made a fun way to use it ‘thinking outside the stencil’ mode. I could have simply used Blending brushes for a ‘stencil style’ then added shading with watercolor pencils too.
I don’t know if you can see it in the photo but I added orange and black speckles to the entire card to bring some interest to the white space. You know me, I love that clean crisp white! This card needed a little something so I took an Exacto Knife and shaved some of the Pumpkin Pie Watercolor Pencils on to a big acrylic block (anything to be a “mixing palette” ie: small plate, small bowl, silicone mat, etc) Then grabbed the water brush again – squeezed out a couple of drops of water onto the pencil shavings, blend it well to dissolve the color.
Practice on plain copy paper: Swipe the water brush through the puddle, hold an exacto knife / pencil whatever is handy on your desk in one hand then tap the loaded water brush against the pencil or whatever you are holding to splatter the watercolor droplets down onto the surface. Practice this to get a feel for how large the droplets are and where they land.
Then bring in a dry sheet of copy paper, place your finished card on it and splatter away. I did the Orange (Pumpkin Pie) color first- gave it some dry time- about 30 minutes. I went and made a cup of coffee, puttered away at a kitchen project then came back to do the same splatter technique with the Basic Black Watercolor pencil. Shave, puddle & splatter.
Finished measurements:
-
Pumpkin Card: 3 3/8″ x 5 3/8″
Did you miss out on September Paper Pumpkin Kit? No worries- use any Halloween or Pumpkin related sentiment in your crafty stash to make this card or use the Hello Pumpkin Stencil right from this coffee stencil set!

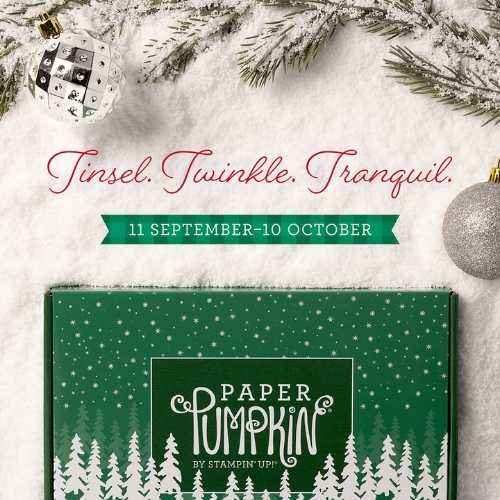
The upcoming October Paper Pumpkin order and subscriber updates close out on Oct 10! Which means you have a few days to hop over to the website to order your box. This is a fun subscriber kit that comes straight to your door. The first kit includes a small acrylic block too! Each month Stampin’Up! curates a fun selection of papercrafting items, including a stamp set, a 1 inch ink pad (I love the Ink Spots!) , all the paper goods and adhesive to make a variety of fun items! All you need is a pair of scissors most months to complete the projects. The subscription service is super easy to manage too. All one needs to do to hold – if you aren’t interested one month or need to take a break- is to log in and click pause.
Click on the photo below to take you out to the website to get the October box! These will make it to your mail box around October 20th.
Products Used in Todays First Installment of the Coffee Stencil Series


