A Crafters Collaboration featured a month long series
celebrating the One Sheet Wonder concept.
This was alot of fun and it’s such a great way to get your creative flow going.
Today I’m going to share with you my end of month of Christmas In July postings. To see the entire series and our monthly video – go over to Facebook – in the search bar type: A Crafters Collaboration. There you can check this series and our past posts & videos.
Each month Donna & I choose a theme and we post all sorts of stampers fun around it. Some months we choose a particular product or stamp set, sometimes we focus on a technique, some months you can find us being completely & creatively random!
We had full on go big but go simple with the One Sheet Wonder concept!
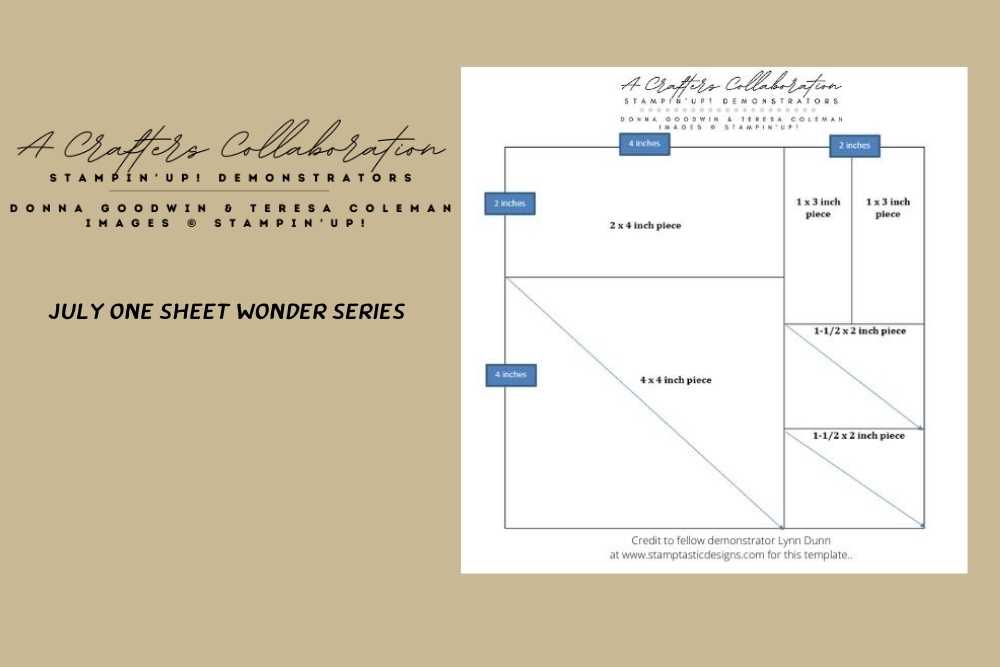
Here is my inspiration template for this weeks posts.

Fellow demonstrator Lynn Dunn gets all the credit and all the thanks for designing this template.
You can see her amazing work over at www.stamptasticdesigns.com.
Here is where I started with this…
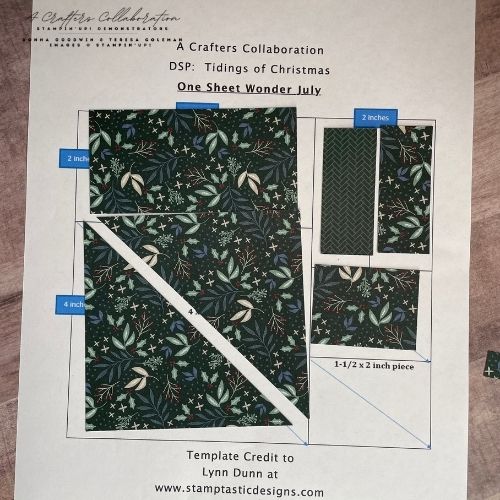
I printed my template ( you don’t necessarily need to print) I am such a tactile individual that having a hard copy in front of me helps me to keep organized. However … see that blank space on the lower right corner? Yeah- two seconds into the cutting phase, I made a trimmer error then, as I was trying to decide how to fix my mistake this piece flew off the desk never to be found… As of this posting its still lost in the crafters mess. I rallied though and made 5 cards and a tag from this one sheet of 6 x 6 Designer Series Paper(DSP). Without resorting to starting over with a fresh sheet of DSP!
I tell ya, when you have crafty creative block – our version of writers block- search out One Sheet Wonder templates. There are amazing creative minds out there that have generated tons of template images. Pinterest is a great source. Search by what size cardstock or DSP that you have.
In todays project I’m using the 6 x 6 paper pack Tidings of Christmas
It’s still on sale! Just a few more days left.
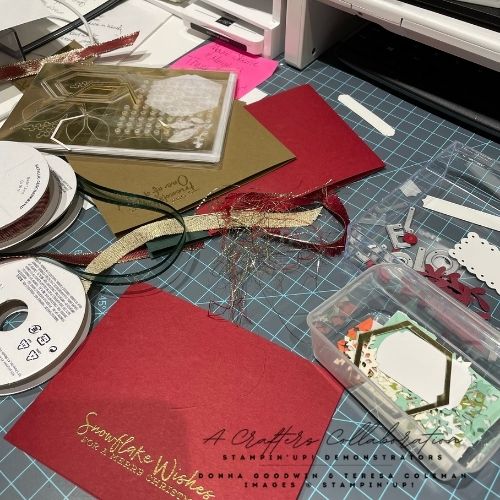
I gathered my supplies & generally made a big ole’ crafty desk mess.
Who else does this in the beginning of a project?
You can’t even see the Designer Series Paper in this picture! It’s off camera on the left:) I wanted to feature gold embossing as my ‘touch of bling’ for this entire 5 card series. With that in mind I also wanted to keep these cards fairly simple.
Here’s a quick lis of what is going on in this photo:
-
my card bases- Evening Evergreen, Soft Suede & Cherry Cobbler
-
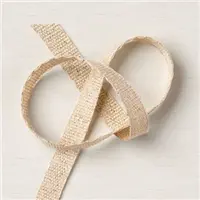
ribbons- I grabbed 3 – a gold, a dark green & a sneak peek to new catalog Cherry & Gold
-
embossing supplies
-
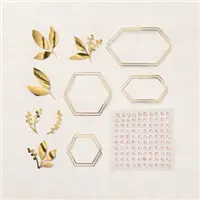
Ephemera Pack
-
my little bins of bits leftover from other recent Christmas in July projects
First up in the card making process was choosing sentiment- I wanted simple stamping and simple construction. Which led me to choosing gold embossing rather than ink stamping to bring a bit more bling to the cards.
I embossed all 5 cards first- choosing random placement.
This start can either help or hinder when you have already cut the DSP down by template and didn’t do a dry run on how you think you might like to use those cuts. Which is what I did NOT do. OOPS. It all worked out in the end but, I want to encourage you to dry fit your DSP before ‘randomly stamping’ the sentiments 🙂

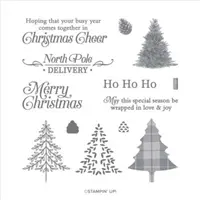
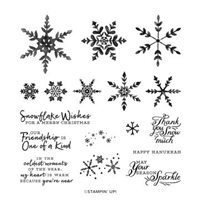
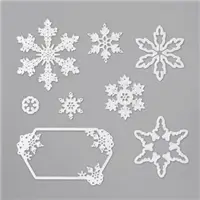
The stamp sets I chose are Snowflake Wishes and Perfect Plaid.
Both of these sets are found in the Annual Catalog
The Soft Suede cards came together like this.
Using the larger rectangle I distressed all the edges with my paper snips, folded the top right corner back to reveal the lovely print on the other side of paper. I added a few more touches of gold using the Expression in Ink Ephemera pack and a Cherry Cobbler touch peeking out. This bit is a Sprig Punched piece.
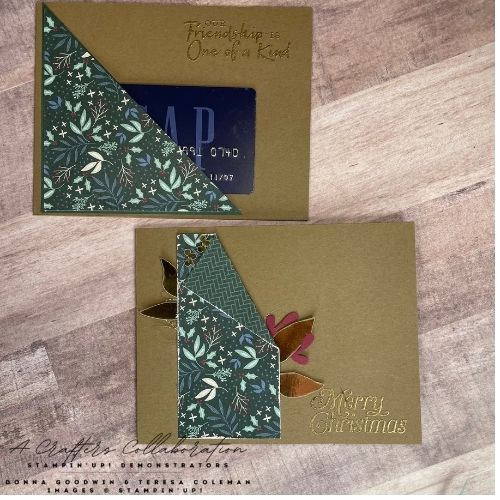
I turned one of the triangle cuts into a Gift Card Pocket – what I did was layer the DSP cut onto a large scrap of Evening Evergreen cardstock – trimmed it slightly larger than the DSP. When I adhered the layers together- I made sure not to put tape along the diagonal edge to allow the gift card to slip in between the cardstock and DSP.
{ This GAP store credit card is funny – it shows up in alot of my photos because it’s a far expired card that hangs out in my craft room when I need a gift card to make sure my designs are fit correctly. }

Here are the Cherry Cobbler cards.
I used the other triangle piece as a left focal point. That bit of bling peeking out from the edges is Fine Art Gold Ribbon, using Tear n Tape, I adhered the ribbon to the Designer Series Paper so that just a slight ‘layer’ of ribbon shows from the edge. I then added another strip of Tear n Tape so that the edges of the ribbon on the under side of the DSP were taped down well and then adhere the triangle to the card. This is a fun way to use ribbon without needing a bow!
In the other Cherry Cobbler based card you can barely see the DSP- it’s there, just tiny and tucked in between snowlflakes, gold embossed onto Soft Suede snowflakes and a simple white tag- no stamping there just a pop of white in the otherwise ‘busy’ card elements. Do you notice that bit of ribbon I tucked in too? This time I simply used a tiny scrap as a gold element.
One Evening Evergreen Card
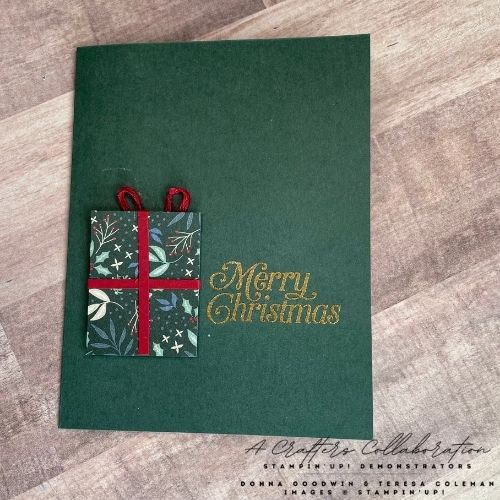
I will say, this one gave me a bit of a challenge. Remember when I said I randomly gold embossed the sentiments. Hmmm, I wasn’t sure what to do with this card base and remaining piece of DSP. Inspiration struck by using tiny strips of Cherry Cobbler cardstock and a bit of leftover Paper Pumpkin Cherry Cobbler twine. I didn’t actually tie a bow- I used dimensionals on the back of the DSP – then ‘stuck’ the twine to look like a bow to the dimensional adhesive. Then used Tear n Tape over the twine to prevent fraying. The DSP now looks like a little gift box. Clever:)
One piece still missing and one tiny piece left… I was out of card bases but had my little bin of blank tags in from of me. I am loving this new die set: Tailored Made Tags from the Annual Catalog. It just released last month and this Tag die set has gotten a workout this month in my Christmas in July focus! You will see alot more of these in the coming months. These guys are so not just for gifts! They are fab on cards too!
OK… enough yammering – onto the last project!
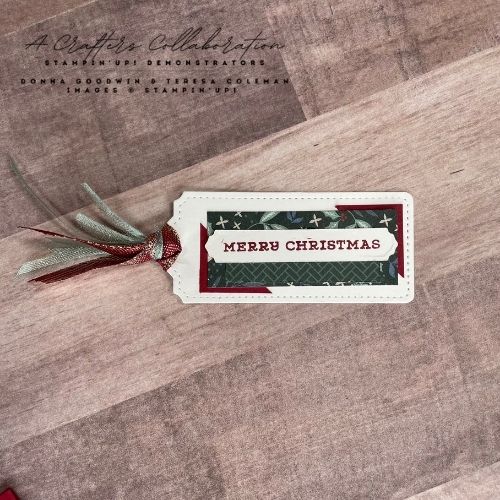
One last piece of DSP left becomes a Gift Tag
Using a Cherry Cobbler Stampin’ Write Marker to isolate the Merry Christmas from the Snowflake Wishes sentiment, no embossing here – I had already cleaned up that mess! So taking bits of Cherry Cobbler Cardstock, new sneak peek Cobbler & Gold ribbon as well as Open Weave Soft Succulent Ribbon I tossed together this quick and simple tag! Having a bin full of pre cut tags is seriously one of the best uses of time. Take half an hour and just die cut with your scraps. Dual purpose- uses up bits you have lying about from other projects and gets a ton of tag blanks ready.
Your future gift wrapping self will thank you!

It all comes together so nicely and my Christmas in July is nearly a ‘wrap!
Here is what I used for these fun One Sheet Wonder Cards!


Sale: $9.78
Price: $11.50


